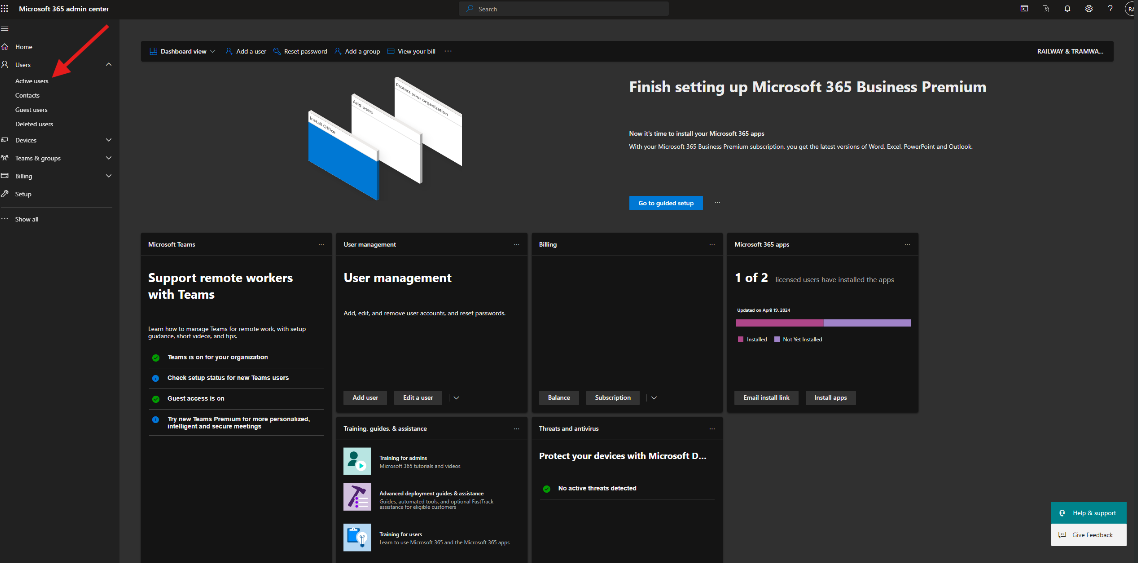
First you must login to the M365 admin center with an account with admin rights to be able to create a user. Navigate to "users" on the left hand side and select "Active users"
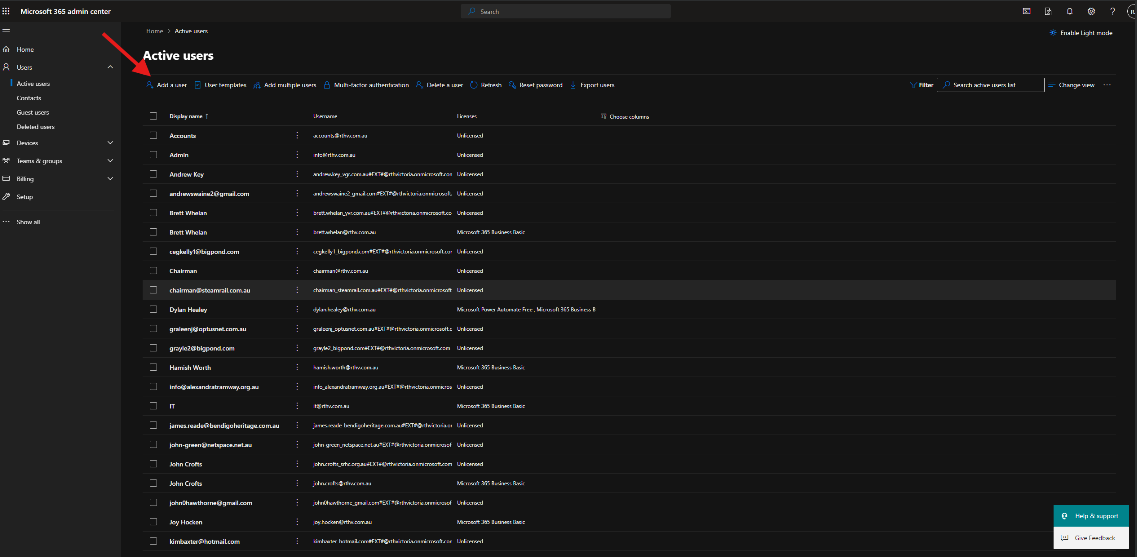
Select "Add a user" in the top left.
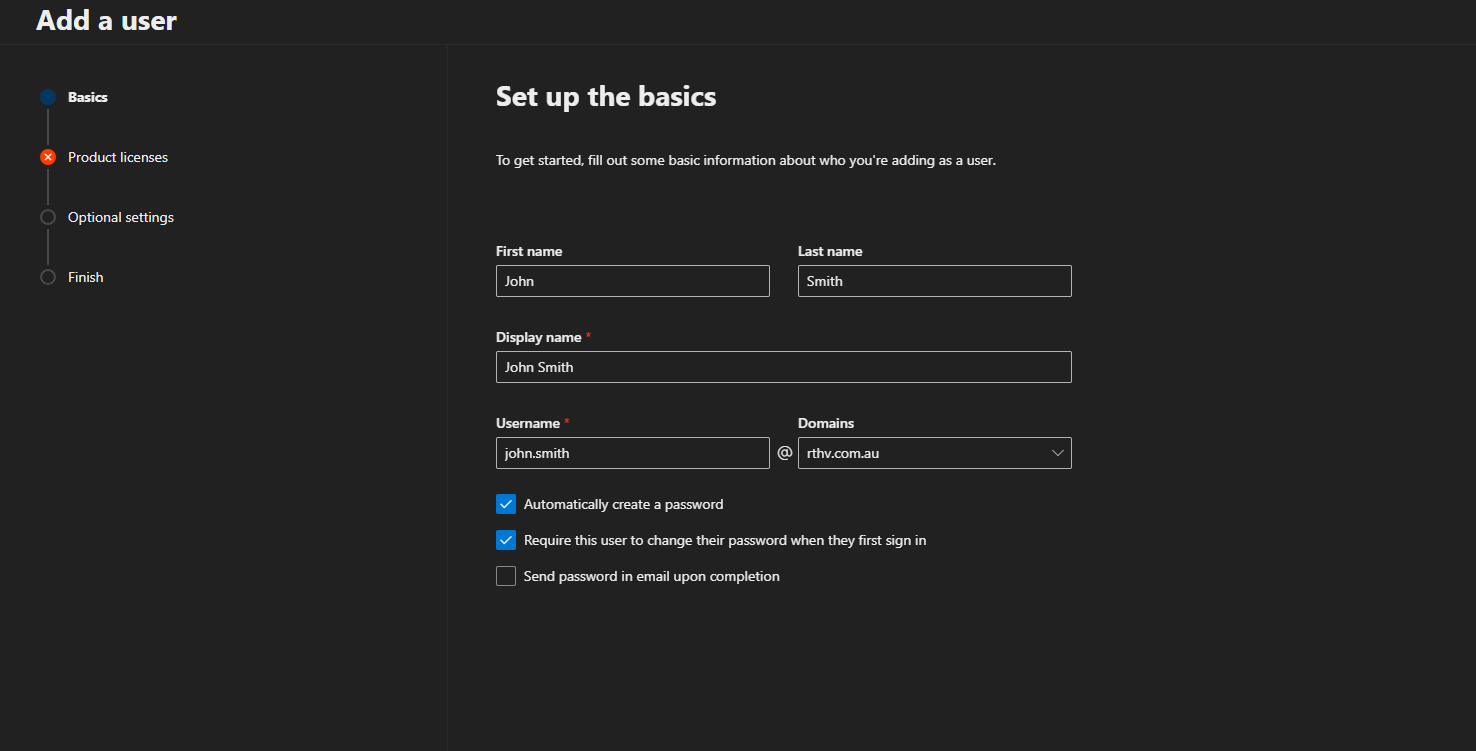
Enter the name of the new user, with the username being what there email will be. Tick "automatically create a password" and "require this user to change their password when they first sign in". Then click next at the bottom of the screen.
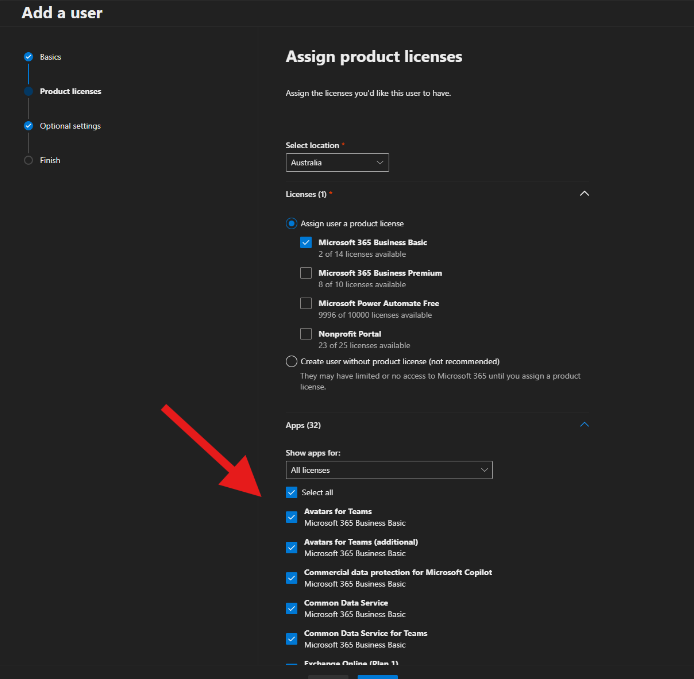
This will take you to the "assign product licenses" page. Depending on what the user will need access to, depends on what license they will need.
The differences of note that are relevant for RTHV are outlined below for each license type. Business Basic gives the user a license to access Office 365 apps such as Outlook, Word and Excel online at office.com. Business Premium gives the user a license to access Office 365 Desktop Apps, these are programs that are installed on your PC.
Business Basic can easily be used for most users, unless there is a genuine reason for a premium license due to the cost difference. Once a license is chosen you can see what apps are accessible with that license.
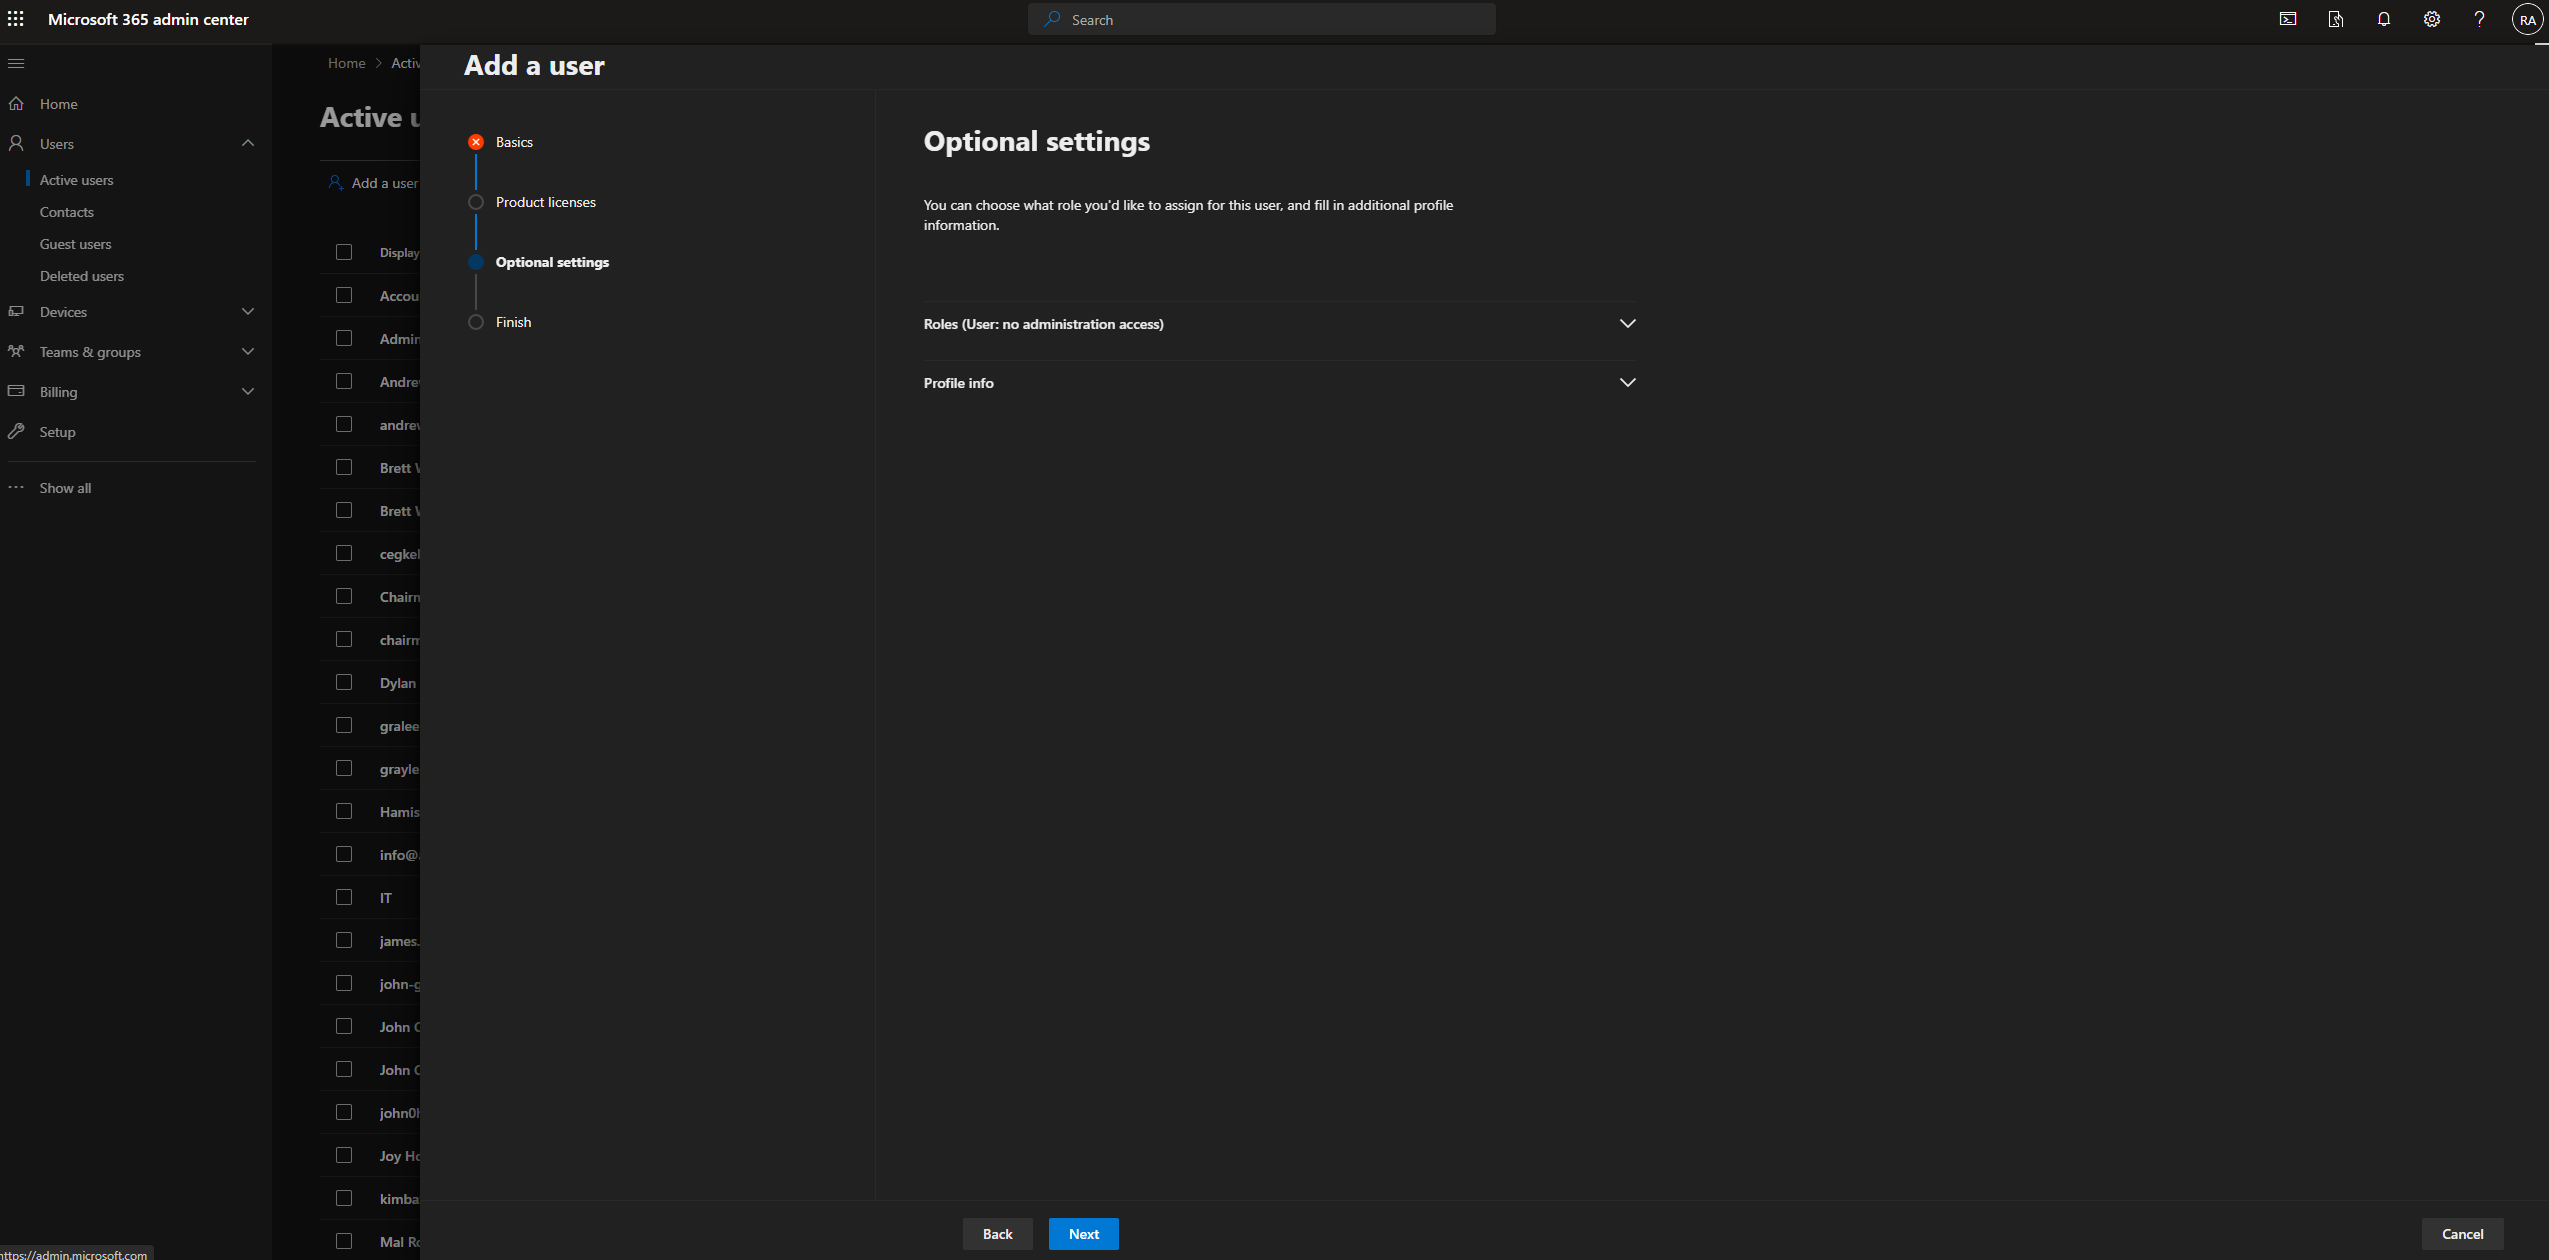
The next page is "optional settings". Under "roles", you can choose if the user will have admin center access or not. Under profile info is information about the user.
Review page you will have a chance to review and edit and errors.
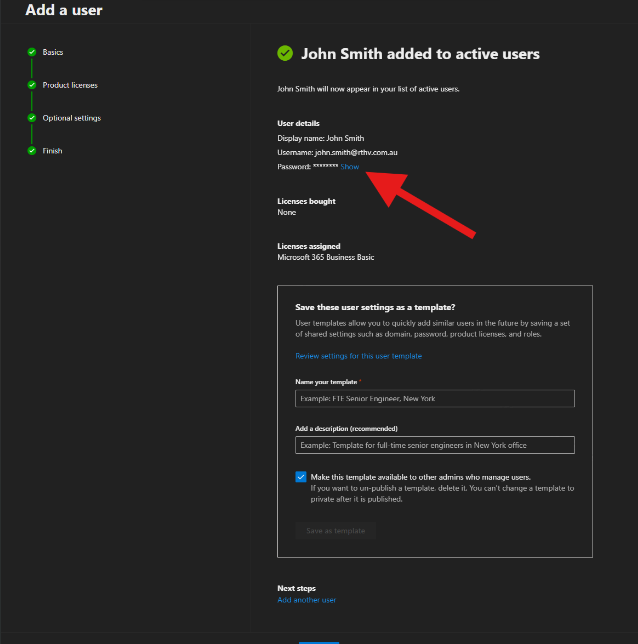
Lastly will be a confirmation that the user has been added to active users. This is also where you can see the automatic password for the user when they first sign in. Once signed in they will be prompted to enter a new password, this will be their own password that only they know for continuous access.


No comments to display
No comments to display