
Adding a Stop Sell to a Manifest
The purpose of this procedure is to detail the steps for adding a stop sell via a manifest in CustomLinc. This functionality can be used for a services such as a lunch train or any other sightseeing service using a manifest.
- From within CustomLinc click Manifests under the Sightseeing menu on the left of the screen
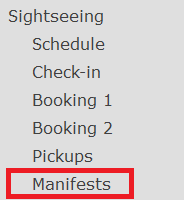
-
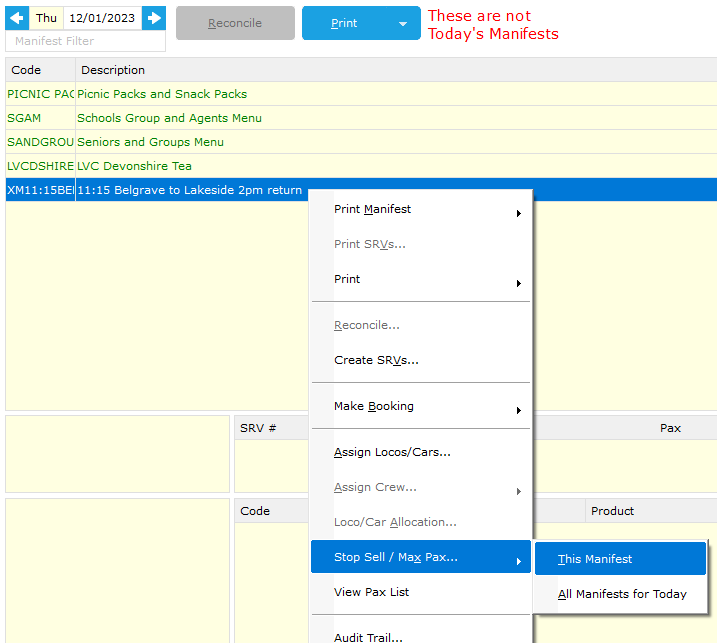
From the manifests window on the right, use the date picker to select the date, right click the manifest to be stop sold and select Stop Sell / Max Pax ... and This Manifest
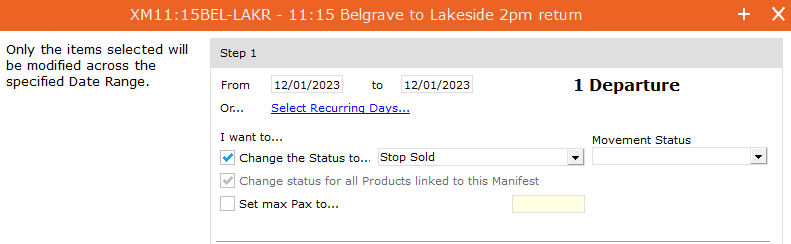
- In the displayed window a date range can be specified to apply the stop sell over multiple days if required.
Ensure Change the Status to... checkbox is ticked and the dropdown is changed to the appropriate option. Different options can be selected from this drop down if the stop sell is only required on particular sales channels. These include:
Confirmed – Bookings are fully enabled
Stop Sold – Bookings are fully disabled
Stop Sold – External Channels – Bookings cannot be made online but can be made by Booking Offices and the CSC
Stop Sold – Internal Channels – Only online bookings can be made
Ensure that a reason has been added to the Notes field in the window.

- Click the Next button
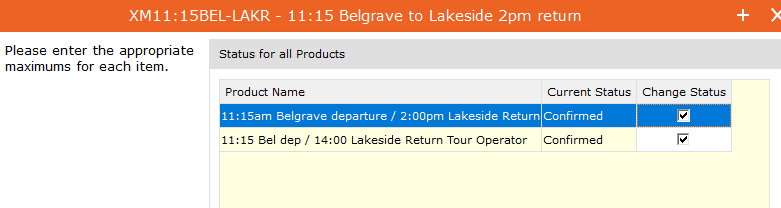
- The next window will display a list of services impacted by the change, ensure the Change Status box is checked for each service to be modified

- Click the Finish button to save the changes
-
When prompted enter your CustomLinc credentials and click OK


A stop sell has now been added the against the service(s). The service will be displayed as red in the schedule
To remove the stop sell, this same process can be used and the status set to Confirmed instead.
No comments to display
No comments to display