
Aruba Switch Startup
This article will guide you on how to initially deploy an Aruba switch to get ready for deployment out into the field.
- Firstly you will need to plug a USB-C cable from your laptop into the console USB-C port of the switch. Open device manager and search for the "Ports" dropdown. In this instance our switch is using com port 14.

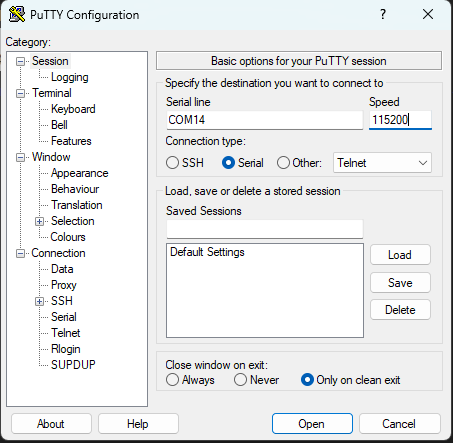
- Open up putty and select the serial checkbox, enter your com port, for example this time it is com14. Change the speed to 115200.
- The login will be admin, there will be no password by default so press enter. It will then prompt you to make a new password, this can be a temporary password for now. Make sure to add it into 1pass.
- Enter command "conf" to get into configure mode. Add vlan 10 (server vlan) by using command "vlan 10".

- Now we need to give the interface of our vlan 10 a static IP. Refer to this spreadsheet for available IP addresses. Enter into the vlan interface by using this command "int vlan 10". The next command will assign the static IP to the interface of VLAN 10 "ip address 10.1.2.102 255.255.255.0".

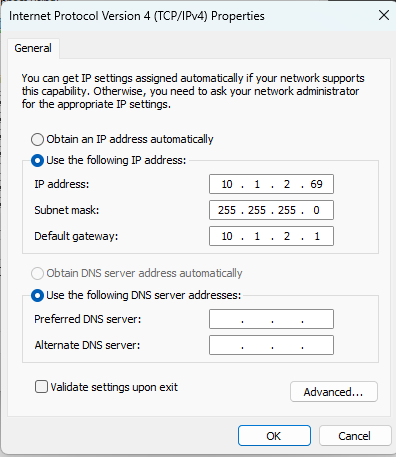
- Now you will need to plug an ethernet cable from your management port, in our case it is port 1, plug the other end into your laptop ethernet and change the IP address of your device to be on the same network as the switch. In our case the switch's IP is 10.1.2.102, so we will assign a static IP to our device 10.1.2.69.
- We will now be able to view the web interface by typing in the IP of the switch into the URL.


