Yubico Passkey
This article will show you how to add a Yubico passkey as MFA. This will be used when a user does not want to install Microsoft Authenticator on their device.
- Install Yubico Authenticator on your machine for the initial setup of the Yubico Key. This can be done through Action1.
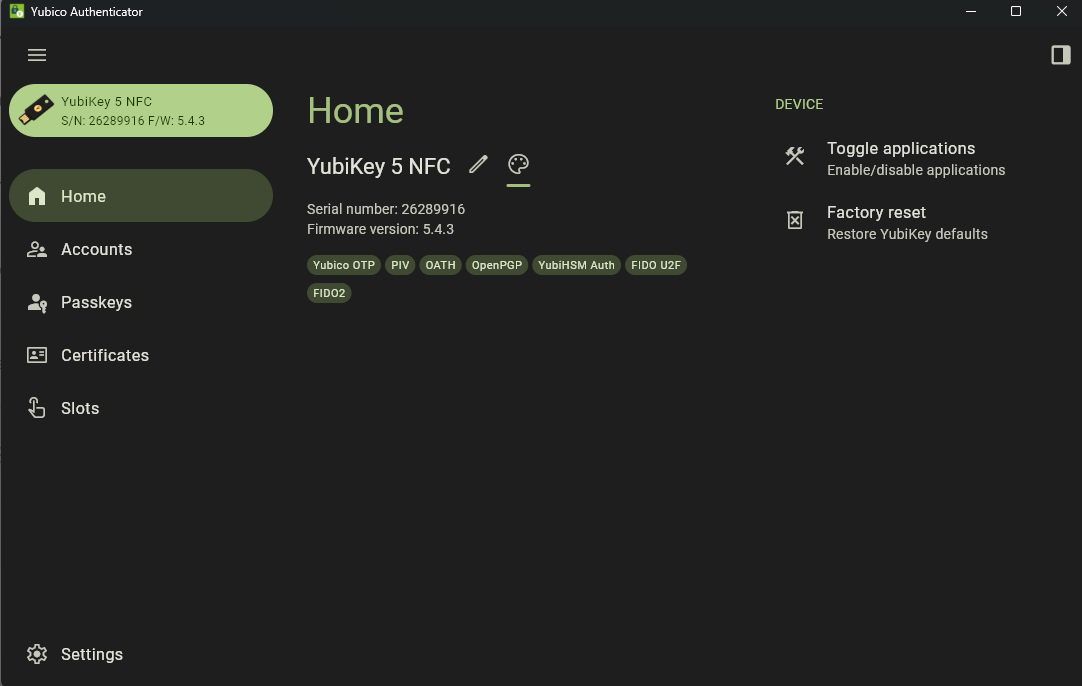
- Plug the Yubikey into a USB slot. It will be recognised in the program. Select "Factory Reset" on the right-hand side.

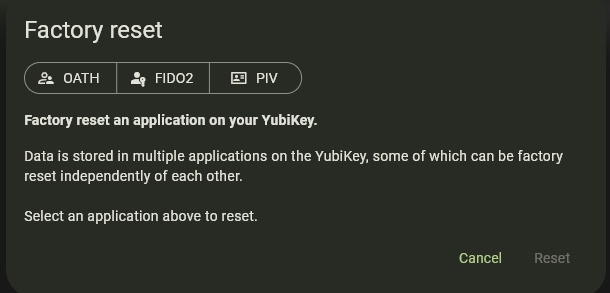
- Select "FIDO2" and reset, follow the prompts, then close once done. This is done, so when it is initially setup for a user, they can create their own pin code.

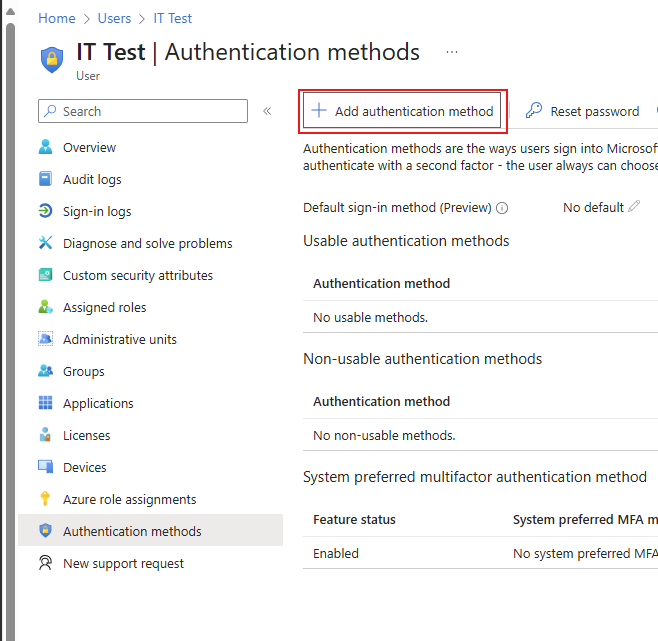
- Navigate to Entra and find the user. On the left hand side select "Authentication methods". Then "add authentication method".

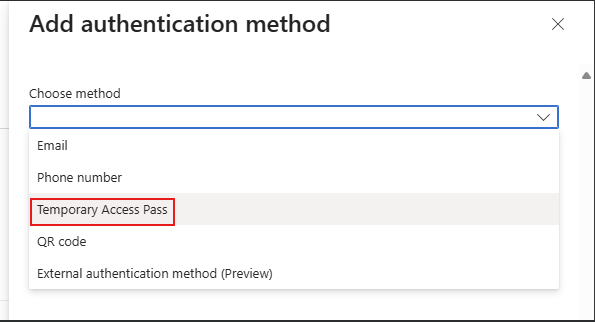
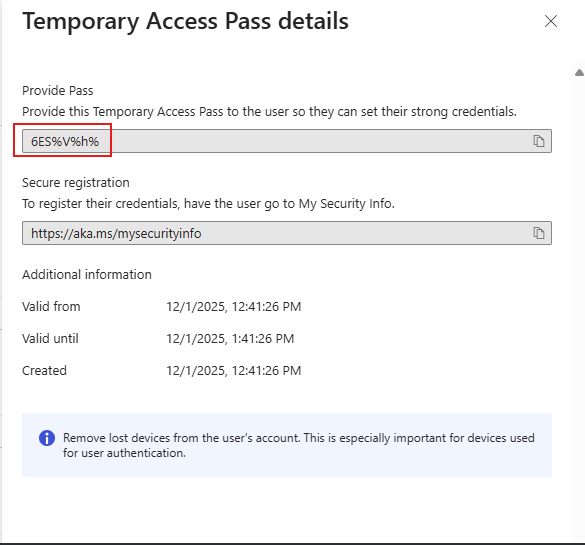
- Select "temporary access pass". This is needed because a source of MFA is needed before adding a passkey.

- Once added, note the code.
- Now head to the USERS online
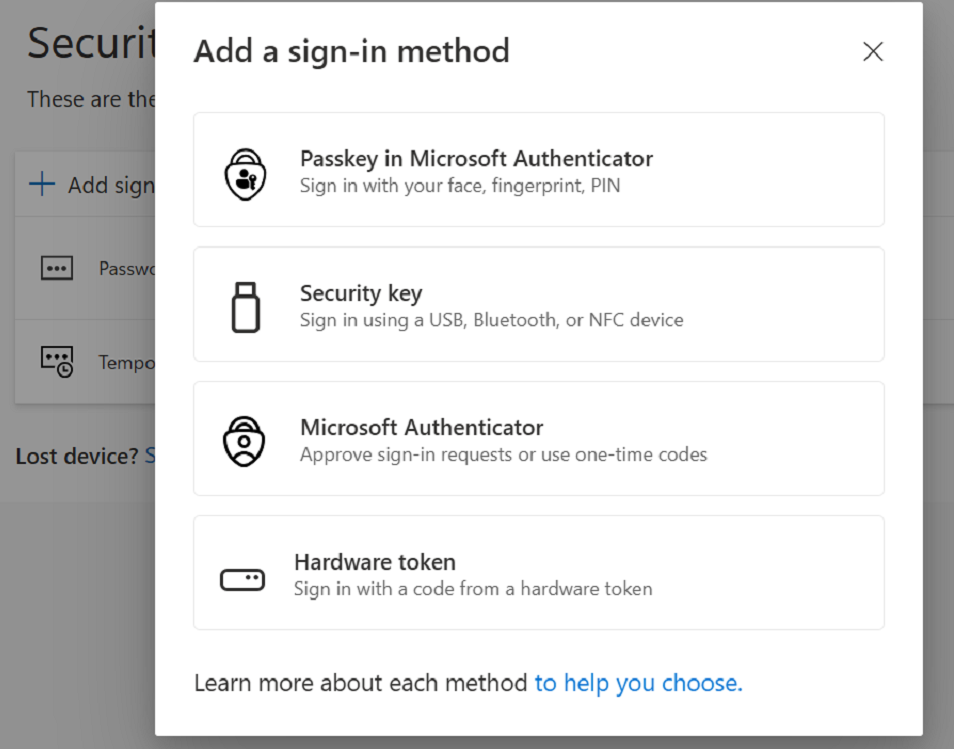
microsoftMicrosoftacocuntaccount (office.com), head to security info. Add a sign in method "Security Key".

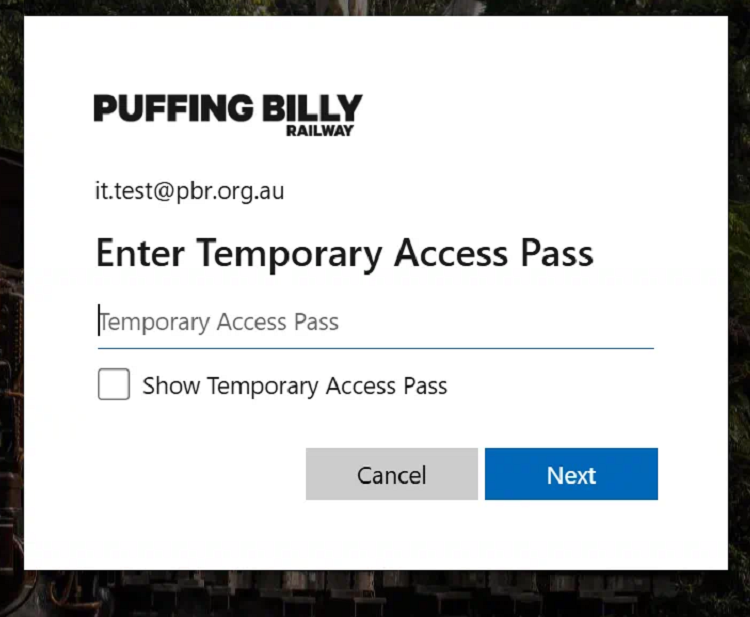
- You will be prompted to MFA, enter the temporary access pass code from earlier.
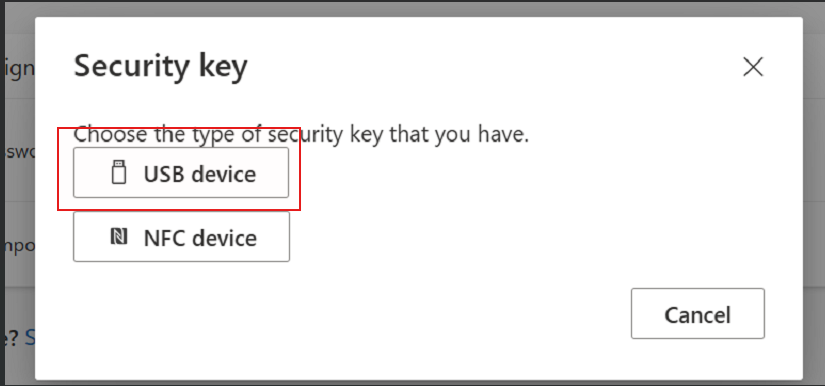
- Select "USB Device" and follow the prompts.

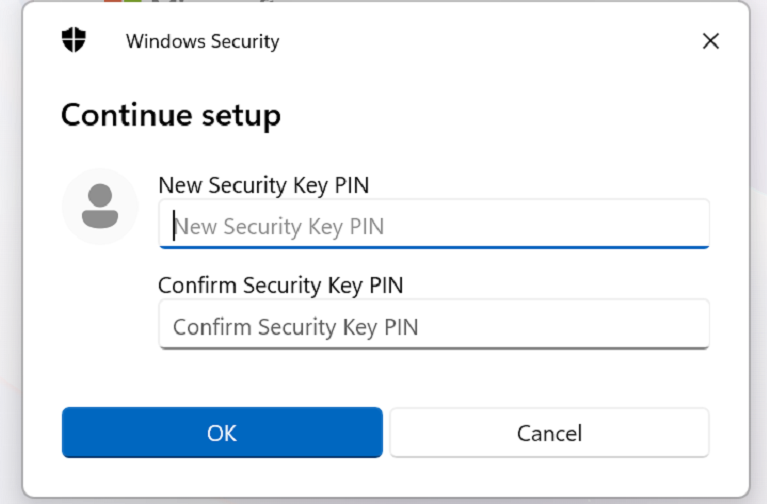
- As long as the Yubikey was factory reset, you will be prompted to create a pin. Follow the prompts.

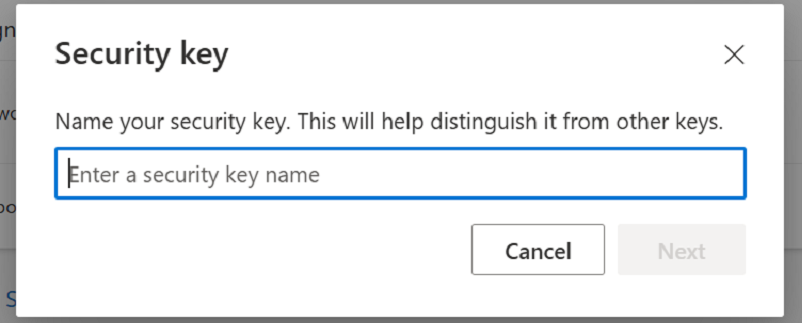
- Name the key, YubiKey will do fine.
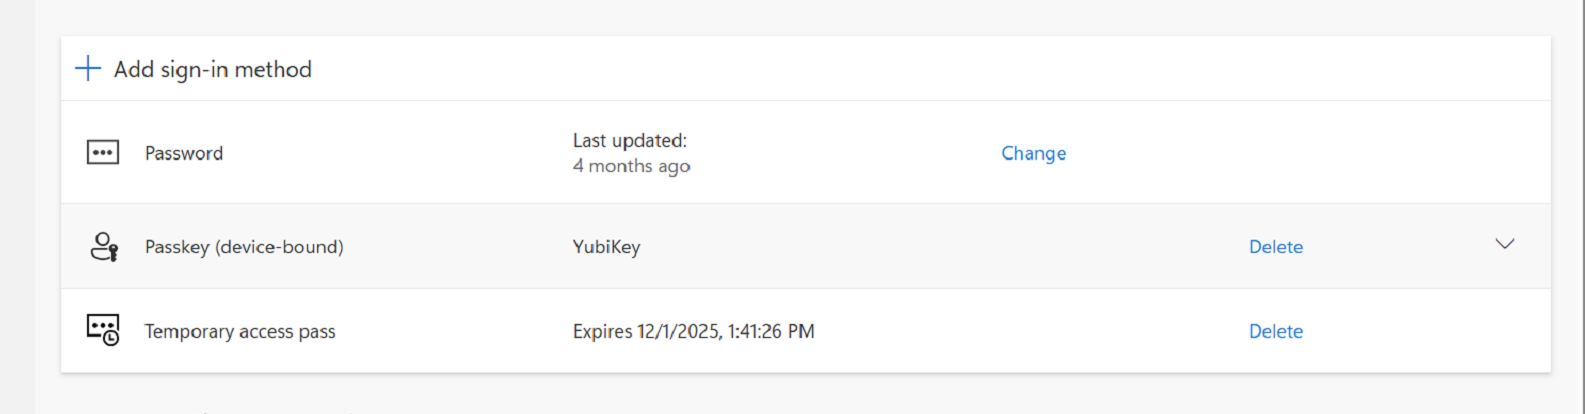
- A hardware passkey has now been setup. Temporary access pass (TAP) duration is usually 1 hour, once time has run out, passkey will still be usable.
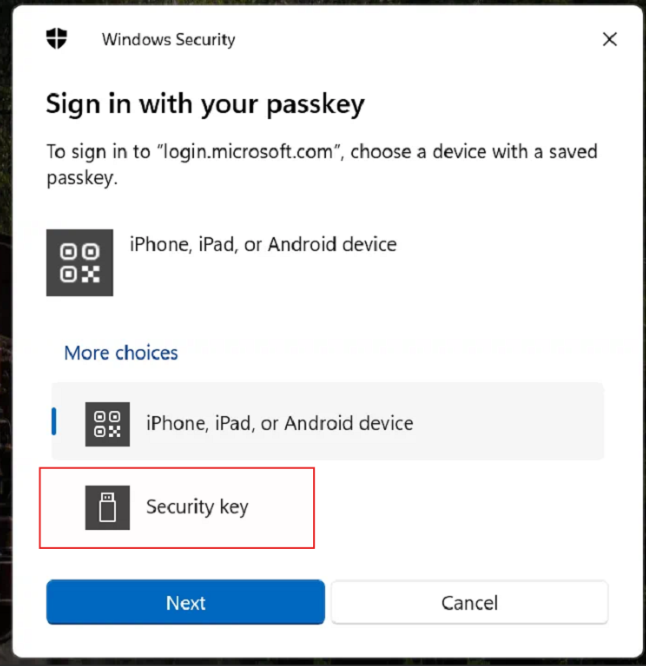
- Head to office.com in a private window and test signing in. Make sure to select "security key" when signing in. Enter the PIN chosen in setup and touch the key. NOTE: The first time logging in, it may ask for a password, select passkey underneath instead.