Printing Crew Cards
This article will show you how to print a crew card for Staff & Volunteers. Volunteers have another QR code printed on the back for logging into Better Impact iPads located throughout the railway. All printing is done on computer ETRB220617D located in the Finance office. The printer used is the Magicard 600 (V2) that is connected into said PC.
- Log onto ETRB220617D with your PBR windows account. This computer has the Card Exchange Program and the Card pritner connected to it.

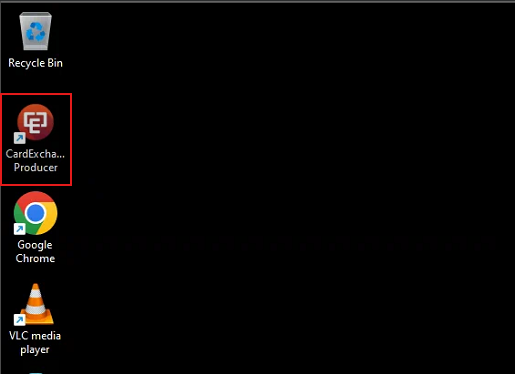
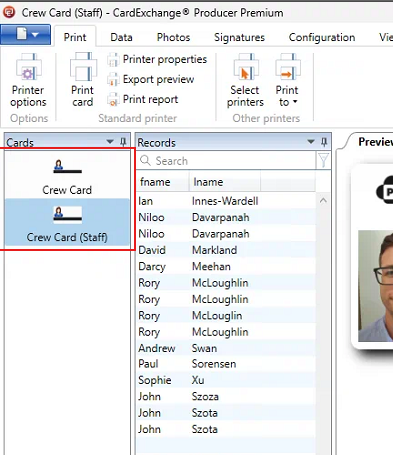
- Open the "Card Exchange Producer" program located on the desktop.
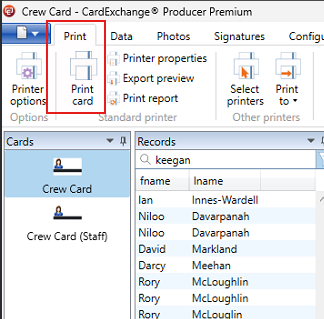
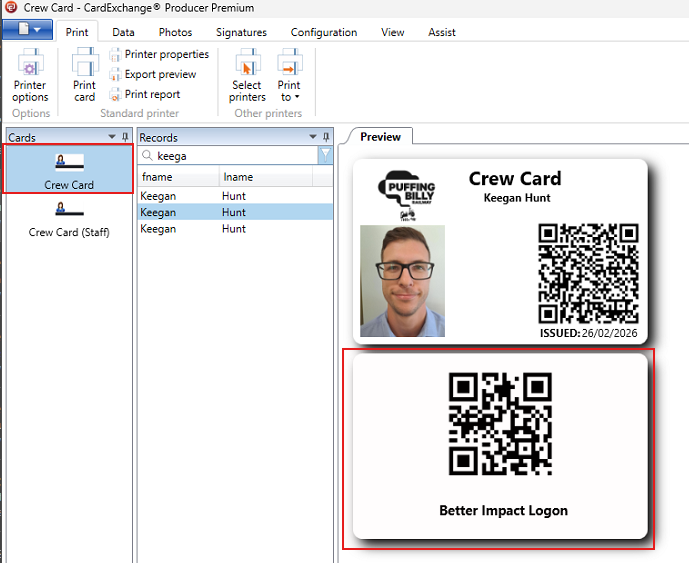
- There are 2 cards setup. One for volunteers (Crew Card) & one for staff (Crew Card (Staff)). The only difference is the volunteer crew card has another QR code printed on the back for logging into Better Impact iPads around the railway.

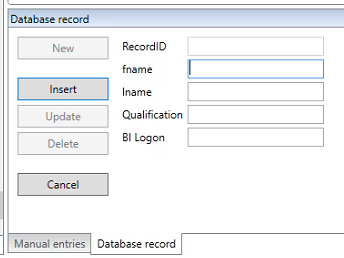
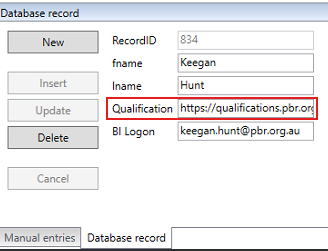
- To create a new crew card for a user, select "New" at the bottom underneath "Database Record".
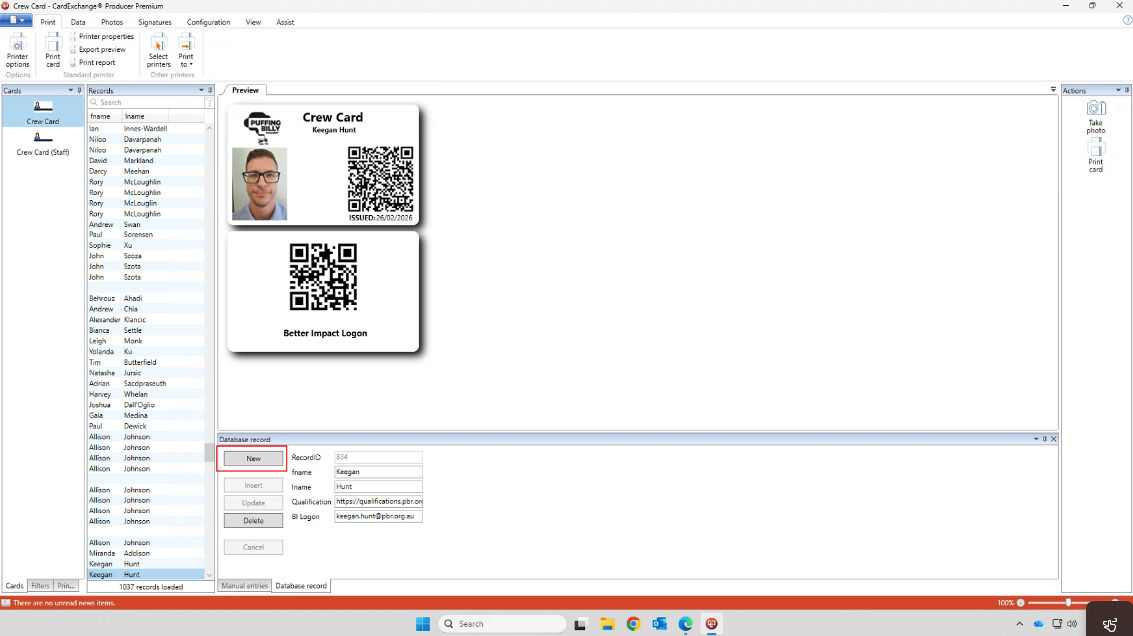
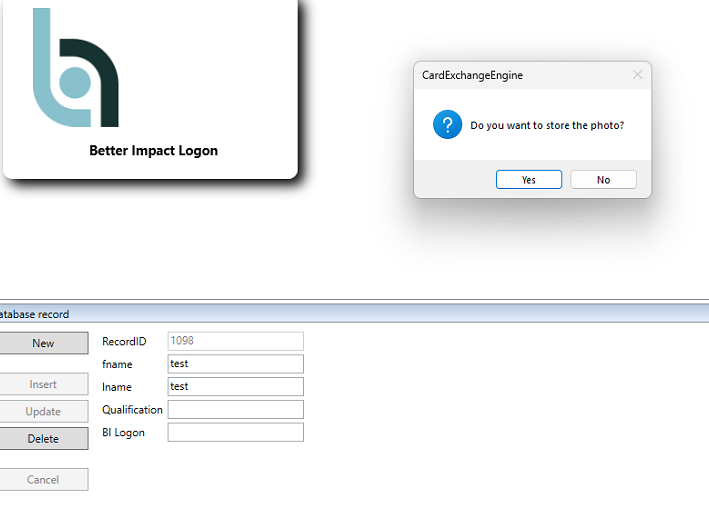
- The fields will be blank. fname= First Name, lname= Last Name. For Qualifications & BI Logon see steps below. Enter the First and Last name for now and click insert. A popup will appear, this is asking to select a photo for the user. This can be selected from anywhere on the computer that you have the image stored.


Qualifications: Navigate to qualifications.pbr.org.au. This is our qualifications server that contains all the qualifications setup in Better Impact. Login with your PBR email and the password you set. (An admin account needs to be setup for this. Contact PBR IT Helpdesk.)
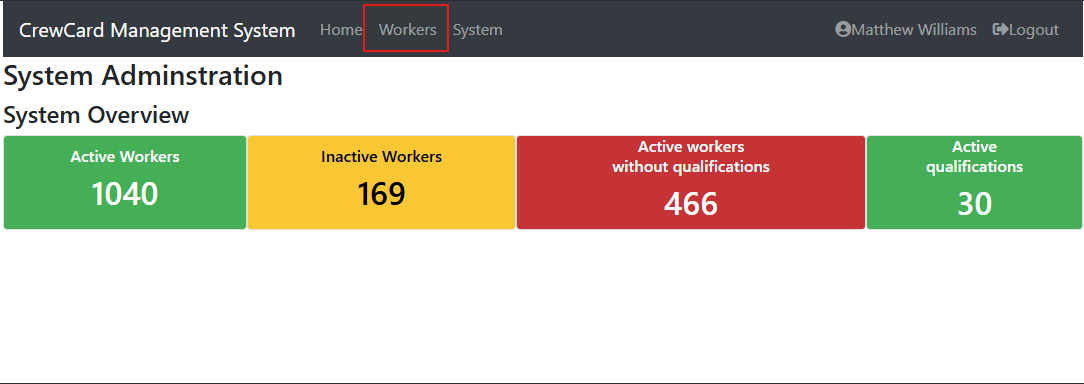
Once logged in, navigate to "Workers".
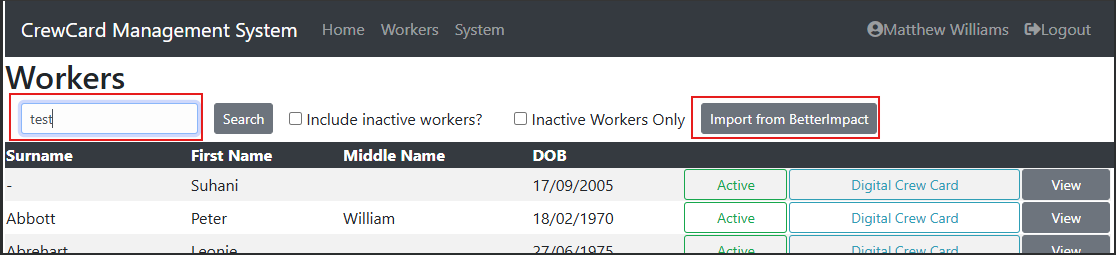
Search for the user you are printing the card for. If the user does not appear, they have not been synced across yet. There is an automatic sync in place of 24 hours, or you can manually sync the user by pressing "import from better impact.
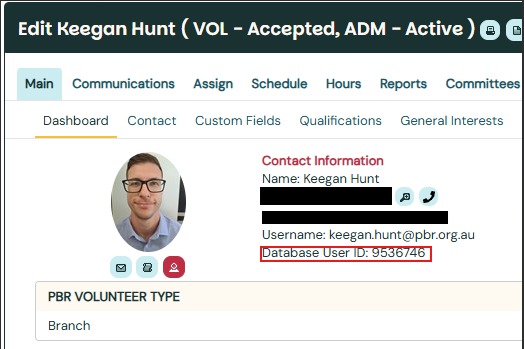
If manually syncing, enter the user's Better Impact ID, this can be found in Better Impact on the user's main dashboard.
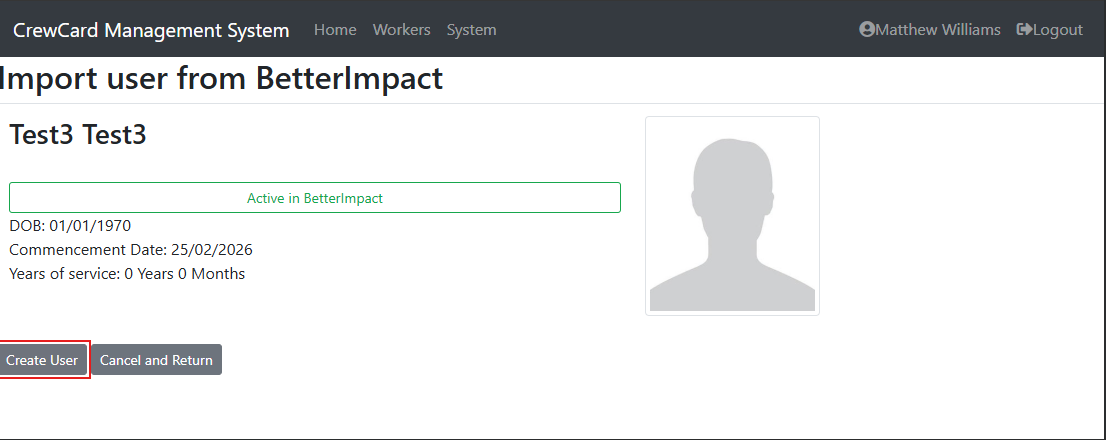
This screen will appear, select "create user". (only click it once)
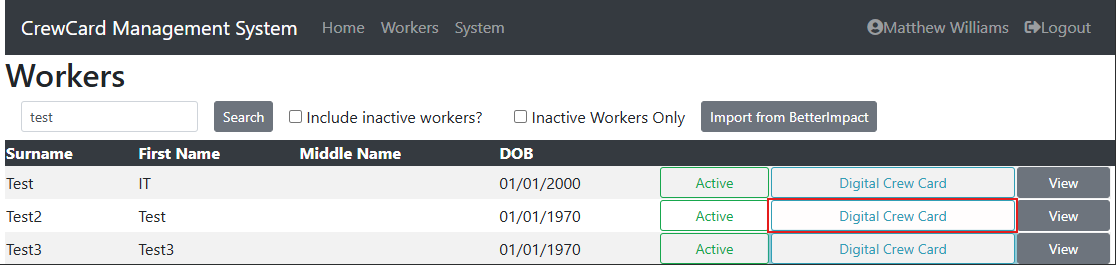
Search for the newly created user and select "Digital Crew Card".
This will display their qualifications page, which displays their qualifications from Better Impact. Copy the URL from the top of the page.
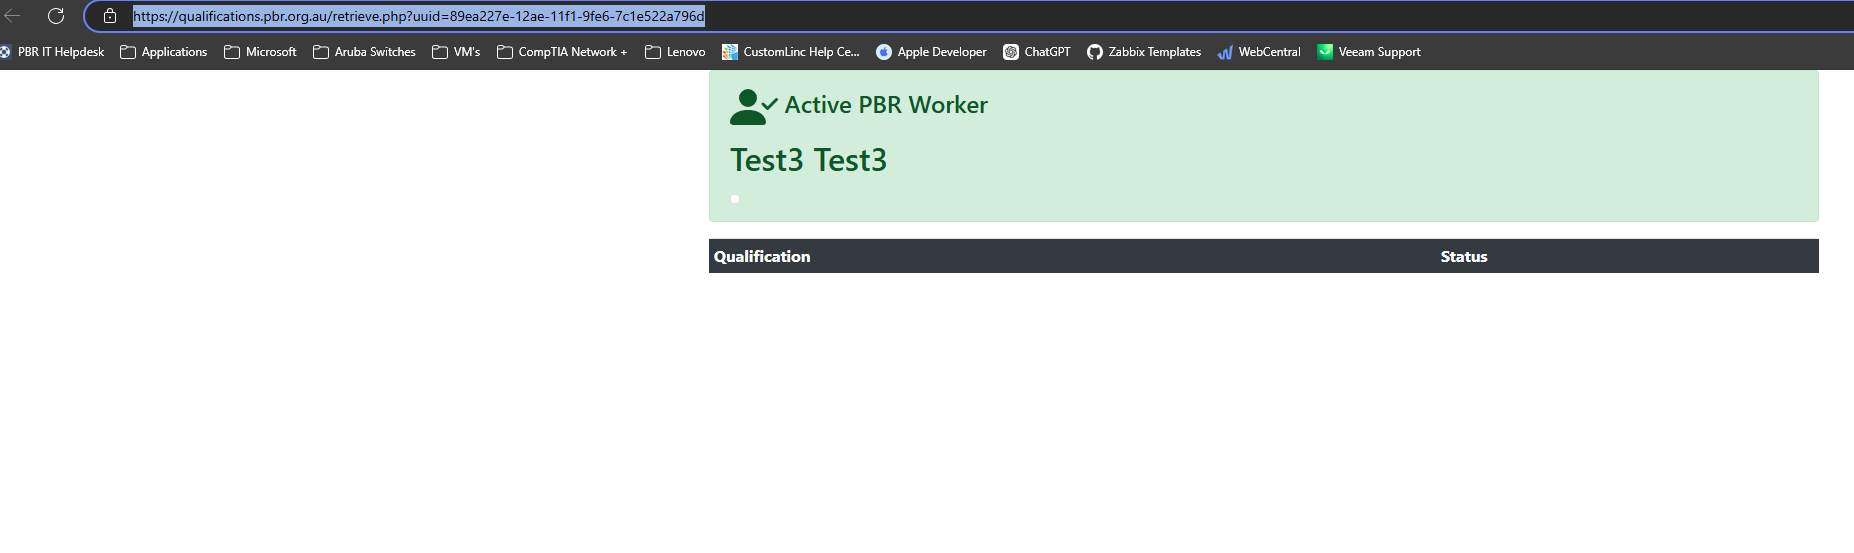
Then head back to the Crew Card Exchange program and paste the URL into the "Qualification" field. Now when the QR code displayed on the front of the crew card is scanned it will take them to the qualifications page displaying the user's qualifications.
Better Impact: This step only needs to be completed if the new user is a volunteer. To create a QR code on the backside of the crew card, select "Crew Card" in the Exchange Program. This adds an extra page that will be used to display the Better Impact login QR code.
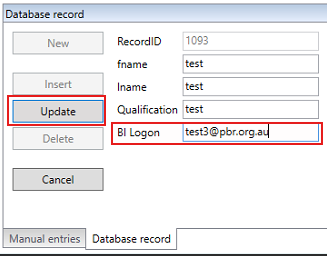
You will need to get the username of the Better Impact user. This is found in Better Impact when searching the desired user > main > contact.
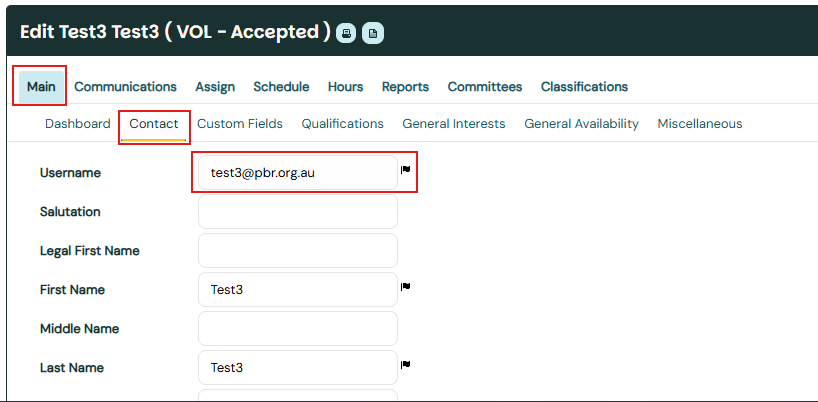
Copy the username into the Card Exchange Program where it says BI Logon. Make sure to select update when all the information is correct.