Xibo
Software that displays images on signage computers
Xibo Client Setup
Download the Xibo Client (V3)
Configure the xibo player on the client PC,

CMS Address : https://68.218.73.53
CMS Key : can be found on the xibo server
(Log into PBR xibo web portal - https://xibo.pbr.org.au/statusdashboard creds in 1Password,
Scroll down to Administration / Settings / Configuration Tab
Click Connect
Image Change
This article is for if you would like to change an image on a device in Xibo.
Creds in 1pass.
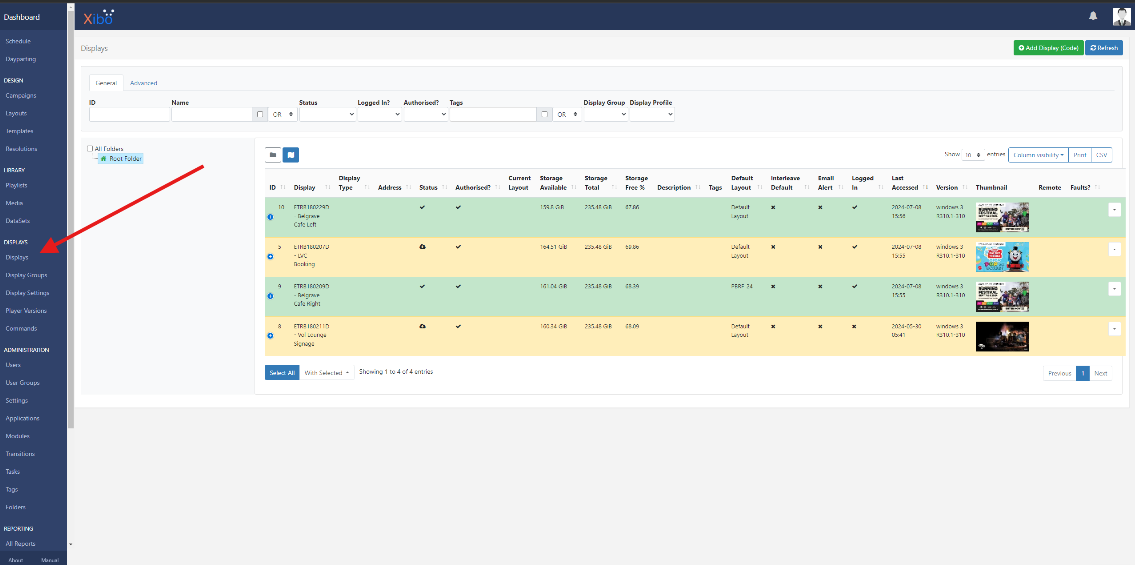
- Firstly navigate to the displays.

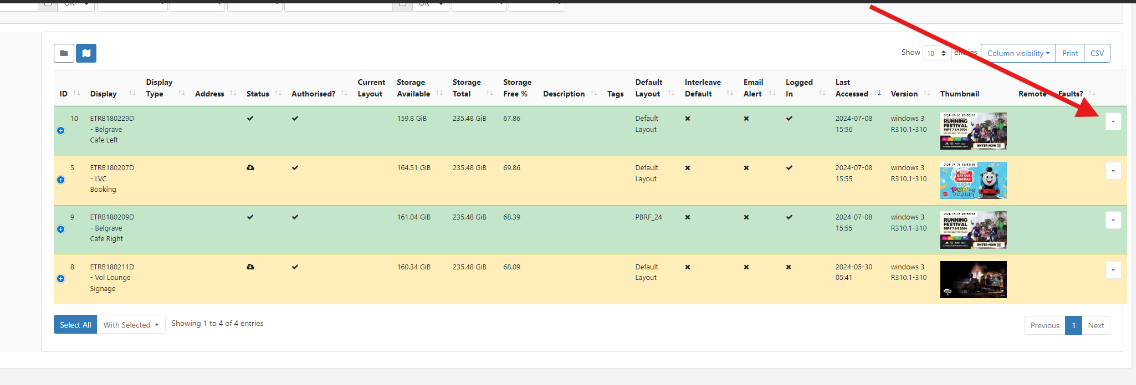
- Then select the dropdown of the device you would like to change.

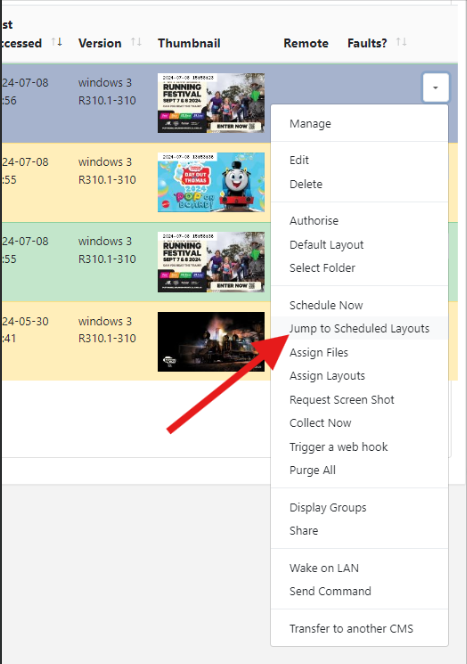
- Select "jump to scheduled layouts".

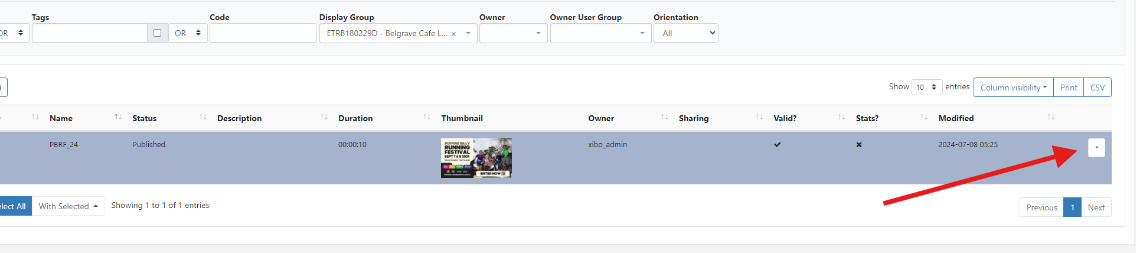
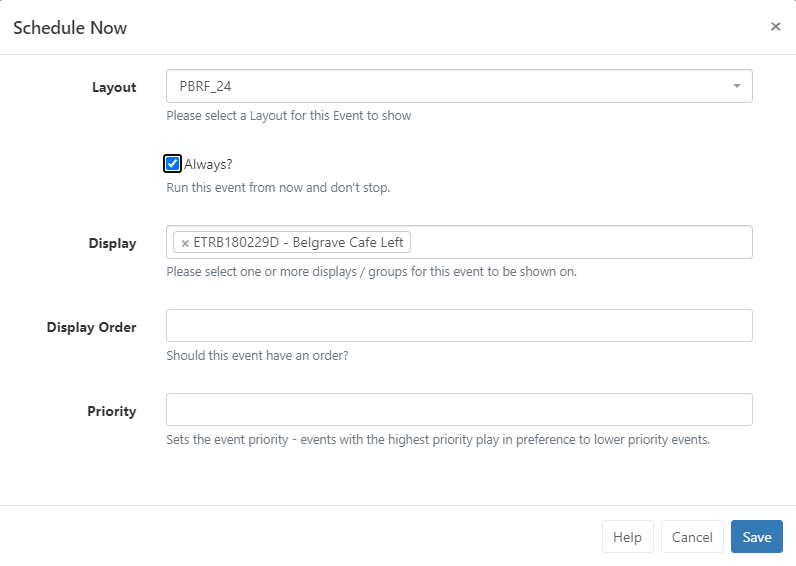
- Select the dropdown of any row and select "schedule now".

- Select the layout (image) you would like to display. Check the checkbox "Always?" and select your display, click save.

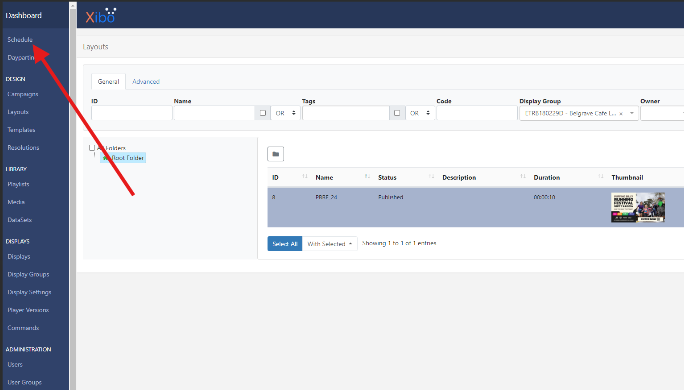
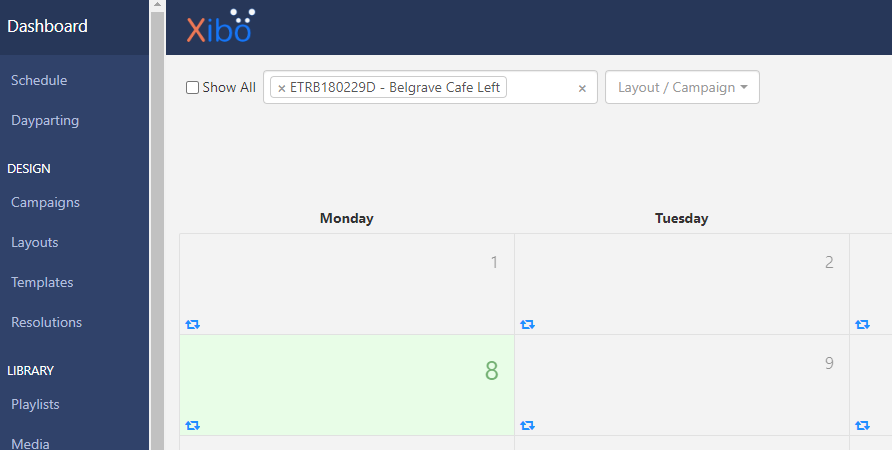
- You will now have at least 2 rows and the image will rotate between them. To stop the rotation head to "schedule" in the navigation bar on the left hand side.

- Select your display and choose any date.

- Select the unwanted layout to open it up. Click delete.

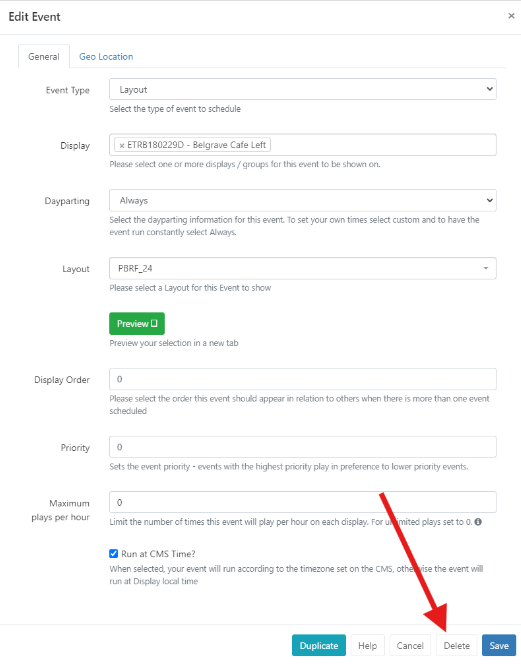
The image you selected should now be a static image.
Add media (image)
This article shows you how to upload a new image into the Xibo library.
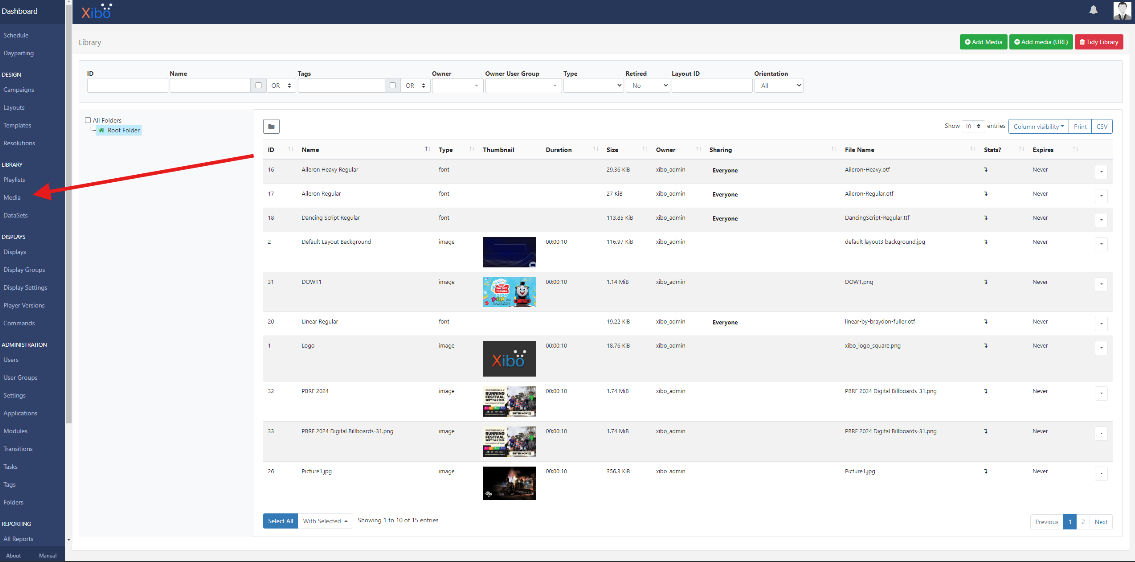
- Firstly navigate to "media".

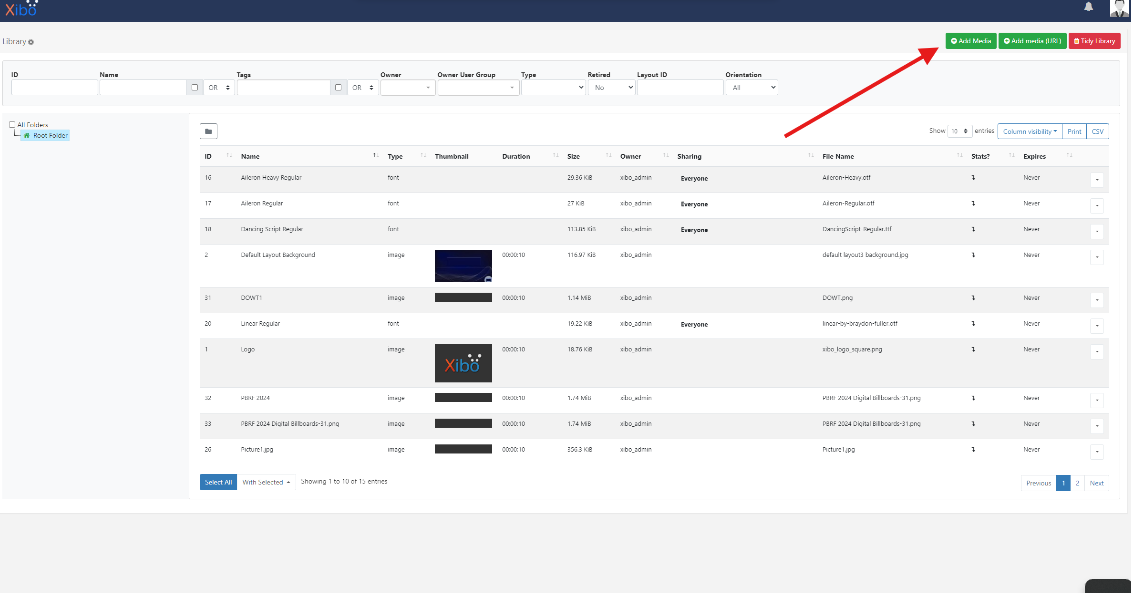
- Click "add media".

- Click "add file", then "start upload". Then click "done".


Your image is now ready to be added to a layout.
Create a New Layout
This article shows how to create a new layout to be able to add a new image to a device.
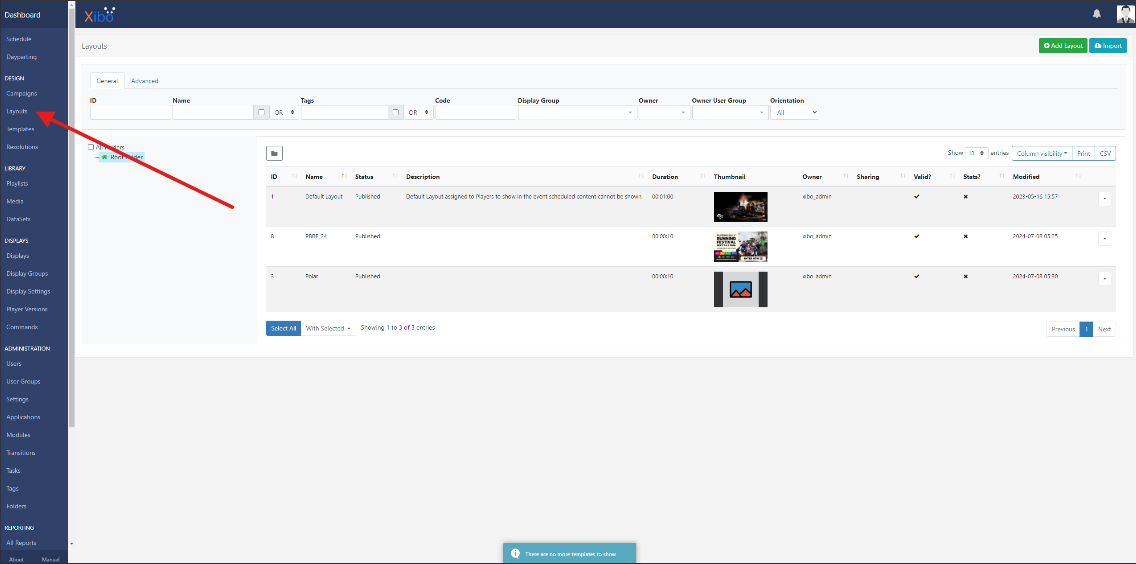
- Navigate to "layouts" on the left hand side menu.

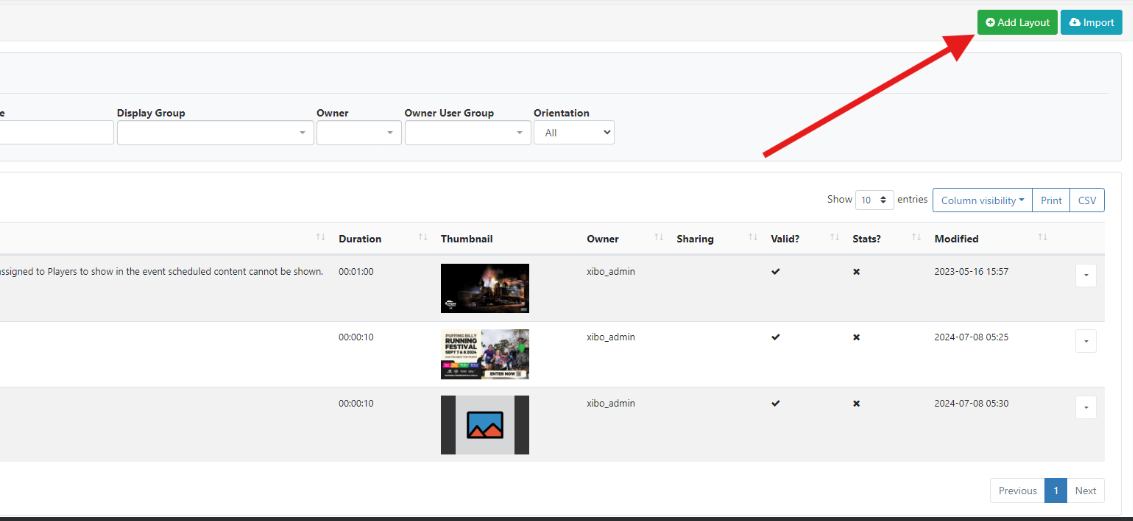
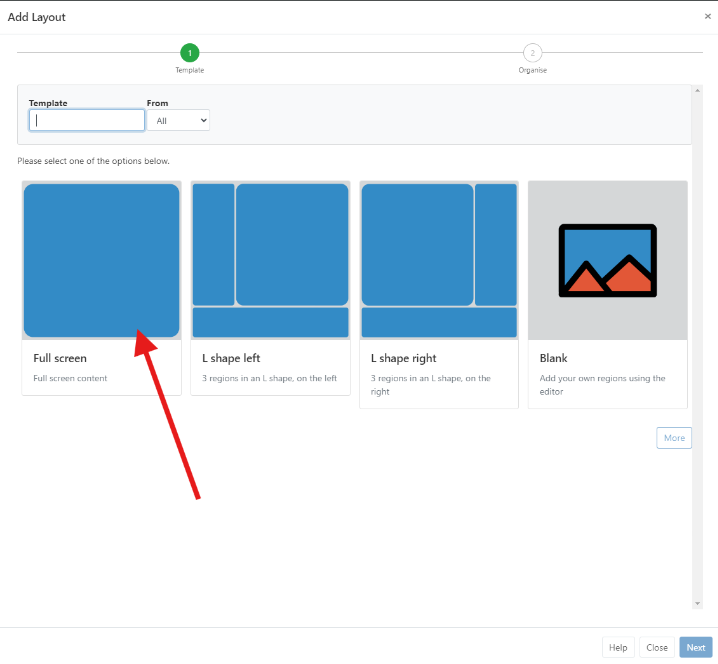
- Click "add layout".

- Choose "full screen".

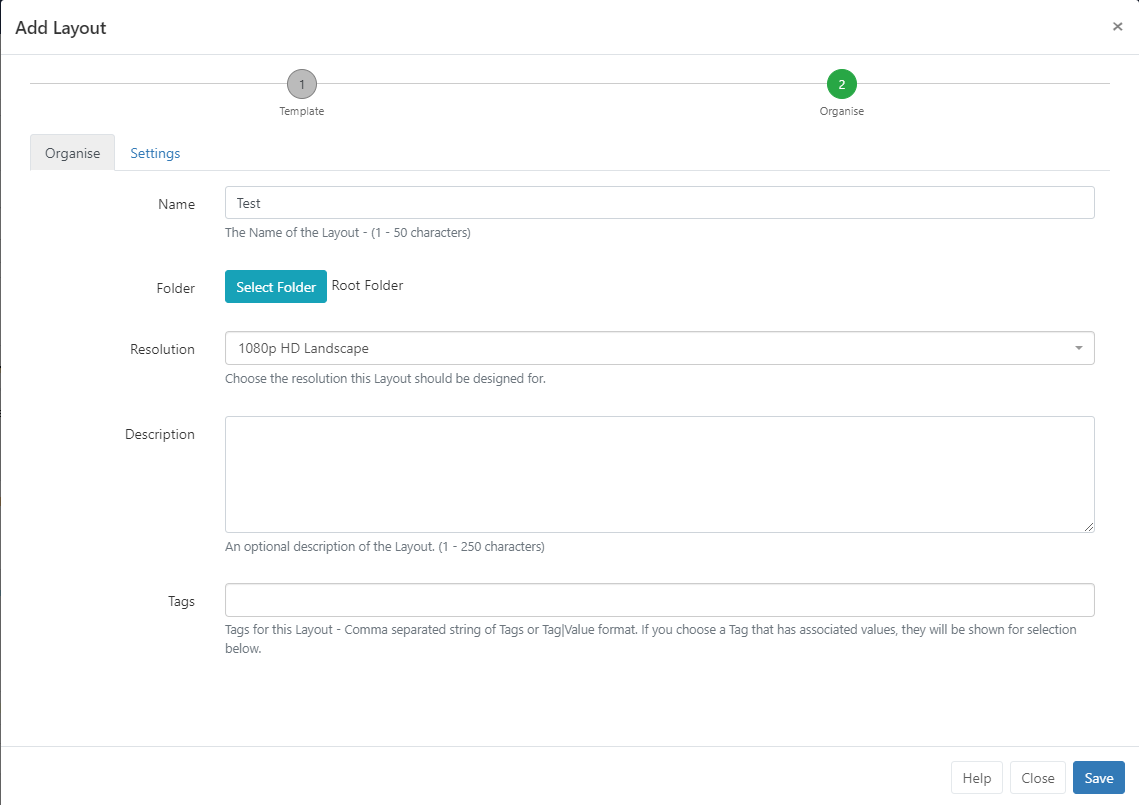
- Name your new layout. Root folder should be selected. Click save.

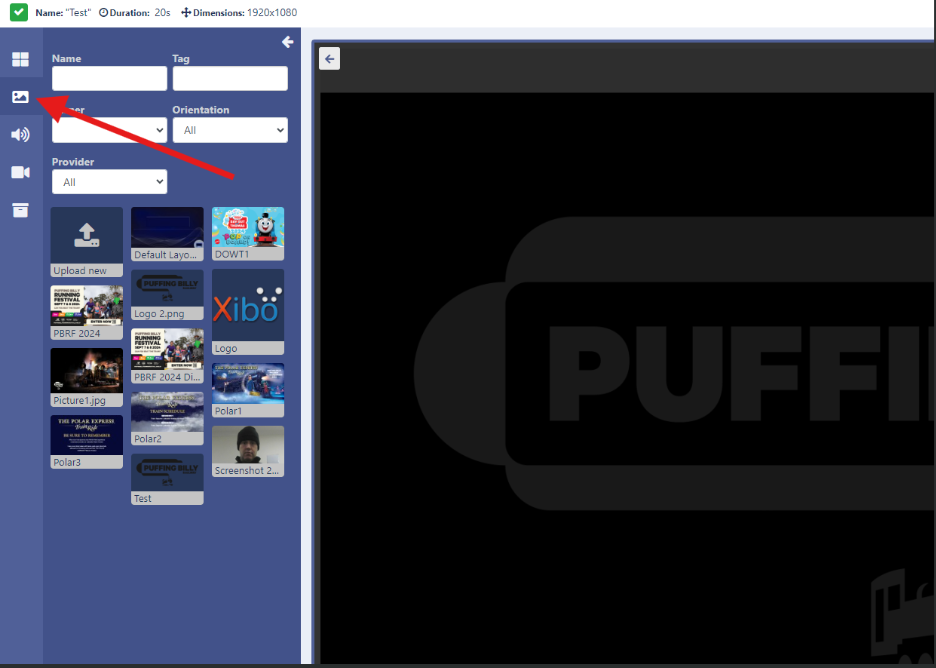
- You will then be taken to a design page. Find your image and drag it onto the main screen. Then click save.

- Select the dropdown for your new layout and select "publish".
Your new layout is ready to be added to a new device.