# Using Cisco AnyConnect VPN
# Login To Cisco AnyConnect
## Step-by-step guide
1. Open the Cisco AnyConnect Client, installed on your ETRB issued device.
2. The Cisco AnyConnect will appear, select **RNA Belgrave** if you’re stationed at Belgrave or **RNA Emerald** if you’re stationed at Emerald.
[](https://bookstack.pbr.org.au/uploads/images/gallery/2022-10/yYAimage.png)
3. You will be asked to login. Use the same credentials that you use to login to your computer.
[](https://bookstack.pbr.org.au/uploads/images/gallery/2022-10/3Tvimage.png)
4. You will now be logged into the Cisco AnyConnect and will see the icon in the bottom right of the screen.
[](https://bookstack.pbr.org.au/uploads/images/gallery/2022-10/Ai2image.png)
5. Login to your computer.
6. Once you login you will be able to access your H Drive and network drives. You will receive a popup alerting you that you are connected to Cisco AnyConnect. You can also confirm by showing your hidden icons.
[](https://bookstack.pbr.org.au/uploads/images/gallery/2022-10/jDyimage.png)
[](https://bookstack.pbr.org.au/uploads/images/gallery/2022-10/Fqiimage.png)
# Duo Authentication
## Single Password with Automatic Push
[](https://bookstack.pbr.org.au/uploads/images/gallery/2022-10/zW0image.png)
After you submit your login information, an authentication request is automatically sent to you via push to the Duo Mobile app or as a phone call.
Alternatively, you can add a comma (“,”) to the end of your password, followed by a Duo passcode or the name of a Duo factor. Here's how:
You can also add a number to the end of these factor names if you have more than one device registered. For example, **push2** will send a login request to your second phone, **phone3** will call your third phone, etc.
---
## Examples
To use Duo Push if your password is "hunter2", type:
hunter2,push
To use the passcode "123456" if your password is "hunter2", type:
hunter2,123456
To send new SMS passcodes to your second phone if your password is "hunter2", type:
hunter2,sms2
The comma is Duo's default separator character between your password and the Duo factor. Your administrator may have changed this to a different character. Be sure to follow the instructions sent to you by your organization if they differ from what's shown here.
# Start Before Logon - VPN Access
This will show you how to log into the VPN prior to logging onto your laptop. This can help alleviate issues caused by drive disconnects when working outside the PBR network.
1\) Completely shut off the computer, wait 10 seconds, and turn the computer on. This guide requires that the PC be not logged on by any user.
Note: When booting up the computer, do NOT log in straight away.
[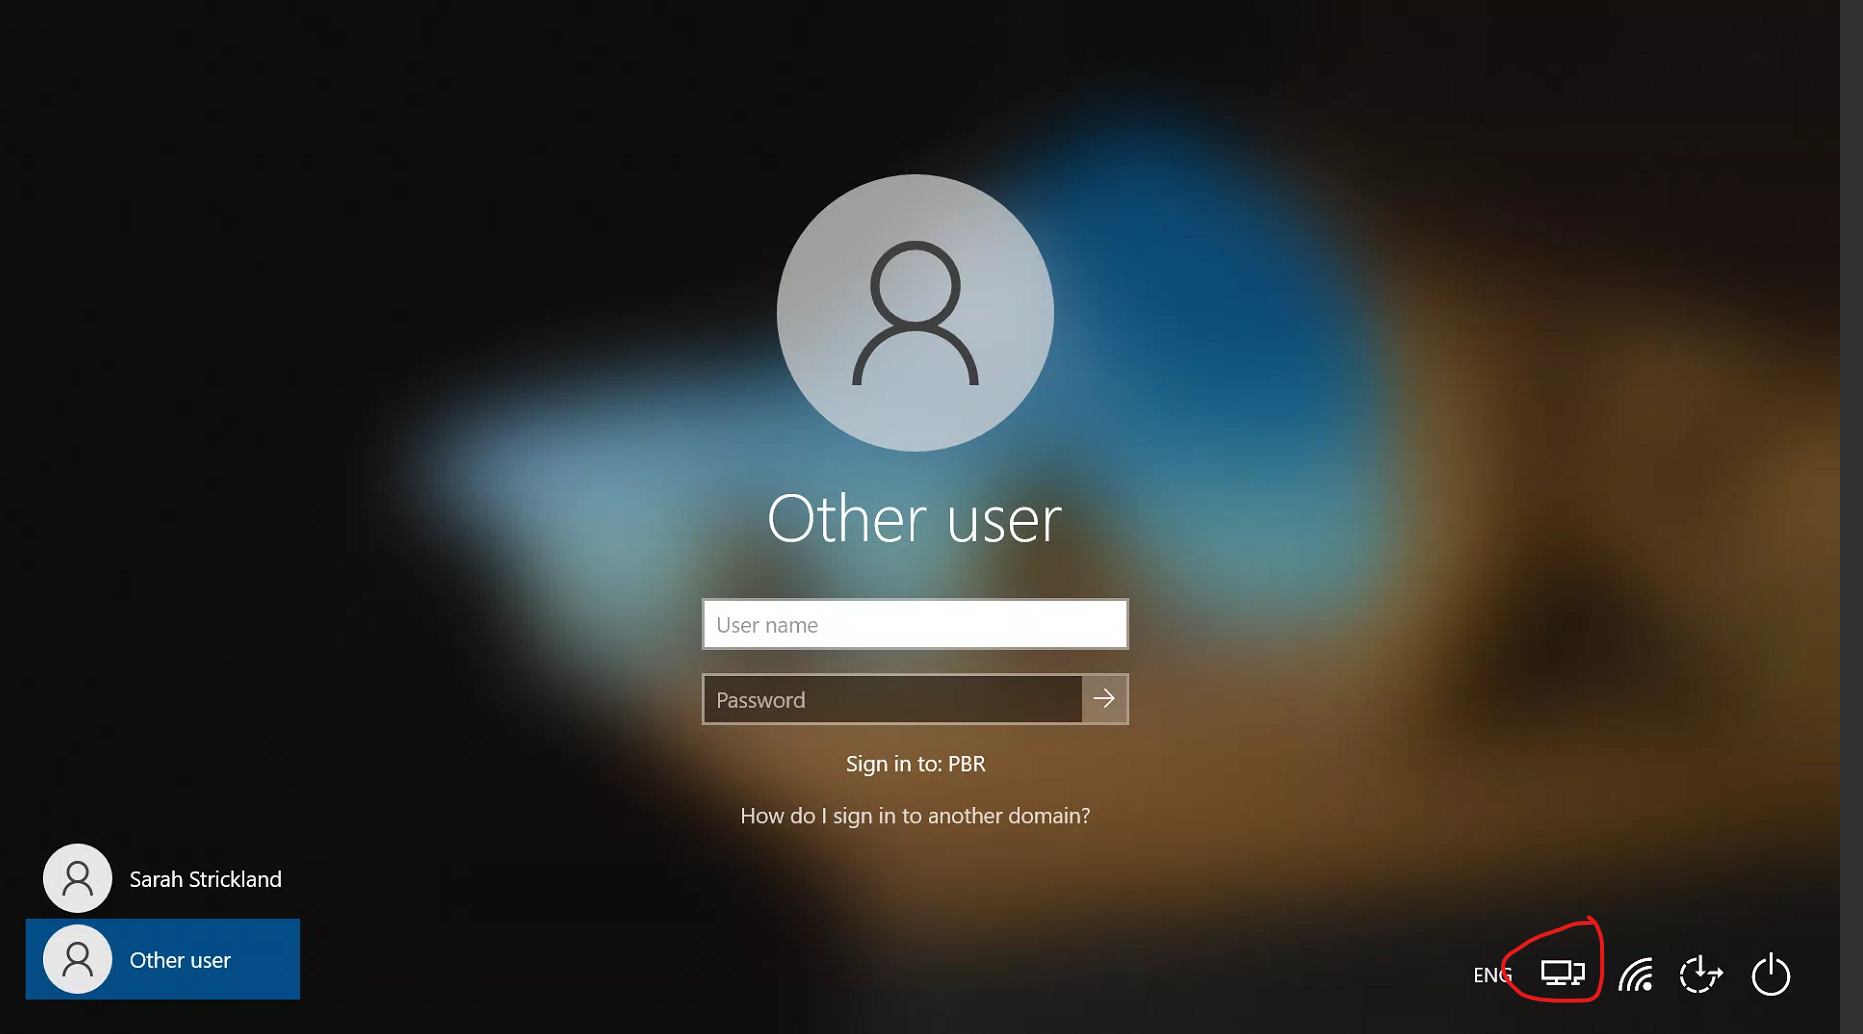](https://bookstack.pbr.org.au/uploads/images/gallery/2022-10/t9gimage.png)
Click the Network Sign-in icon circled in the bottom right. This will bring up the Cisco Anyconnect Client.
[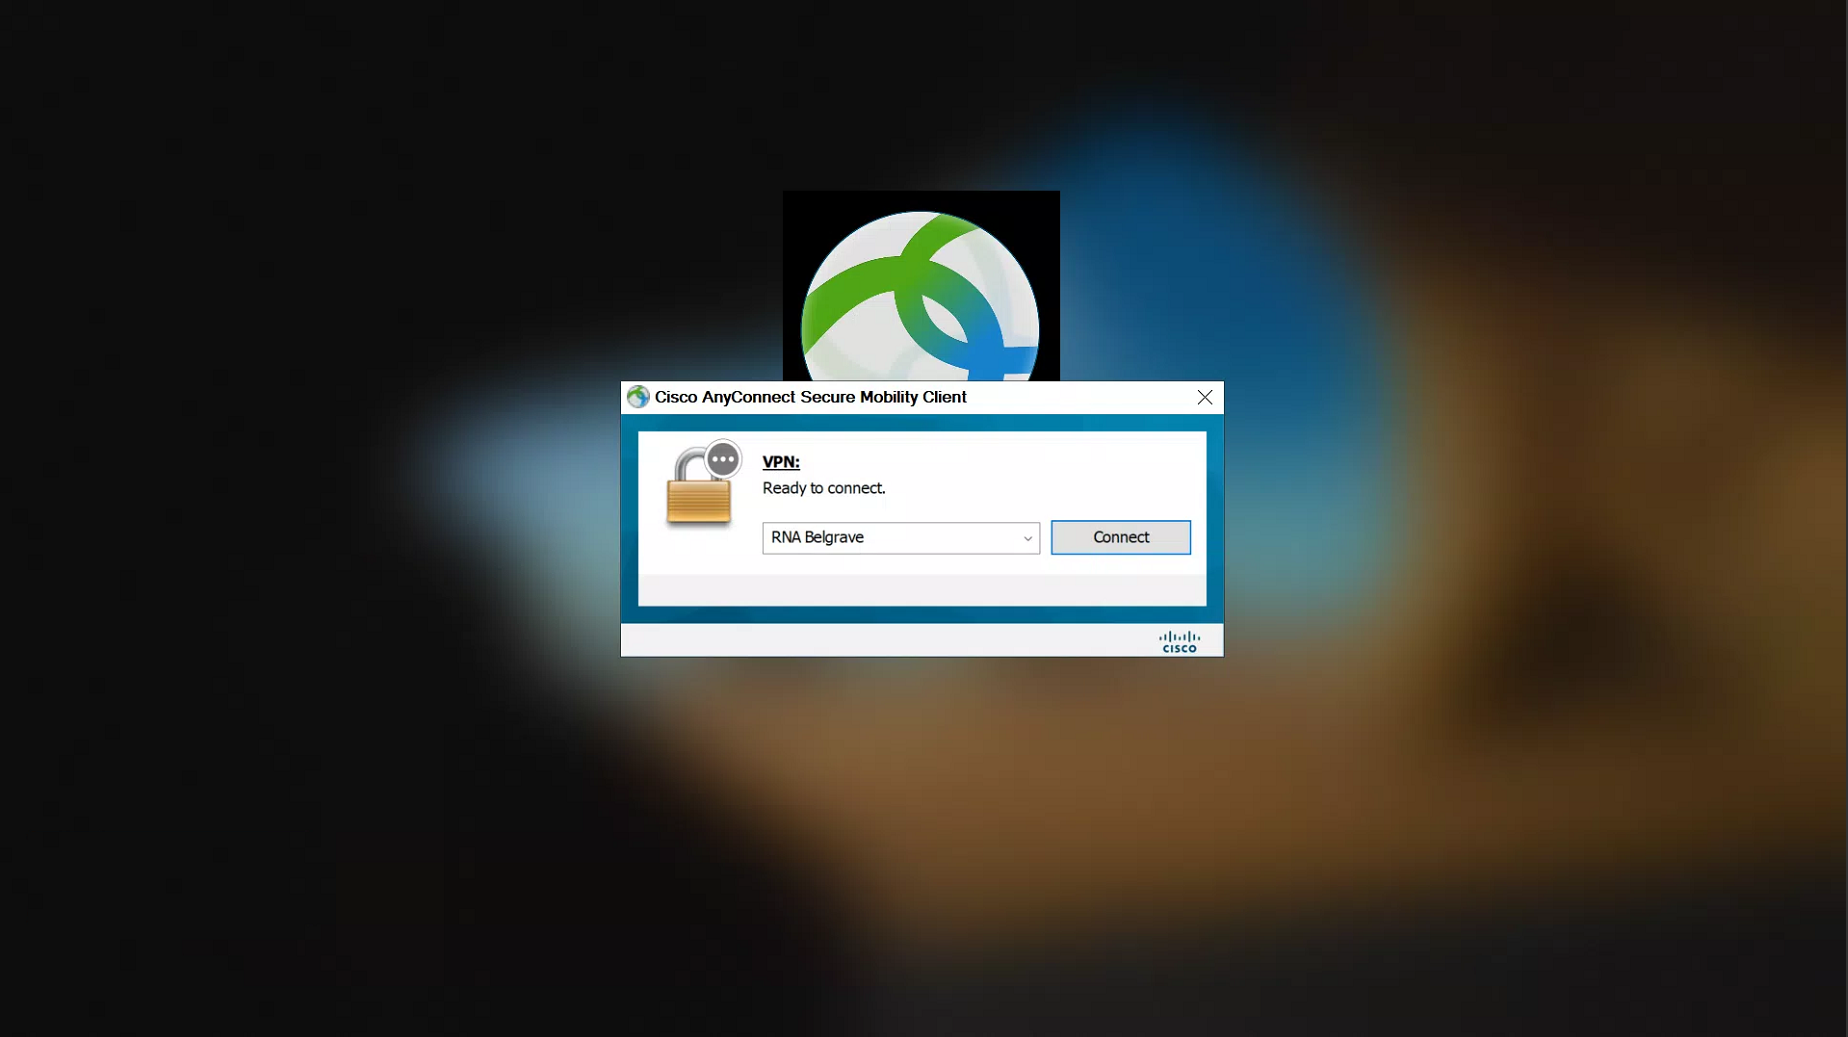](https://bookstack.pbr.org.au/uploads/images/gallery/2022-10/Y6wimage.png)
Pick the site you wish to log in to and click **Connect**
Your username and password will be the same as your Microsoft/Laptop login, then select **OK.**
[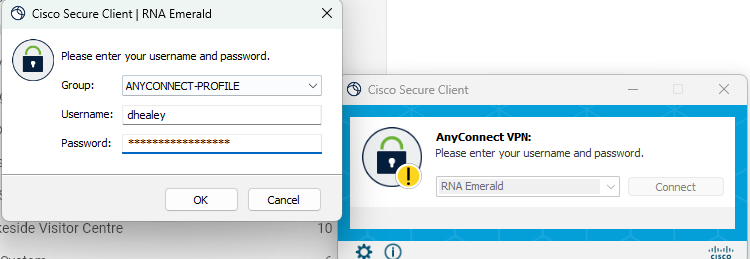](https://bookstack.pbr.org.au/uploads/images/gallery/2024-09/Jolimage.png)
**Don't forgot your DUO Authentication!**
Once logged in successfully you should be able to see the disconnect icon in the bottom right.
[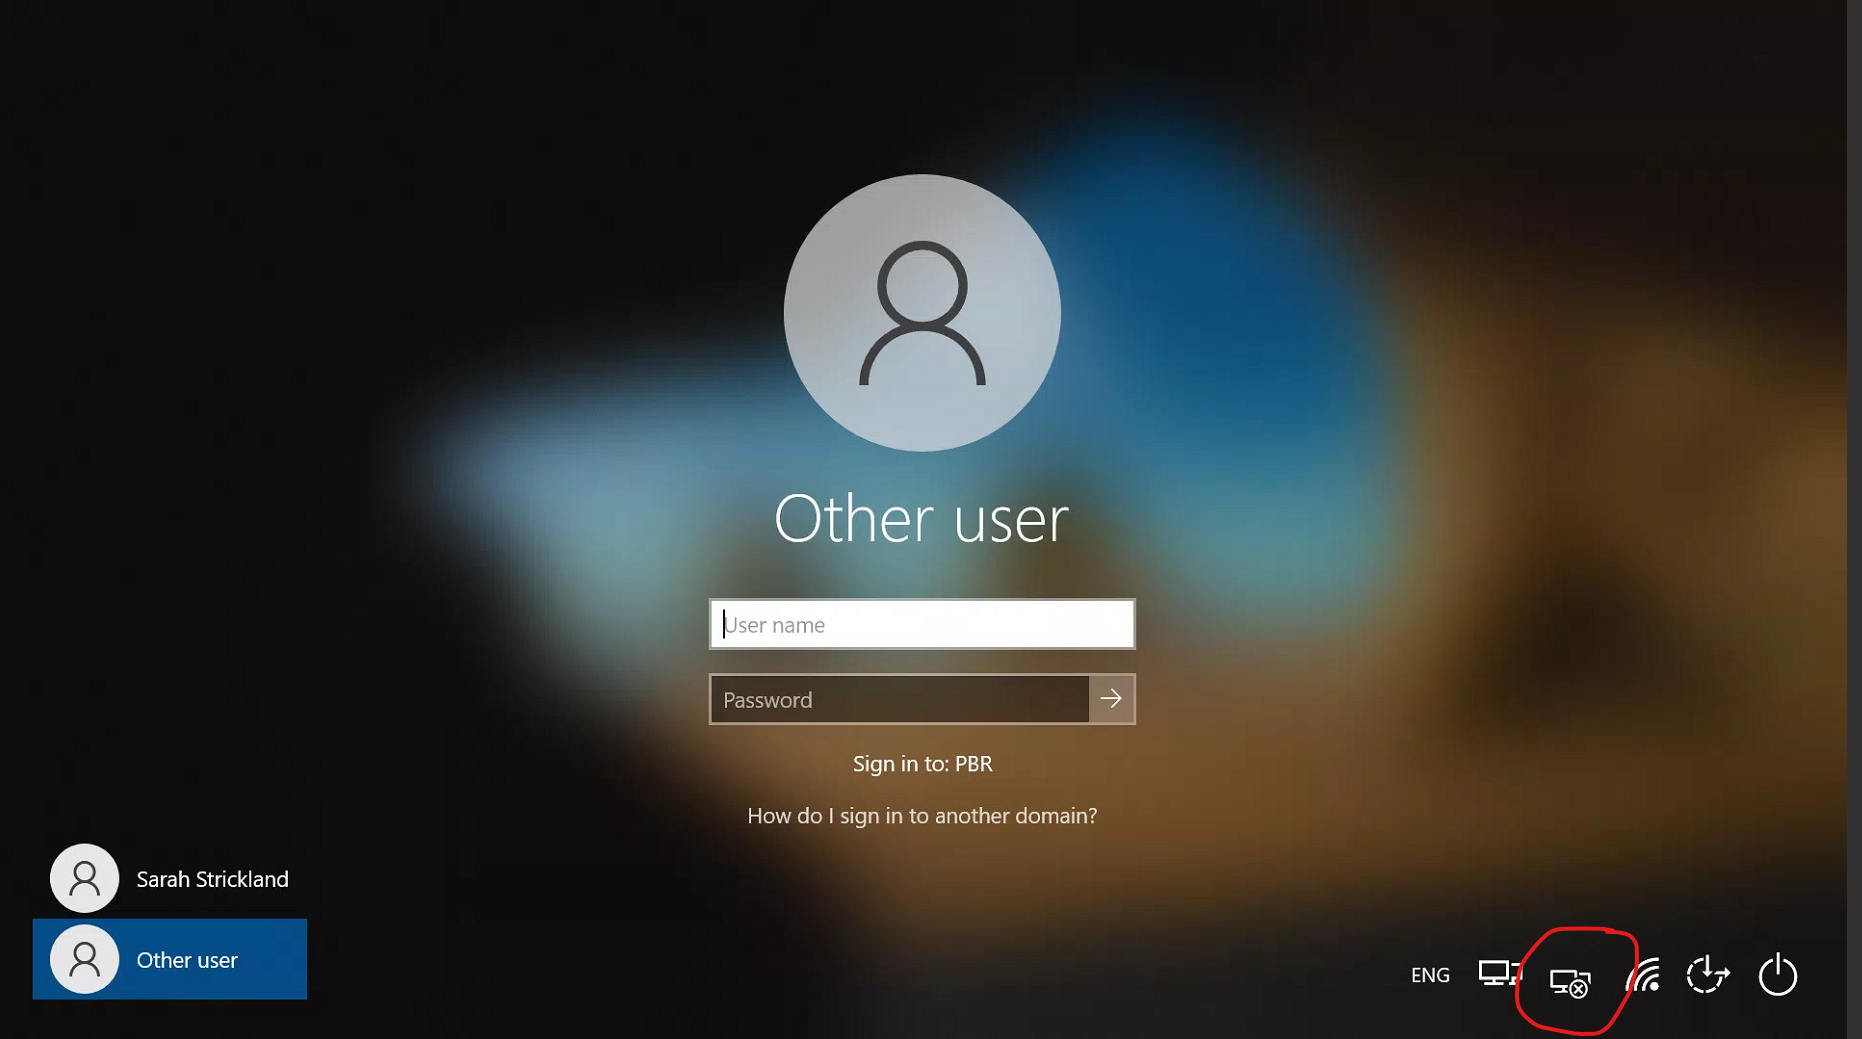](https://bookstack.pbr.org.au/uploads/images/gallery/2022-10/kieimage.png)
Now sign into your PC as normal, and you should be showing up your PC as if it was logged on within the Railway.
If you are still having issues or missing shared drives, submit a ticket to the IT Helpdesk at