Switches
Updating Firmware Cisco Switch
Updating the Firmware on a Cisco Switch is easy.
New firmware can be found at
https://software.cisco.com/download/home/283018960
SG300 Series
In the 300 series of switches a few steps are to be taken
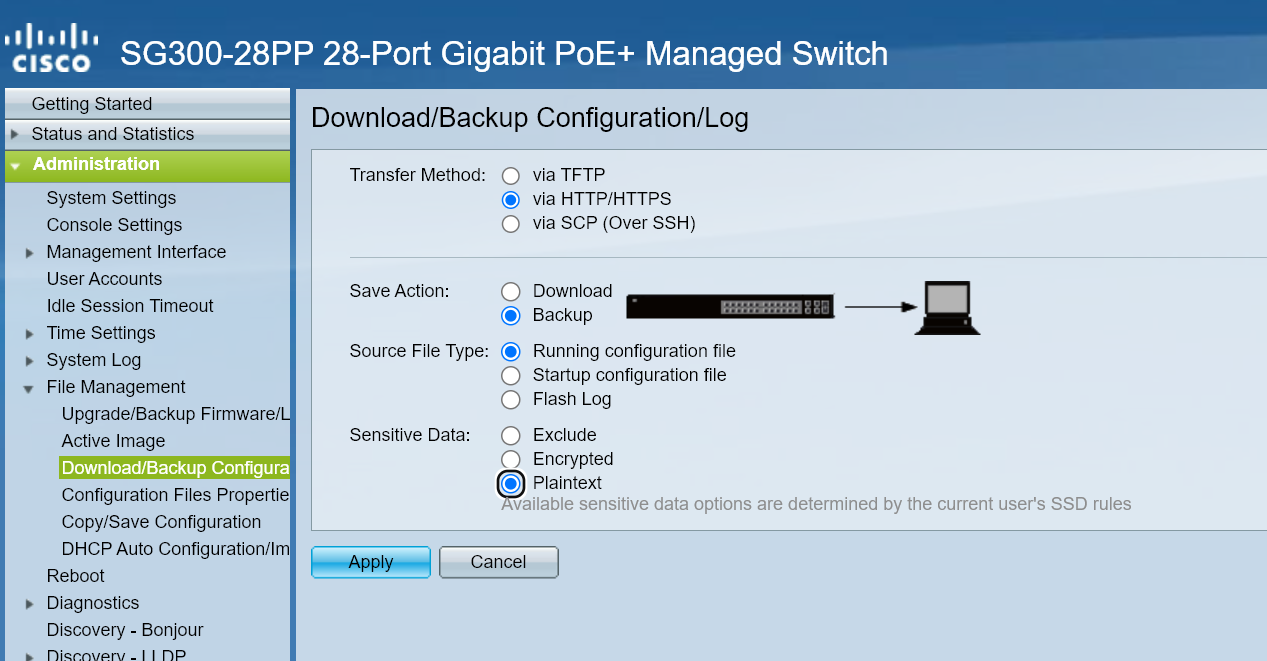
- Where possible a backup should be taken of the Firmware and Configuration files should something go wrong.
- This can be done in the Web Interface under Administration > File Management
-

- This can be done in the Web Interface under Administration > File Management
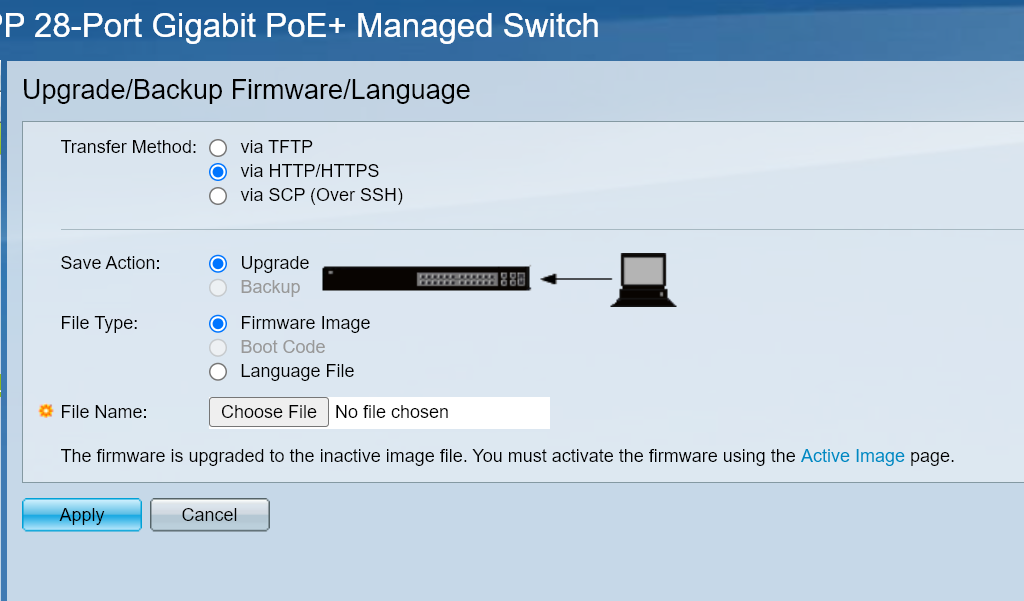
- Once backups are taken and new firmware is ready to upload, go to Upgrade/Backup Firmware/Language
- On this screen, upload your firmware file
-
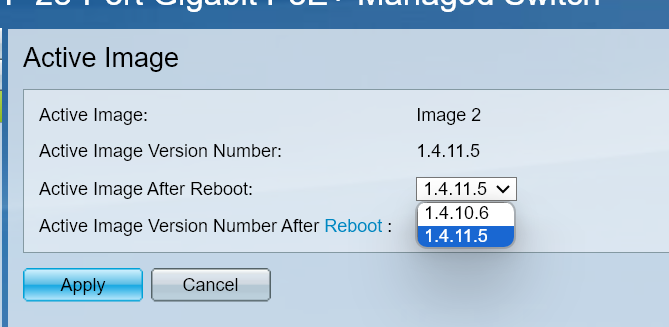
- Once uploaded go to Active Image
- Select your new firmware version to go to
-
- Once you click apply the new firmware version should show as the Active After Reboot
- Click the Reboot hyperlink to reboot the switch.
- Monitor the switch to ensure the upgrade occurs successfully.
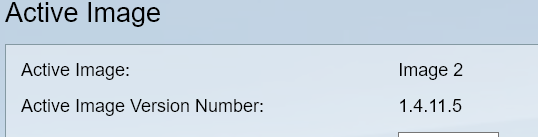
- Navigate back to the Active Image section once rebooted to ensure the new image is currently active
-

SG350 Series
In the 350 series of switches a few steps are to be taken
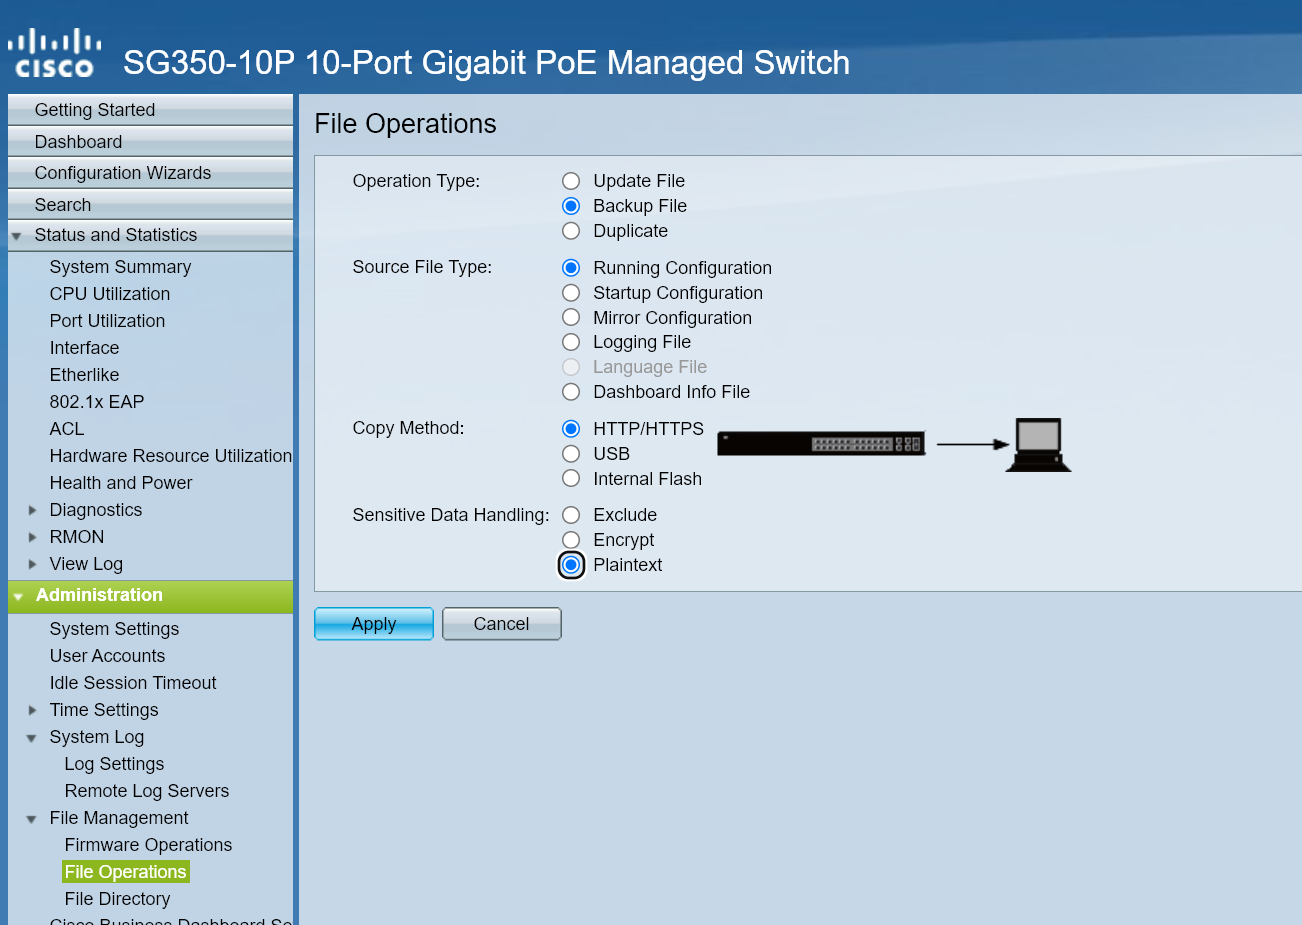
- Where possible a backup should be taken of the Firmware and Configuration files should something go wrong.
- This can be done in the Web Interface under Administration > File Management > File Operations
-

- This can be done in the Web Interface under Administration > File Management > File Operations
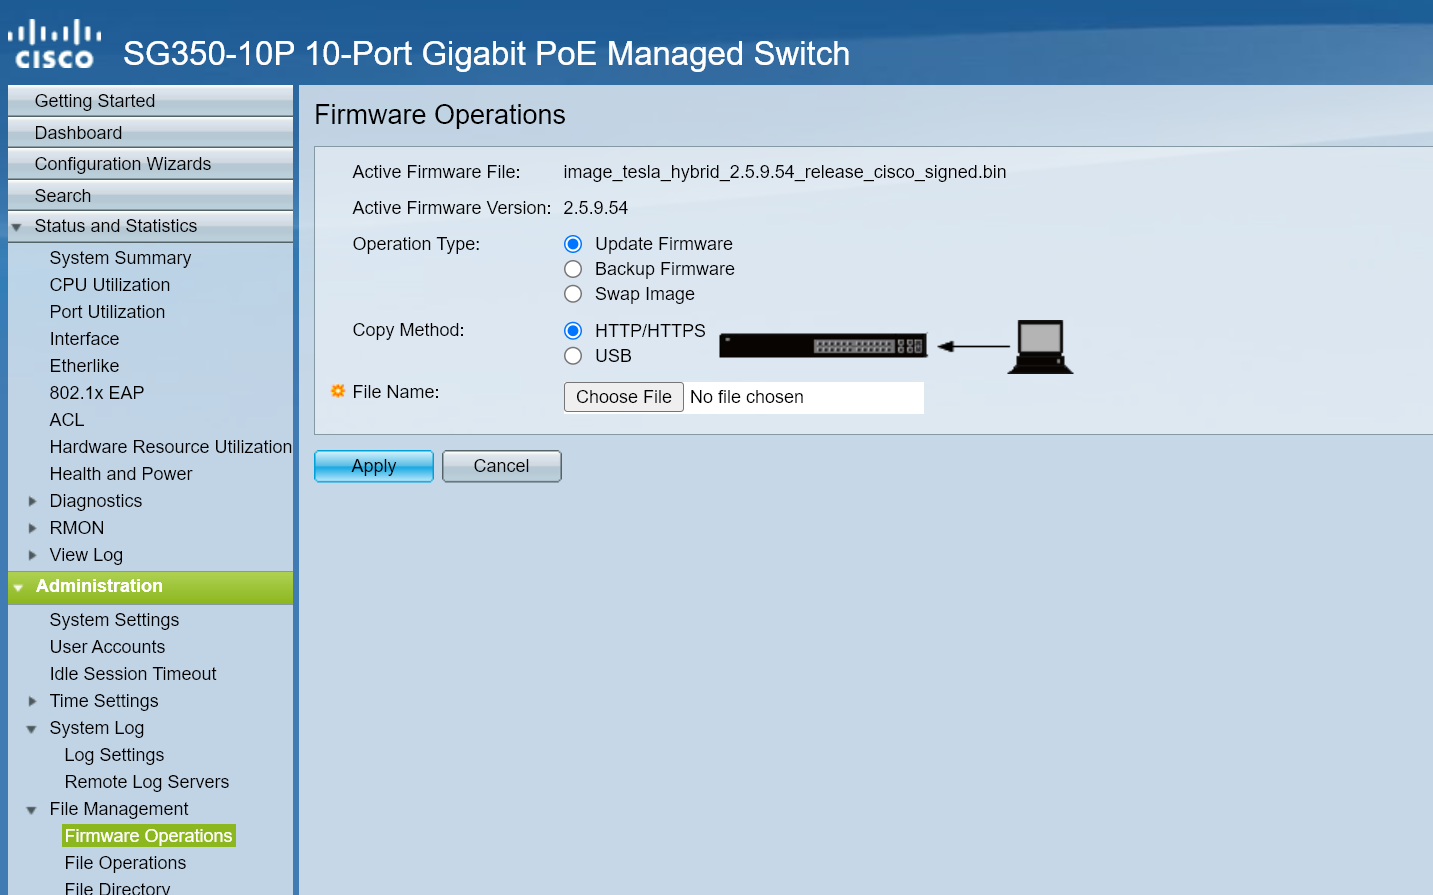
- Once backups are taken and new firmware is ready to upload, go to Firmware Operations
- On this screen, upload your firmware file

-
FROM HERE OUT OF DATE JUST COPIED
- Once uploaded go to Active Image
- Select your new firmware version to go to
-
- Once you click apply the new firmware version should show as the Active After Reboot
- Click the Reboot hyperlink to reboot the switch.
- Monitor the switch to ensure the upgrade occurs successfully.
- Navigate back to the Active Image section once rebooted to ensure the new image is currently active
-
Aruba Switch Initial Config
This article will guide you on how to initially configure an Aruba switch to get ready for deployment out into the field.
- Firstly you will need to plug a USB-C cable from your laptop into the console USB-C port of the switch. Open device manager and search for the "Ports" dropdown. In this instance our switch is using com port 14.

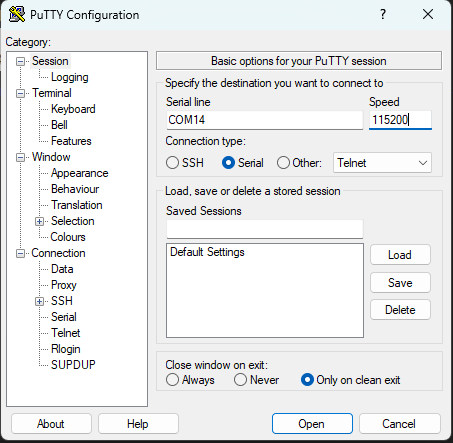
- Open up putty and select the serial checkbox, enter your com port, for example this time it is com14. Change the speed to 115200.

- The login will be admin, there will be no password by default so press enter. It will then prompt you to make a new password, this can be a temporary password for now. Make sure to add it into 1pass.
- Enter command "conf" to get into configure mode. Add vlan 10 (server vlan) by using command "vlan 10".

- Now we need to give the interface of our vlan 10 a static IP. Refer to this spreadsheet for available IP addresses. Enter into the vlan interface by using this command "int vlan 10". The next command will assign the static IP to the interface of VLAN 10 "ip address 10.1.2.102 255.255.255.0".

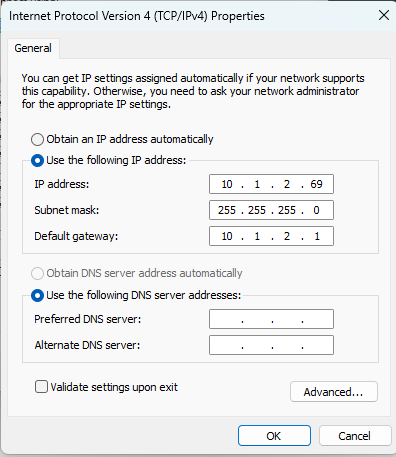
- Now you will need to plug an ethernet cable from your management port, in our case it is port 1, plug the other end into your laptop ethernet and change the IP address of your device to be on the same network as the switch. In our case the switch's IP is 10.1.2.102, so we will assign a static IP to our device 10.1.2.69.

- We will now be able to view the web interface by typing in the IP of the switch into the URL but will still be doing everything in the CLI.
- You will need to add all the vlan's that are currently set in the switch that is going to be replaced. The vlan's will need to be renamed with command "desc "name of vlan"" whilst in the vlan interface. A good idea is to take screenshots of all current settings in the switch being replaced, for example what vlan's you will need to create, and descriptions on the port, also what ports have what vlans etc.
- To help, you can open a running config of another Aruba switch, putty into another switch and run command "sh running-config". These 3 commands need to be ran:

Note: Whatever DNS server is closer to where the new switch is going to be deployed is the DNS server you will need to use. For example the DNS server for Belgrave is 10.1.1.90. For Kilvington it is 10.1.8.90. IP route is for when the switch does not know an IP address to send it to the nearest router which can determine where the IP will need to go. In the above image it is being sent to 10.1.1.1 which is the firewall in BDC. - Also don't forget to change the password of the new switch to a more complex password created by 1pass.