SharePoint
Accessing and sharing files in SharePoint — PBR's shared document platform.
- SharePoint Sharing Folders/Files
- Syncing a SharePoint Folder to Windows File Explorer
- How to: Add a Quick Link on a SharePoint Page (OIC)
- How to: Add a folder to a quick link button
SharePoint Sharing Folders/Files
Step-by-step guide
- Go to https://puffingbillyrailway.sharepoint.com/SitePages/Home.aspx and sign in if prompted with your PBR credentials.
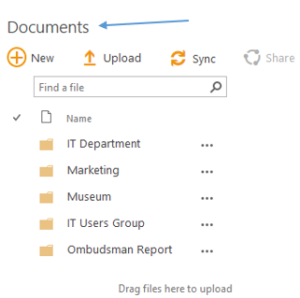
- Click on Documents.

- Click on the relevant folder where the folder/file is located.
- Select the folder you wish to share, hover over the folder and then click the Share button. If it is a file, enter the folder then select the file you wish to share.

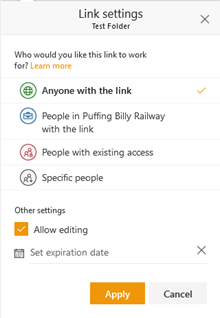
- A window will appear. Click on the button to modify who the folder will be shared with.

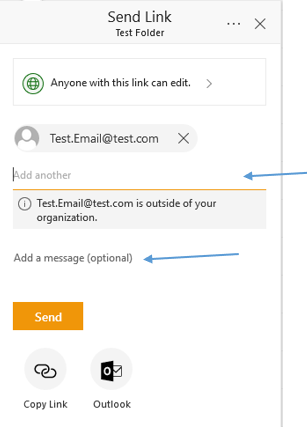
- Click on Anyone with the link. You can also set an expiration date for the link and whether the user will be able to edit. Click Apply.

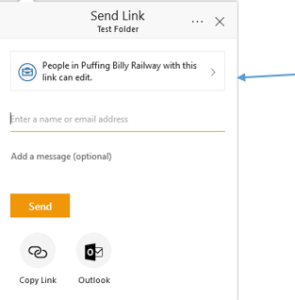
- Enter in the user’s email address, you can also enter a message if required. Once you have added all the users click Send.

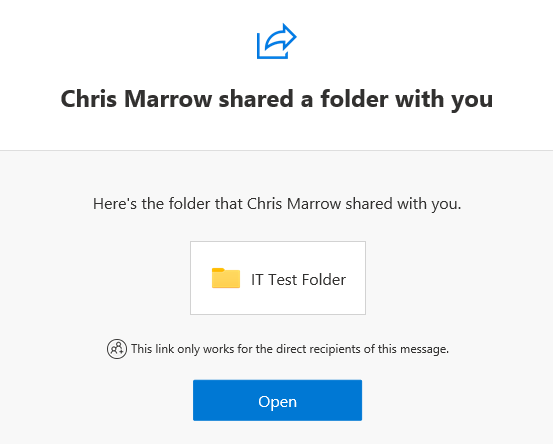
- The person you shared the link with will receive an email with a link to the folder you shared.

Syncing a SharePoint Folder to Windows File Explorer
You can use the below instructions to sync a SharePoint folder to your Windows File Explorer
Step-by-step guide
- You will receive an email from a member from IT alerting you that you have a folder shared with you. Click on the Open button in the email.

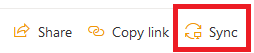
- You will be taken to the SharePoint folder that has been shared with you.
- On the top menu there will be a sync button.

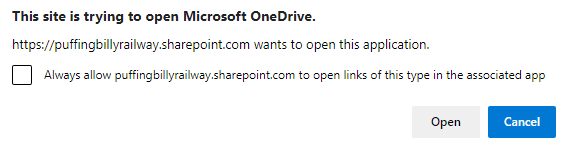
- Your web browser will alert you that it is trying to open in OneDrive. Click the Open button.

If you are already signed into OneDrive follow the OneDrive already Setup steps. If this is the first time you are signing into OneDrive then follow the First Time Setup for OneDrive steps.
OneDrive already Setup
- You will receive a message that the folder has synced.
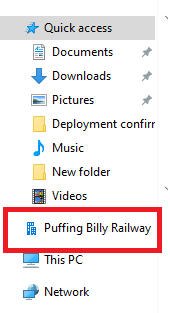
- Click on the Windows File Explorer icon on the task bar.

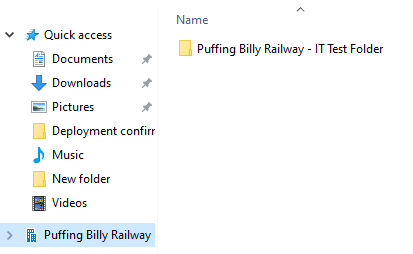
- Click on Puffing Billy Railway on the left hand menu.

- You will now be able to see the shared folder.

First Time Setup for OneDrive
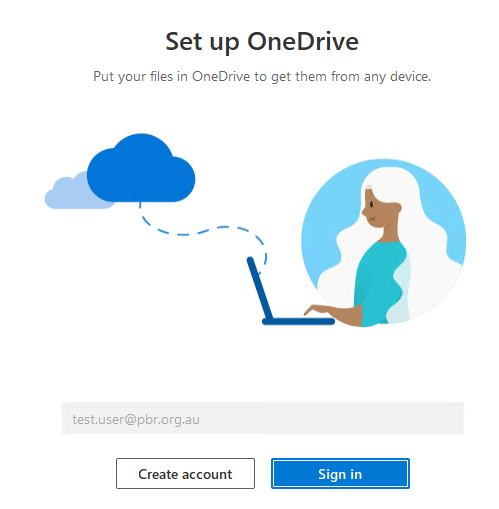
- If you haven't signed into OneDrive before you may be asked to sign in. Click on the Sign In button.

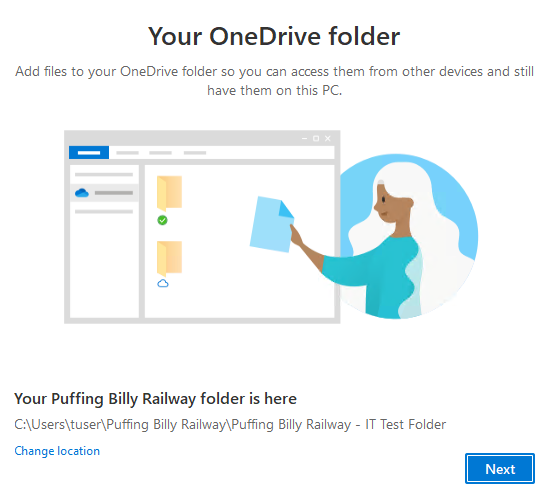
- You will be given the location of the folder. Click on the Next button.

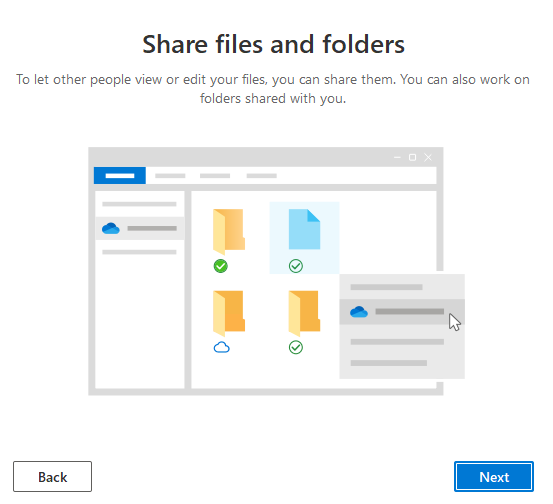
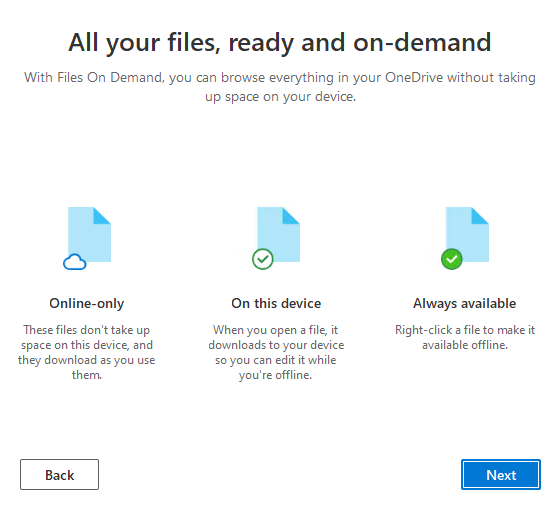
- Click the Next button.

- Click the Next button.

- Click the Next button.

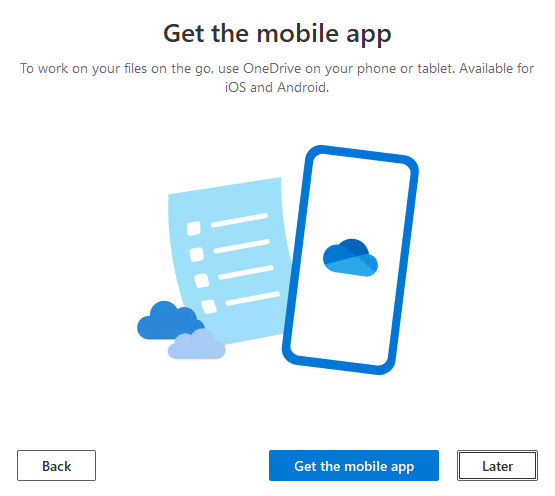
- Click the Later button.

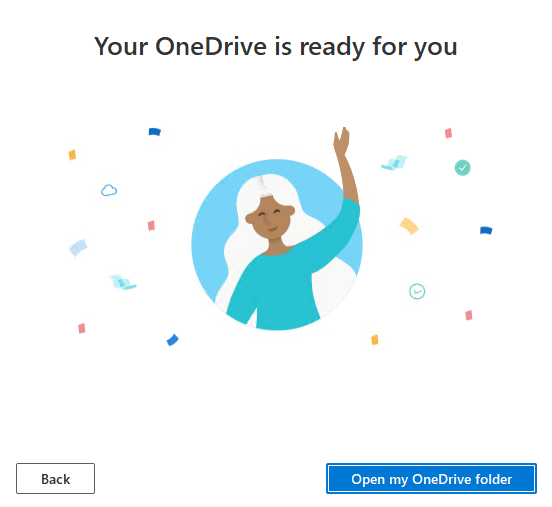
- Click the Open my OneDrive folder button.

- Windows File Explorer will open and display the folder.


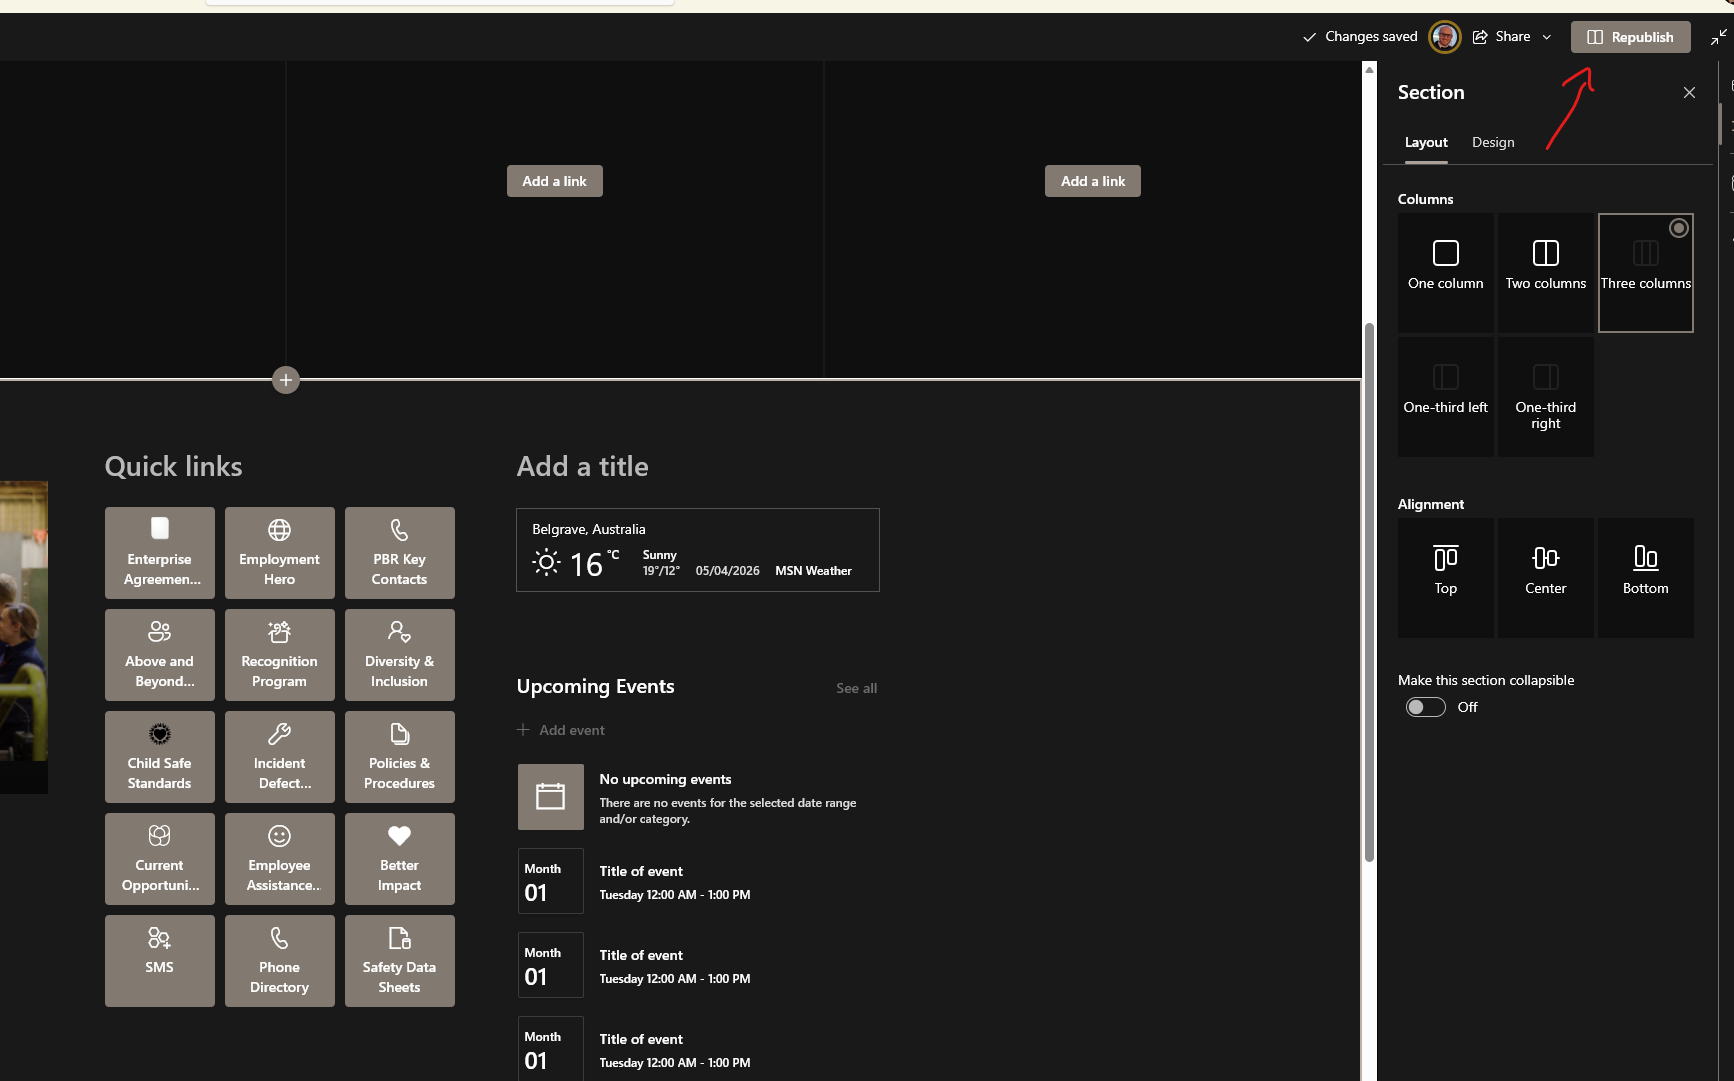
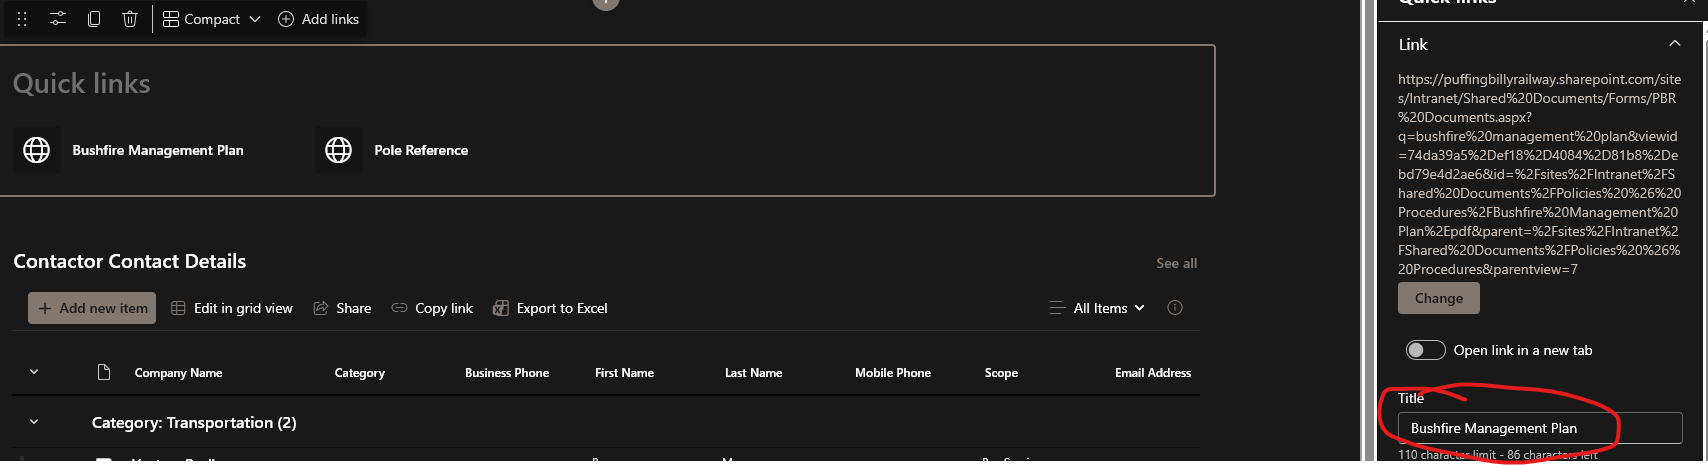
How to: Add a Quick Link on a SharePoint Page (OIC)
- Grab the website link you want to add to the page. For this example, I will be adding the Bushfire Mangement Plan to the OIC Quick Reference Guide
- Click on the document in the location it is stored.

- Copy the entire webpage link in the address bar.

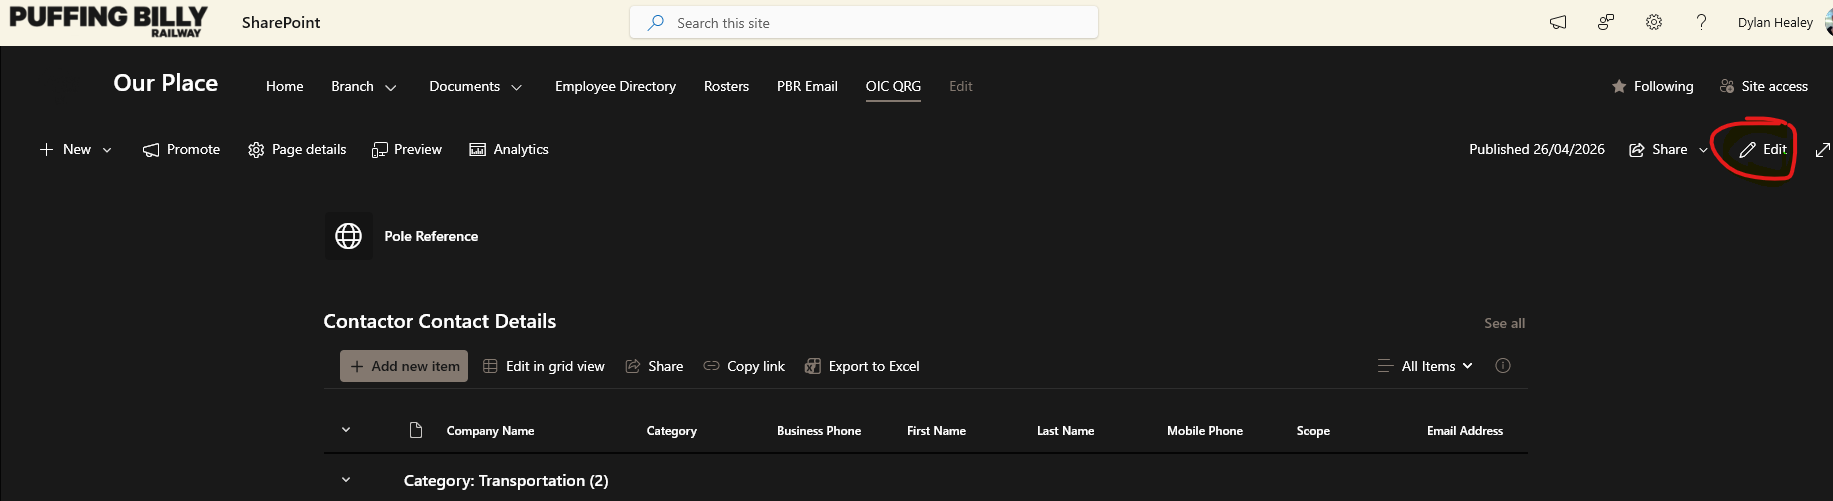
- Go to the SharePoint page you wish to add a "Quick Link" OIC Quick Reference Guide
- Click Edit on the right-hand side of the page.

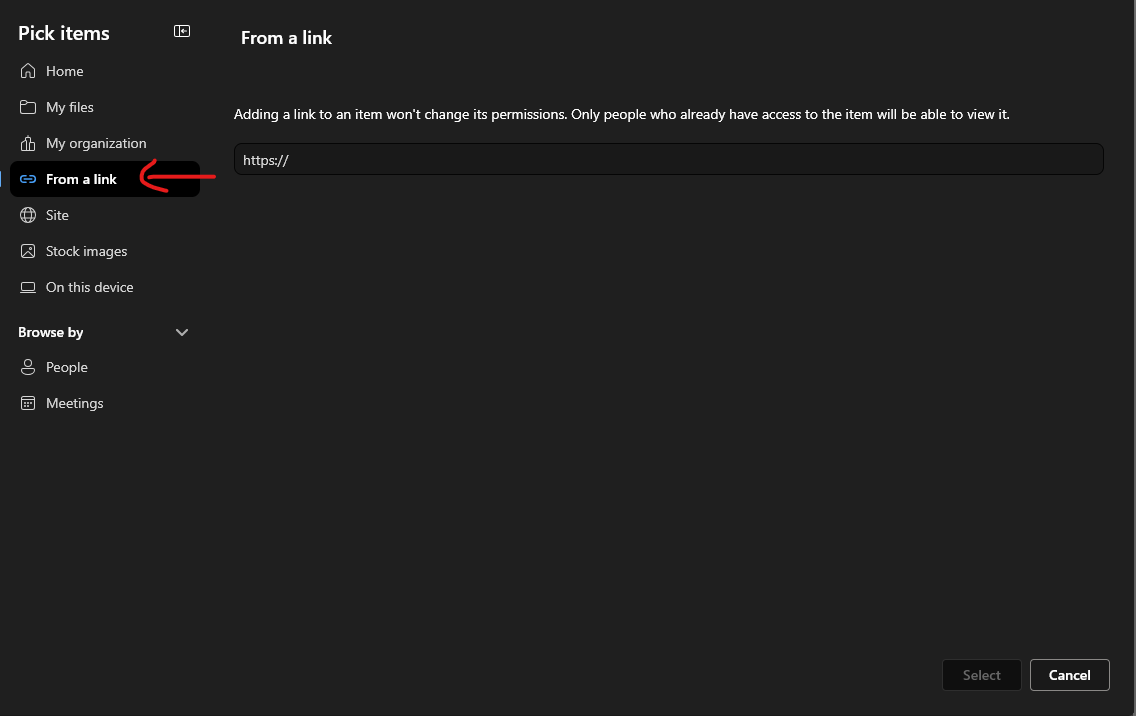
- Click in the blank space to select the Quick Links widget, you should then get a popup to Add Link

- Select From a Link and add website link from the page you wish to access.

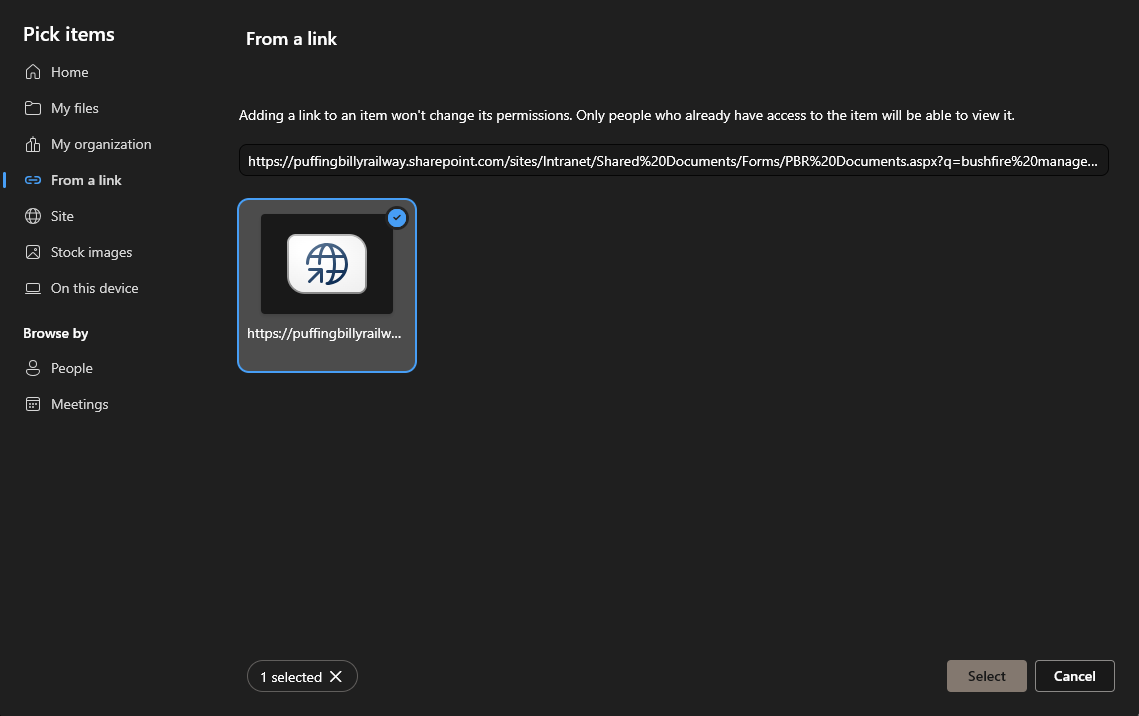
- Paste the webpage link to the site/document, make sure the tile is selected and hit Select in the bottom right.

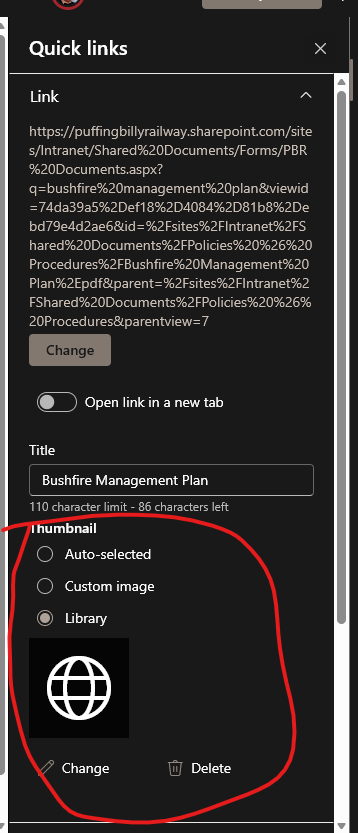
- The default name may be incorrect. If so you can click on the link tile and select edit.

- you can then edit the name of the tile under Title.

- in this area you can also edit the thumbnail if you would like it be more relevant.


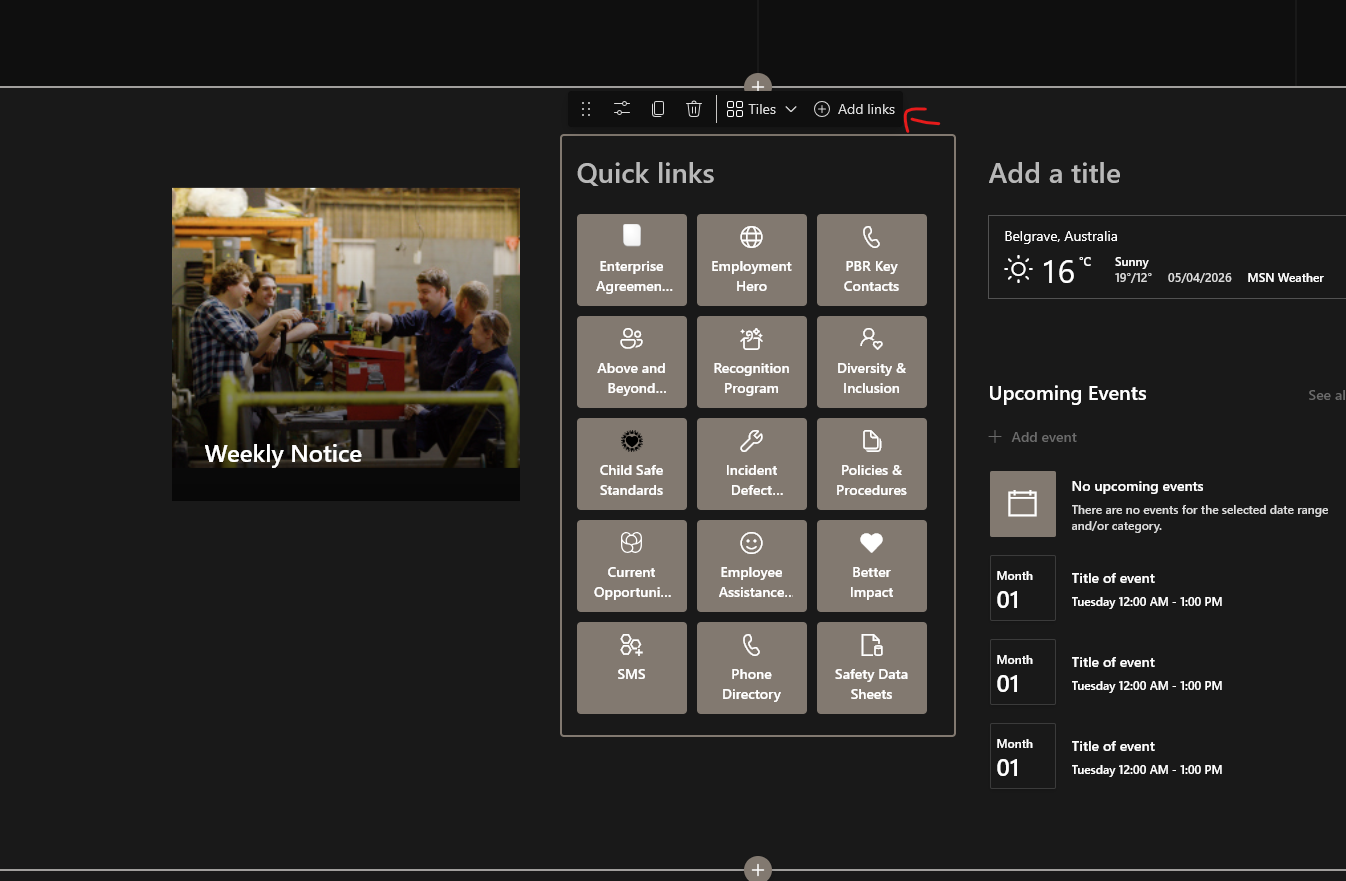
How to: Add a folder to a quick link button
- Go to the SharePoint Site or Page you wish to add a link to, click edit in the top right.

- Click Add Links

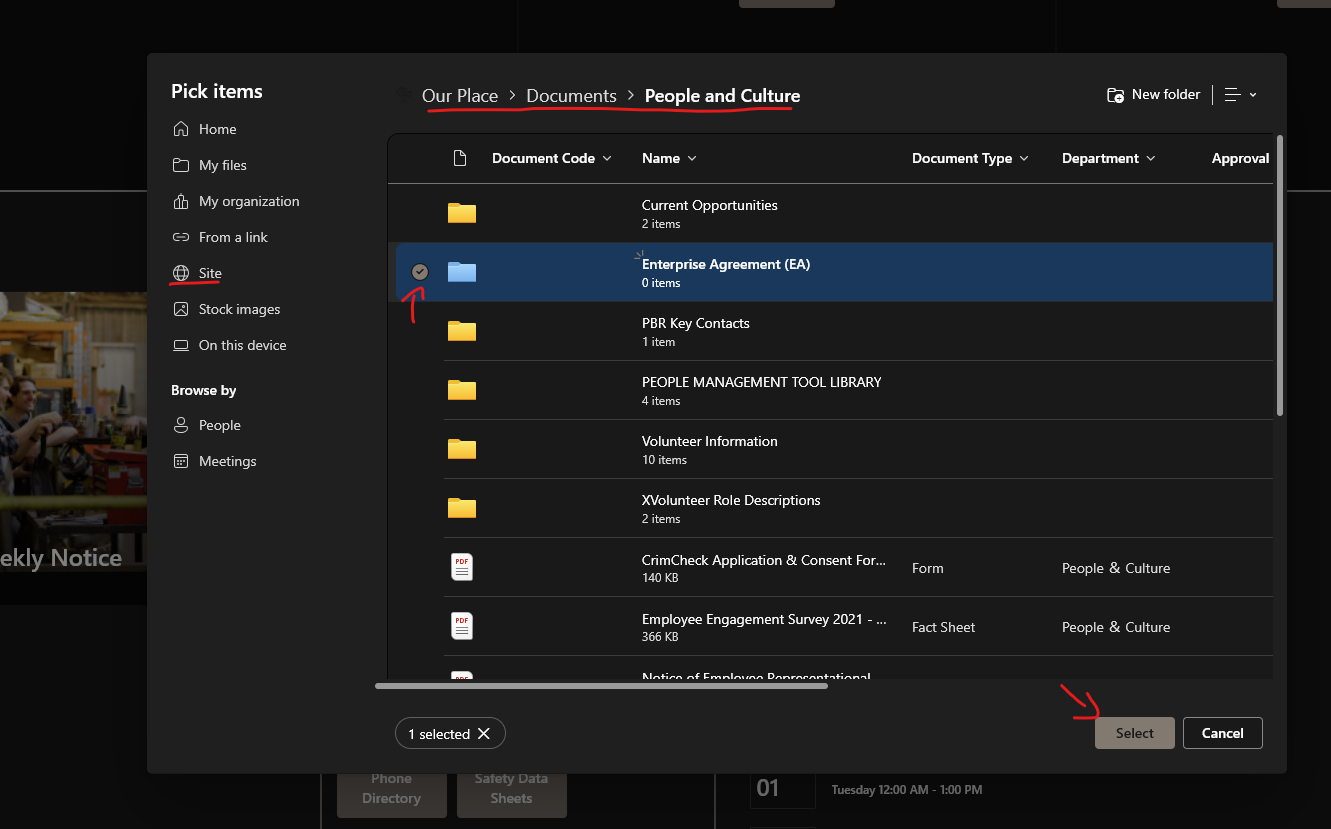
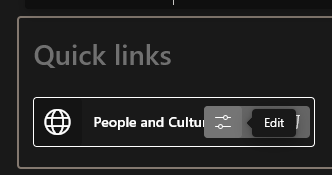
- Navigate to the folder you wish to add, in this cate its under Site > Documents > People and Culture. Click the Folder you wish to add on the left. Then click Select.

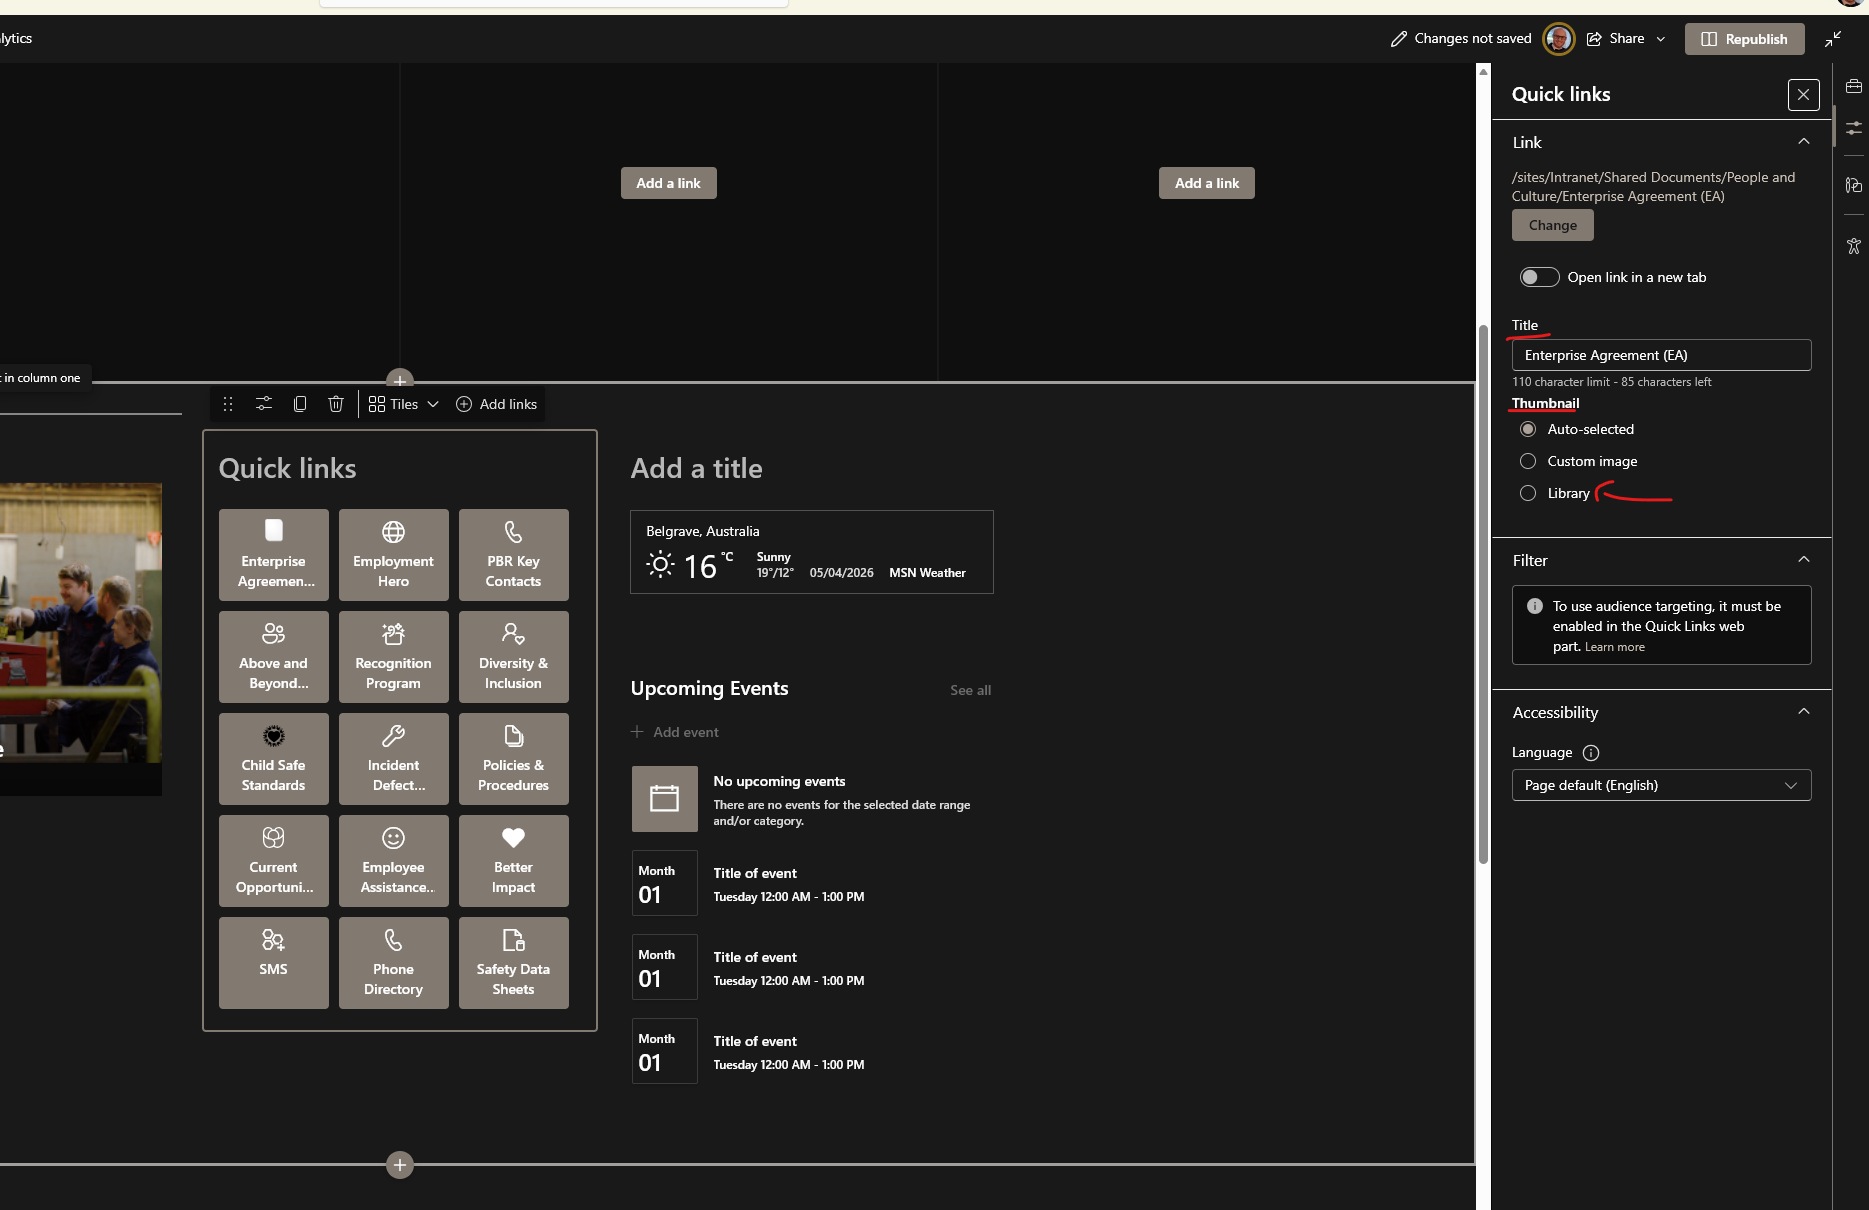
- It should automatically open the Buttons settins & Options on the right side.
HEre you can edit the Buttons name, Thumbnail (Icon) and link.
And Icon can give the button some quick relevancy when looking around.

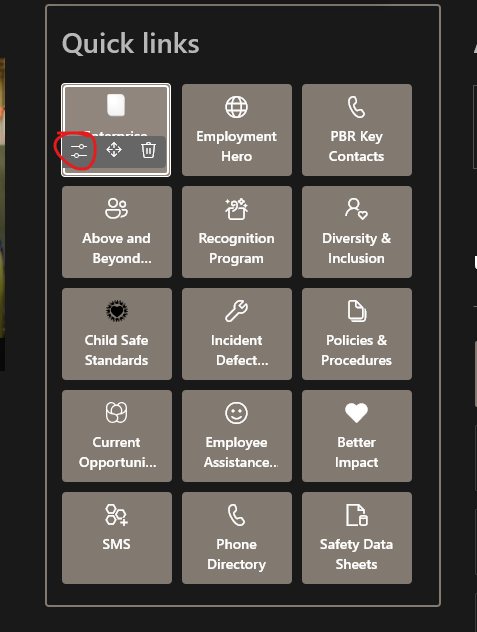
- If this option doesnt show, you can click the Quick Link button while in edit mode, and click the Edit option.

- When done click Republish & test the link.