Outlook
- Calendar Sharing Instructions
- Outlook Mobile App
- Outlook Webmail
- How to: Add A Shared Calendar
- Shared Emails Redirected To Folders
- Report Suspicious Emails to IT
Calendar Sharing Instructions
Use the below instructions to share a calendar with another user.
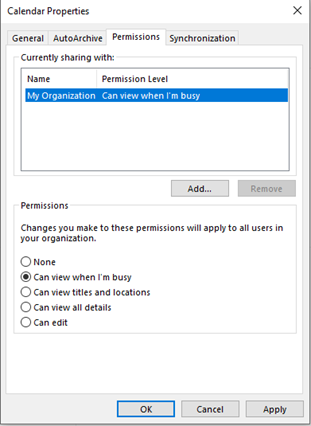
By default, all user's calendars are set to Can view when I’m busy.
Step-by-step guide
- Open Outlook.
- Click on the Calendar icon in the bottom left hand side of the screen.

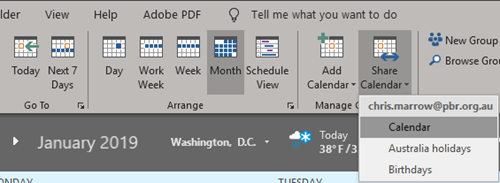
3. Click on the Share Calendar icon located at the top of the screen. Select the Calendar option from the drop-down menu.
4. Click the Add button to share your calendar with a user.
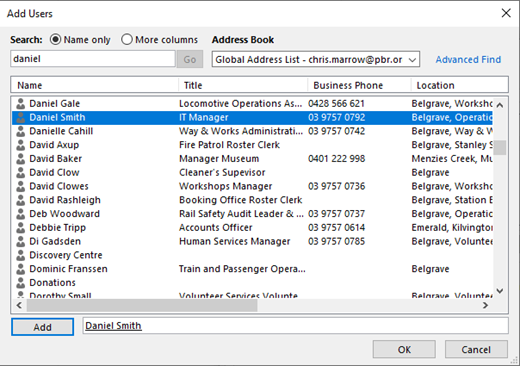
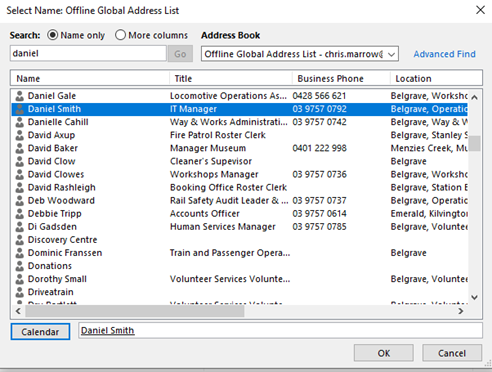
5. The Address book will appear. Search for the user’s name and click Add then OK. If you want to share your calendar with multiple people continue adding the names before clicking OK.
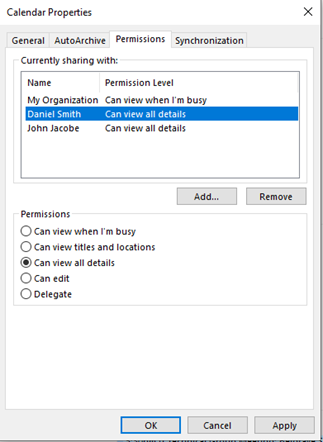
6. Select the user’s name to adjust what permission level they will have when viewing your calendar.
Permissions:
Can view when I’m busy- People you share with can only see the times you have blocked out as busy.
Can view titles and locations- People you share with can see only title and location of a meeting or appointment.
Can view all details- People you share with can see all details, including description or attendees.
Can edit- People you share with can view, edit and delete meetings or appointments.
Delegate- Delegates can view, edit and delete meetings or appointments. Delegates can also create and respond to meeting requests on your behalf.
7. Click apply when you’ve selected the relevant permissions for the user/users.
8. Once the user has been granted permission, they will be sent an email asking to accept the calendar invitation. Once they’ve clicked Accept the calendar will be added to their Shared Calendars on the left hand side of the screen.
Follow the below steps if the user didn’t receive an email or the calendar didn’t appear.
- The user receiving the shared calendar can go to their Calendar in outlook, click on Add Calendar and select From Address Book.
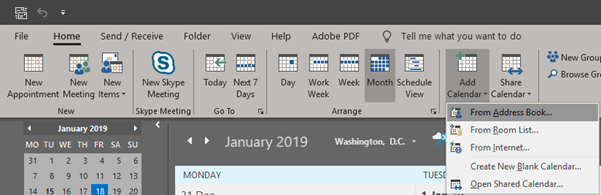
2. Enter the users name and click OK, you can add multiple users if needed. The Calendar will then appear under Shared Calendar on the left hand side of the screen.
Outlook Mobile App
Add a Shared Mailbox in the Outlook App
Use the below steps to add a shared mailbox to your Outlook using the Android or iPhone Outlook app.
You must have access to the shared in order for it to be added.
Step-by-step guide
- Open the Outlook app.
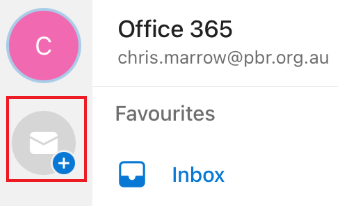
- Click on your initial in the top left hand corner.

- Click on the Mail+ icon under your initial in the left hand menu.

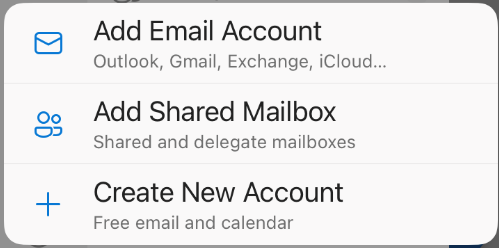
- A new menu will appear. Click on Add Shared Mailbox.

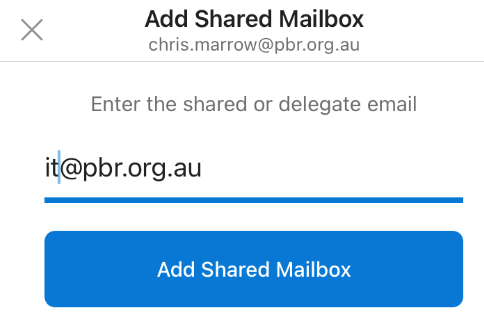
- Enter in the name of the shared mailbox and click on the button Add Shared Mailbox.

- The new mailbox will be added. You can switch to it by click on the initial.


Setup email on an Android phone
Follow the below steps to setup email on an Android phone.
Step-by-step guide
- Download the Outlook app from the Android app store if you don't already have it.
- Open the Outlook app.
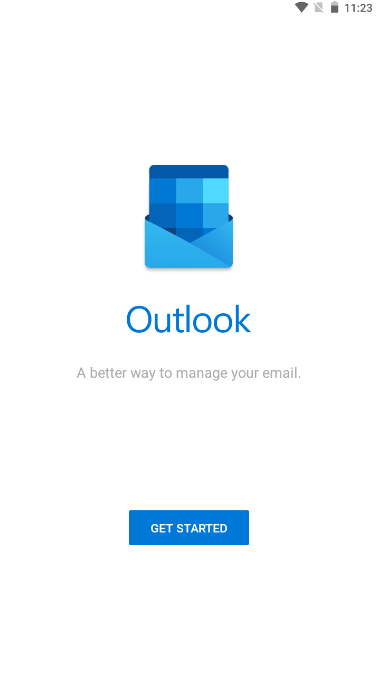
- Click on Get Started.

- Enter in your PBR email address and click Continue.

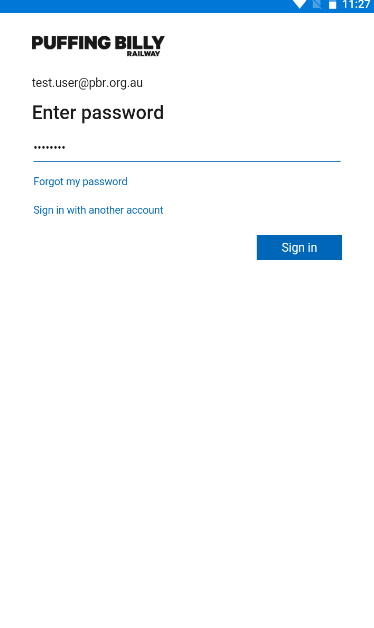
- Enter your password and click on Sign In.

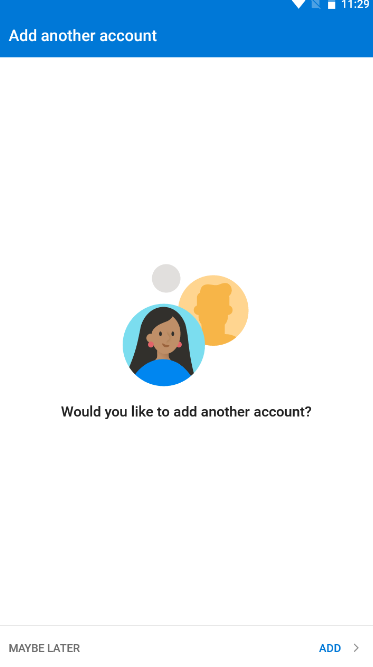
- Click on Maybe Later (bottom left).

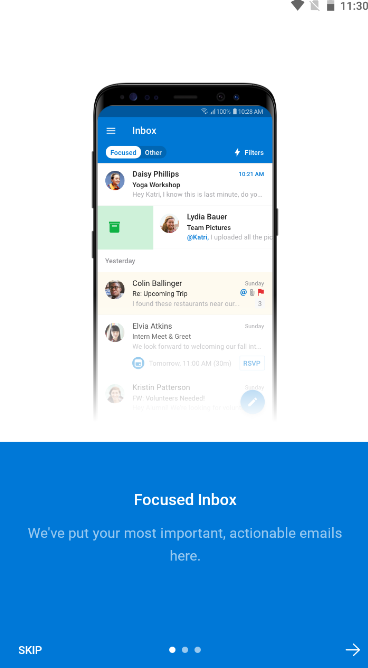
- Click on the arrow to scroll through the instructions or press Skip to finish setup.

- You will be taken to your Inbox. Click on the Microsoft icon in the top left hand corner to bring up additional options & see your other folders.


Setup email on an iPhone
Follow the below steps to setup email on your iPhone.
Step-by-step guide
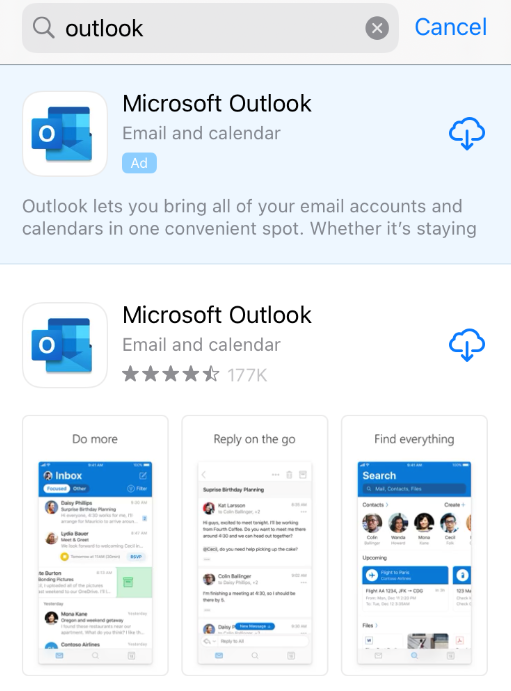
- Go to Apple Store on your phone and search for Outlook and download it.

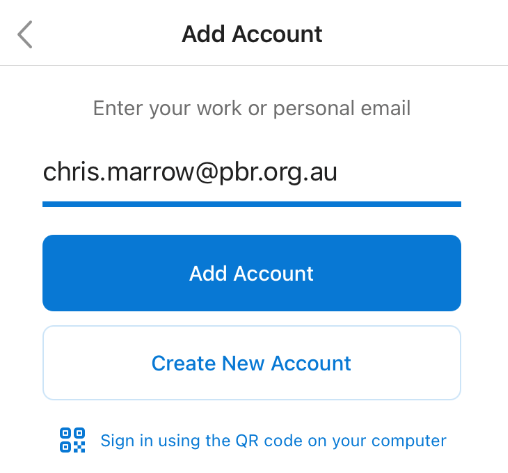
2. Open Outlook. You may already see your PBR email address listed. Click on Add Account
3. Enter in your PBR Email if prompted, then click the Add Account Button.

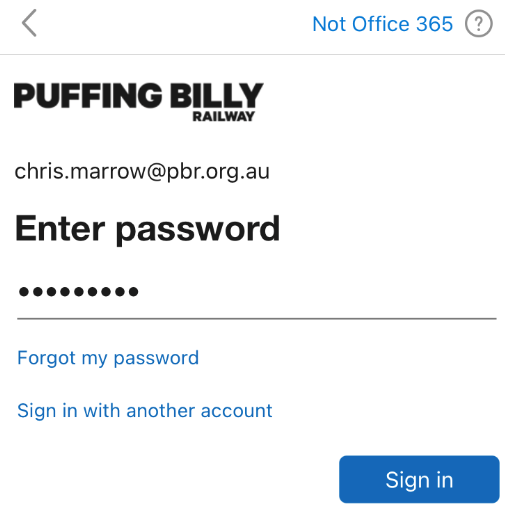
4. Enter in your PBR Email password and click Sign In.
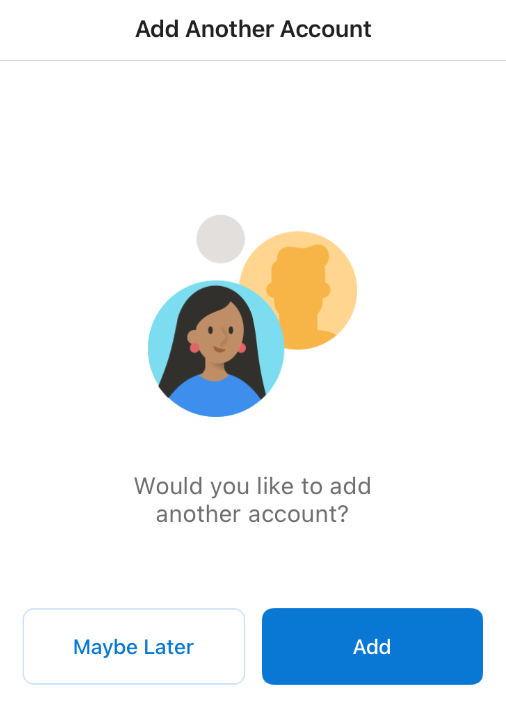
5. You can add another account if required, otherwise click on Maybe Later.
6. You will now be taken to your inbox
Outlook Webmail
Adding an Additional Mailbox in Office365
If a user has access to an additional/shared mailbox they can add it to their Office365 web mail.
Step-by-step guide
-
Sign in to your account in Outlook on the web.
-
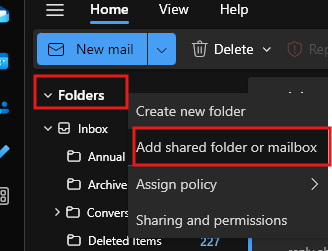
For Exchange Online mailboxes, right-click Folders in the left navigation pane, and then choose Add shared folder or mailbox then Add shared folder or mailbox.

-
In the Add shared folder dialog box, type the name of the shared mailbox you are a member of, such as info@pbr.org.au.
Login to Office365 Webmail
With Office365 you can access your email from anywhere you have access to the Internet and a web browser. Follow the below steps to access your email from anywhere.
Step-by-step guide
- Go to http://outlook.office365.com
- Enter in your PBR email address which is firstname.lastname@pbr.org.au then click Next and enter your password when prompted.

3. Set your time zone if you’re asked.
4. You will now be in your mailbox and can view and send emails.
How to: Add A Shared Calendar
Step-by-step guide
- Open Outlook.
- Click on the Calendar icon in the bottom left hand side of the screen.
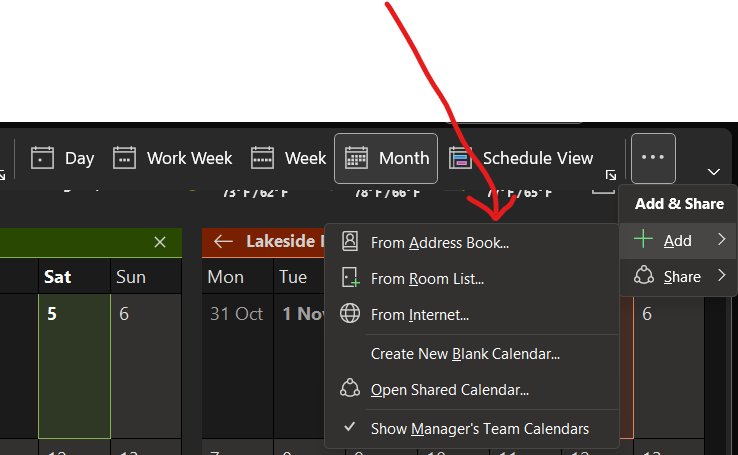
3. Click on the Add & Share icon located at the top of the screen. Select the Add option from the drop-down menu then select From Address Book...
5. The Address book will appear. Search for the Calendar name and select ten click Calendar then OK. If you want to add multiple calendars continue adding them before clicking OK.
6. Once added you will find the shared calendars in the bottom left of Outlook.

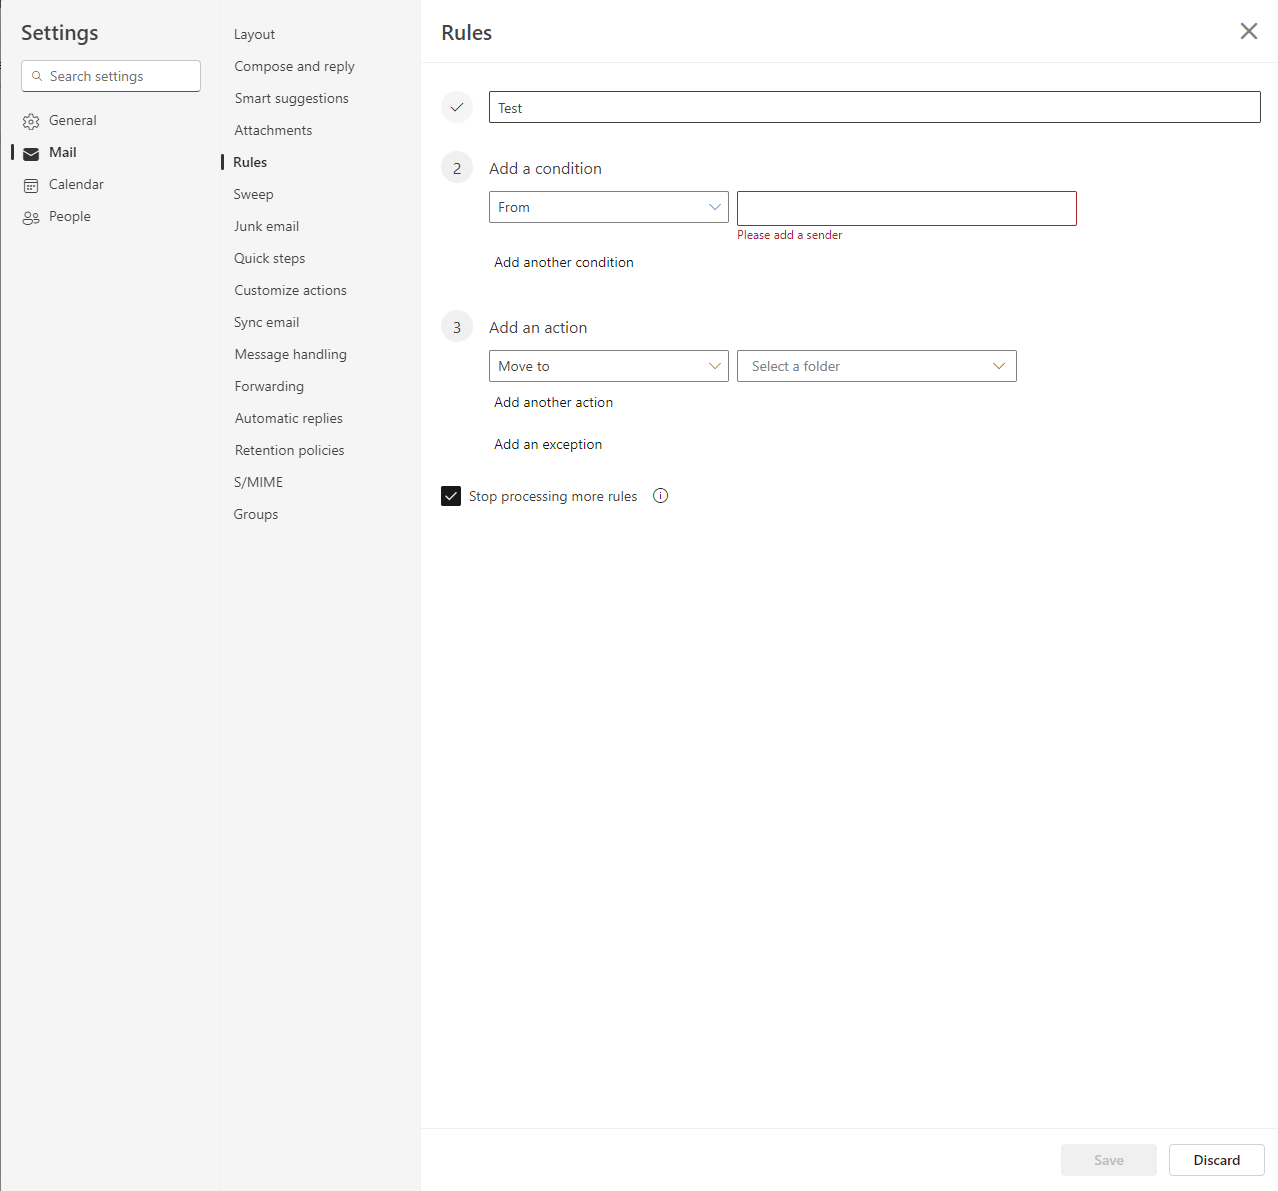
Shared Emails Redirected To Folders
Step-by-step Guide
- Open outlook via the webapp (https://www.microsoft.com/en-us/microsoft-365/outlook/email-and-calendar-software-microsoft-outlook-b?deeplink=%2Fowa%2F&sdf=0) Log in.
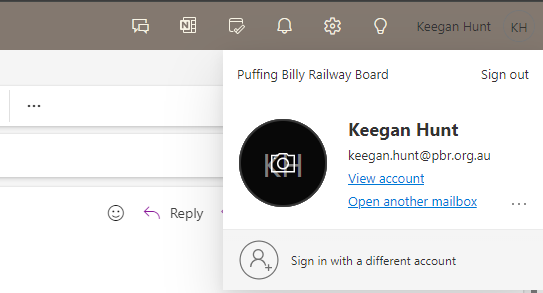
- Click on your name in the top right and select "open shared mailbox" and select the shared email.

- Right click on an email you would like re-directed. Go down to Rules>manage rules.
- Select "+add new rule"

- Name your rule eg. "Email re-direct". Add condition "people>from" and select the email of the messages you want re-directed. Add action "move to", and select the folder you want them moved too. Then click save down the bottom.


Report Suspicious Emails to IT
This article will show you how to report a suspicious email to the IT department. Please do not click on links in an email you believe to be suspicious, please report if you are unsure.
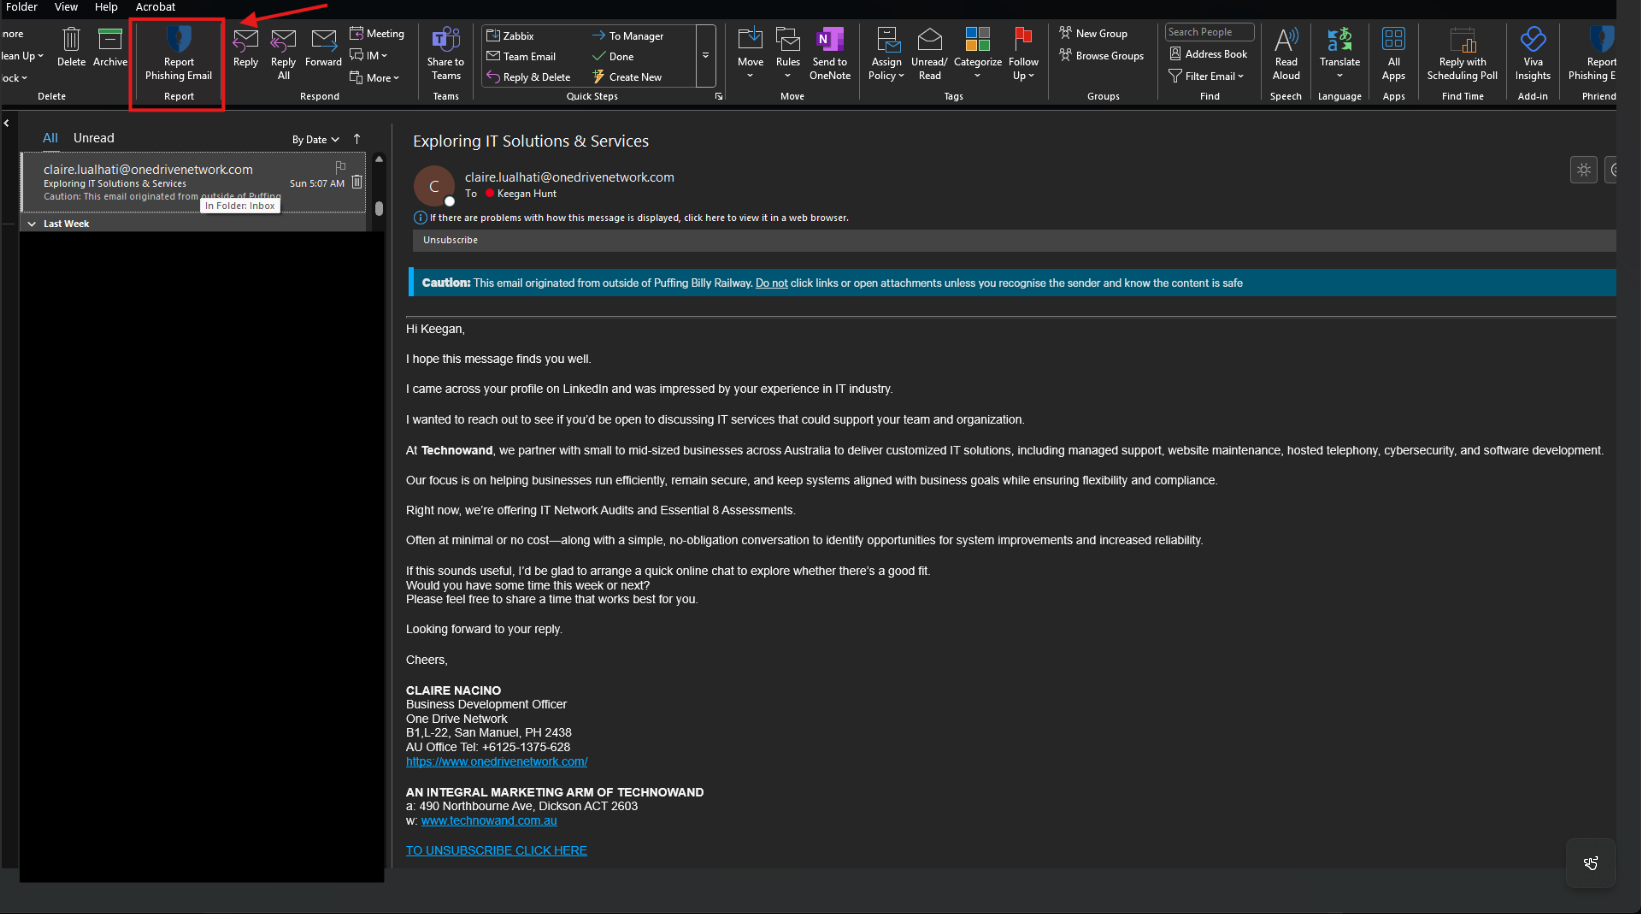
Outlook (Desktop)
- In Outlook, click on the desired email you would like to report. Click the tile specified in the red square displayed in the image below that says, "Report Phishing Email".

- When opened, this box may not be immediately obvious - use the menus to find it

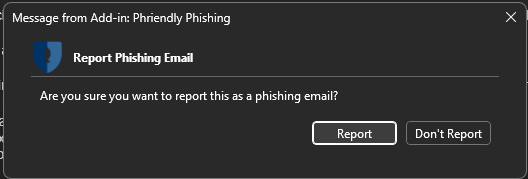
- A dialogue box will display, click "Report".

- You have successfully reported an email to the IT department.
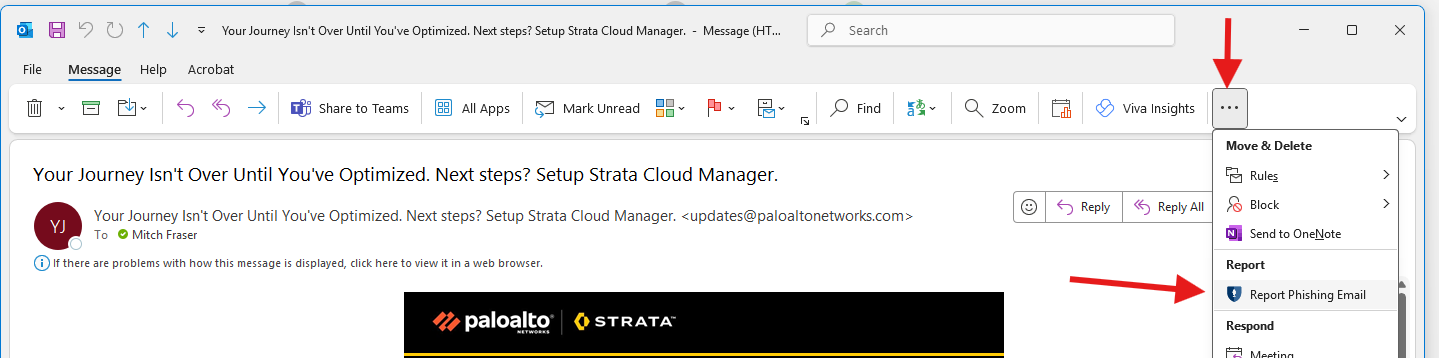
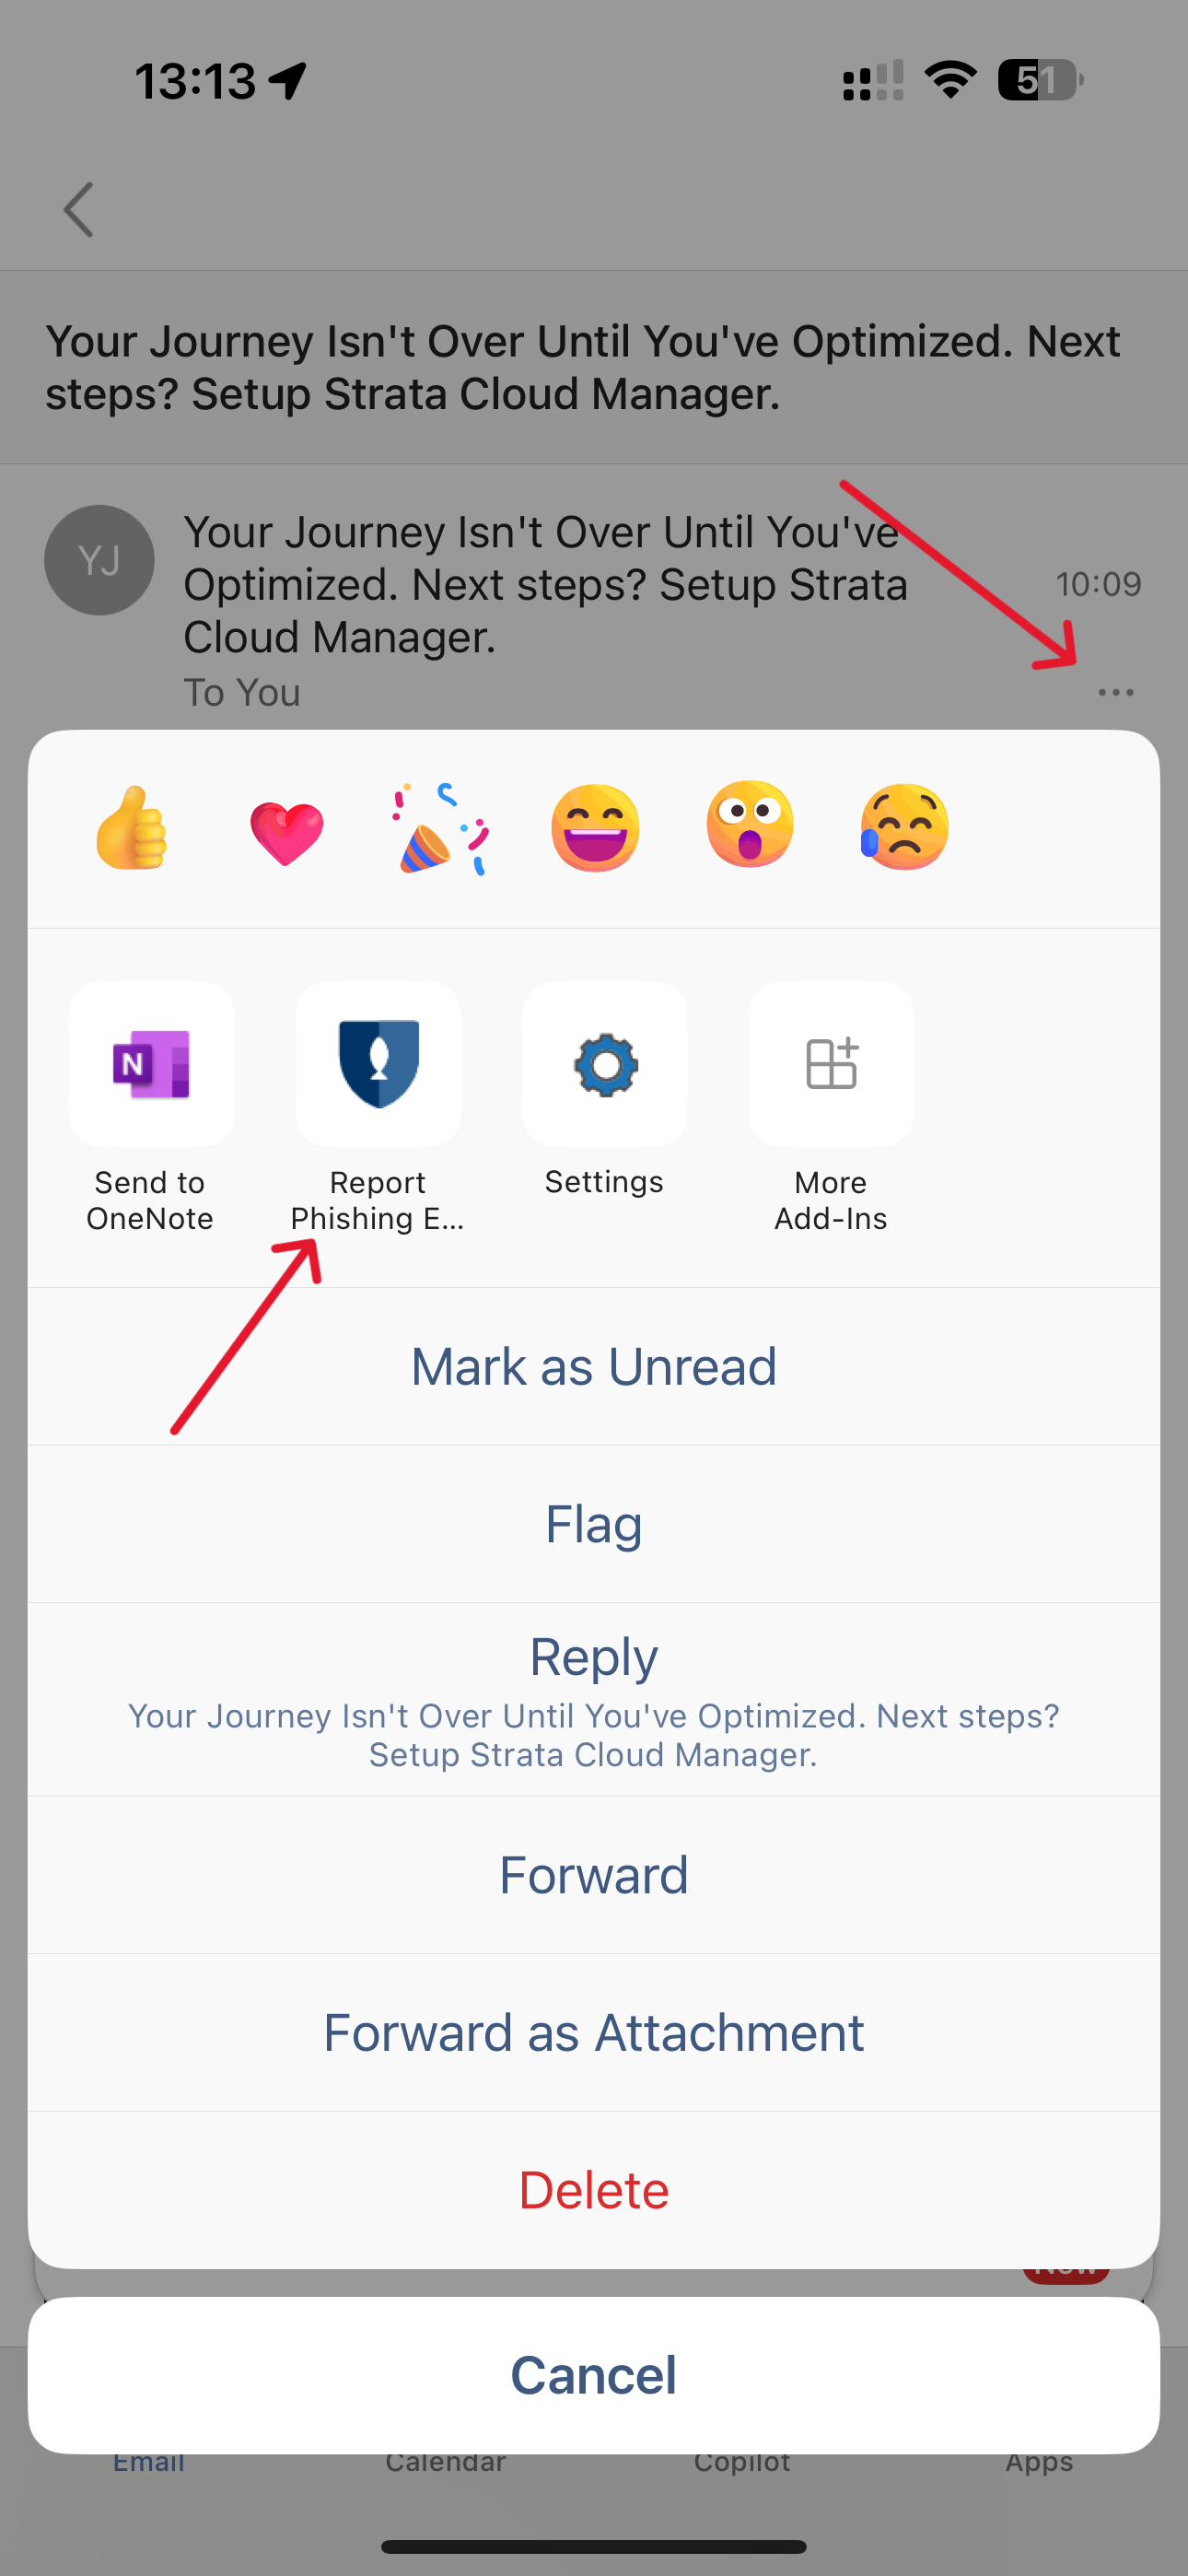
Outlook (Mobile)
- Inside the message, press the options button - then locate the "Report Phishing Email" icon

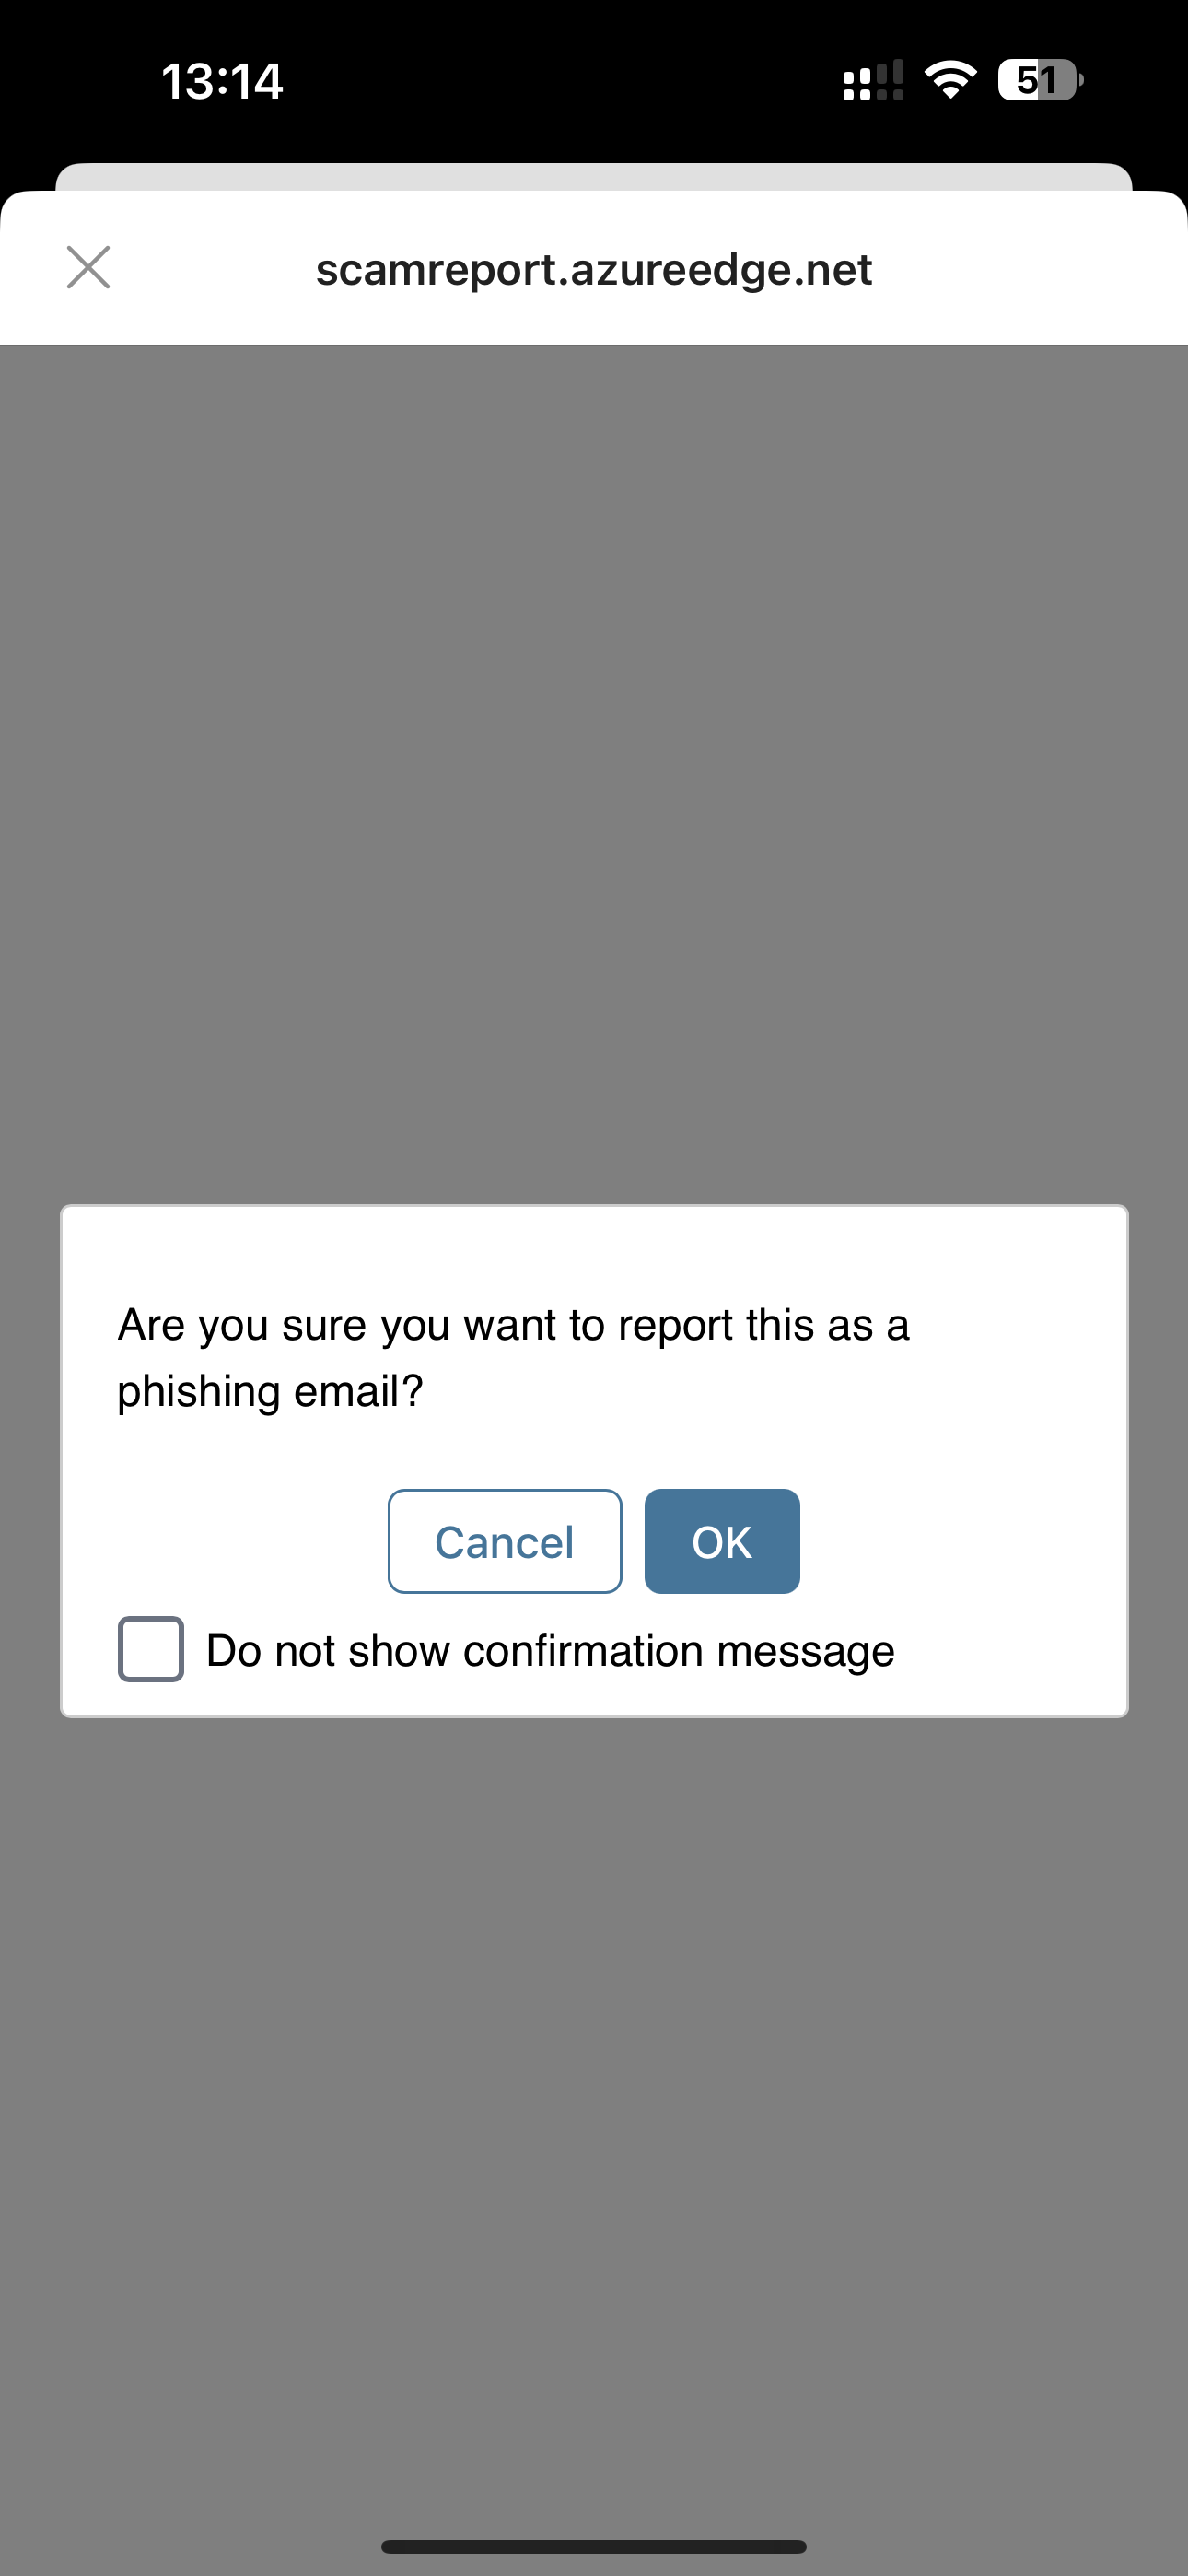
- You will then be asked if you are sure you wish to report the email.

-
If you have not reported an email via the Mobile app before, you may be asked to sign into your account to verify.
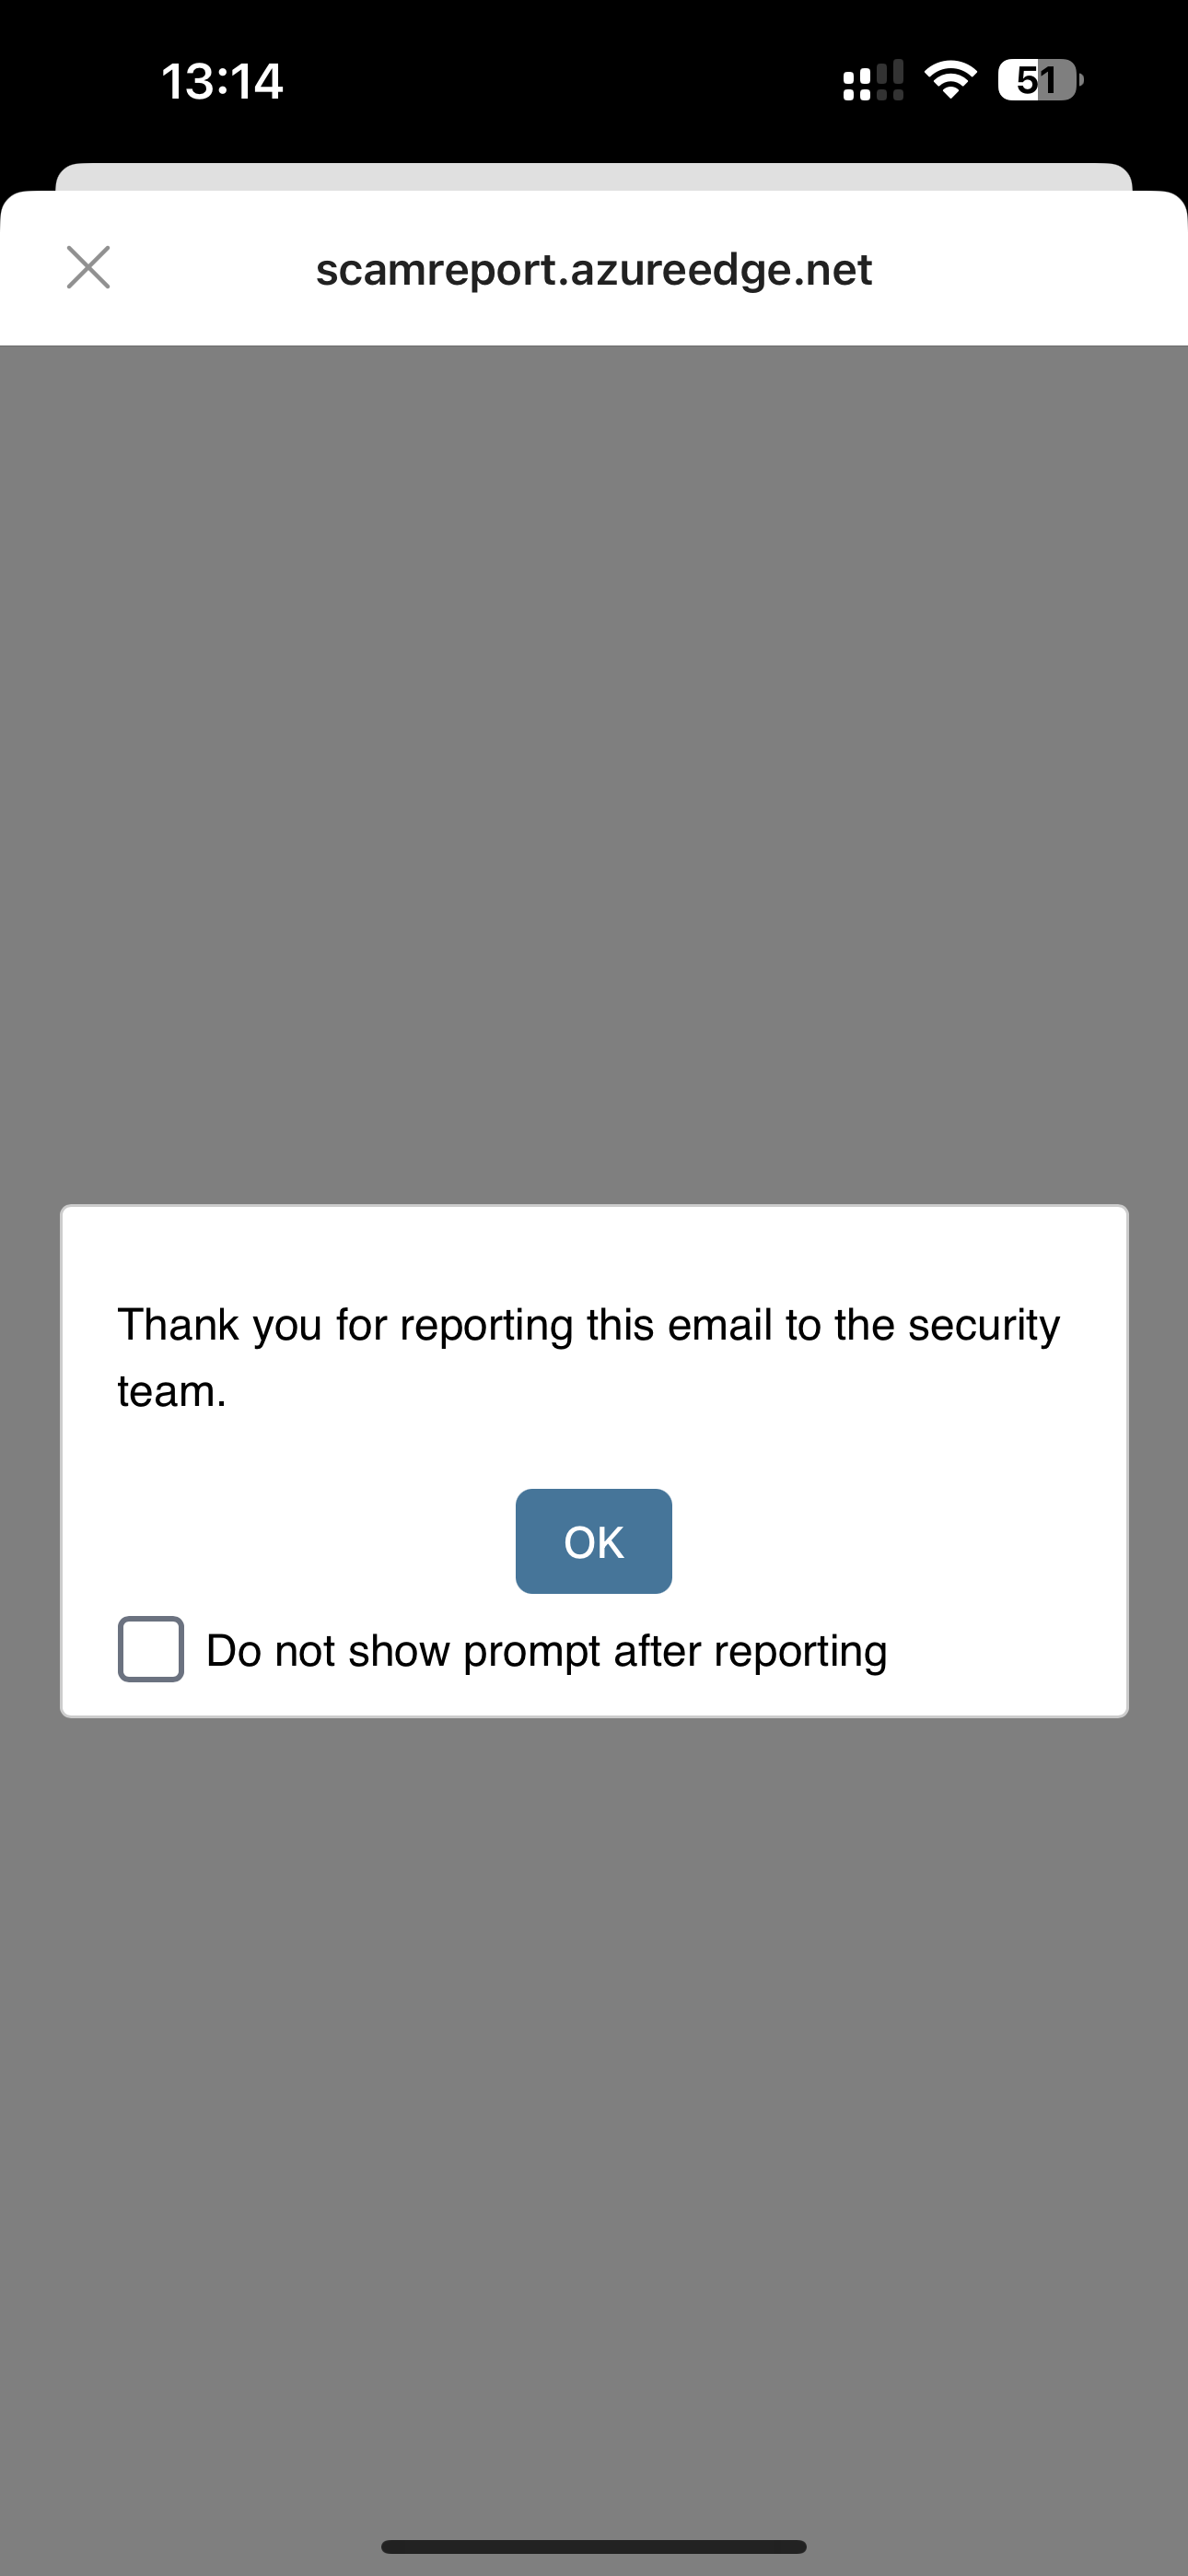
If prompted to sign into your account, this first report may fail, and/or note to contact IT Support - If this is the case, please try a second time. - If successful - you will receive confirmation of the report
-