By default, all user's calendars are set to **Can view when I’m busy.**
## Step-by-step guide 1. Open **Outlook.** 2. Click on the **Calendar icon** in the bottom left hand side of the screen. [](https://bookstack.pbr.org.au/uploads/images/gallery/2022-10/y2limage.png) 3\. Click on the **Share Calendar** icon located at the top of the screen. Select the **Calendar** option from the drop-down menu. [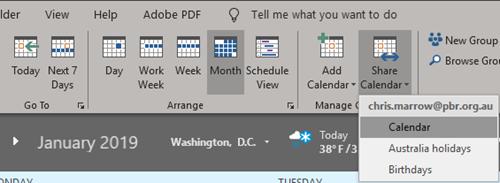](https://bookstack.pbr.org.au/uploads/images/gallery/2022-10/8dsimage.png) 4\. Click the **Add** button to share your calendar with a user. [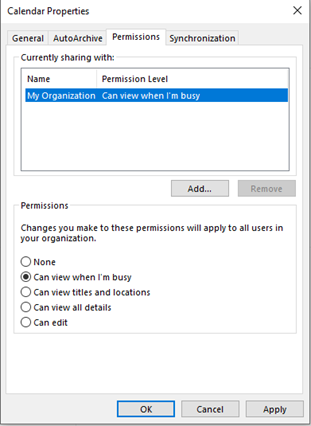](https://bookstack.pbr.org.au/uploads/images/gallery/2022-10/TM7image.png) 5\. The Address book will appear. Search for the user’s name and click **Add** then **OK.** If you want to share your calendar with multiple people continue adding the names before clicking **OK**. [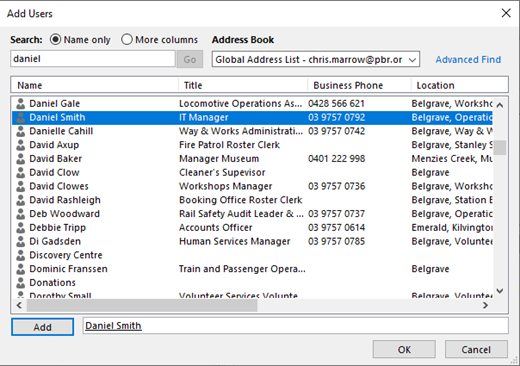](https://bookstack.pbr.org.au/uploads/images/gallery/2022-10/1Skimage.png) 6\. Select the user’s name to adjust what permission level they will have when viewing your calendar. **Permissions:** **Can view when I’m busy-** People you share with can only see the times you have blocked out as busy. **Can view titles and locations-** People you share with can see only title and location of a meeting or appointment. **Can view all details-** People you share with can see all details, including description or attendees. **Can edit-** People you share with can view, edit and delete meetings or appointments. **Delegate-** Delegates can view, edit and delete meetings or appointments. Delegates can also create and respond to meeting requests on your behalf. [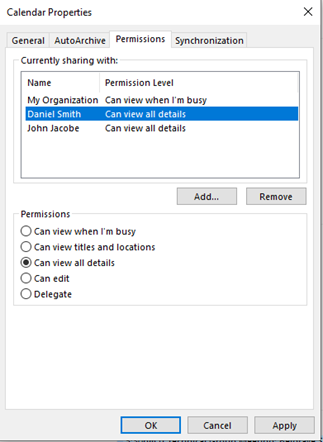](https://bookstack.pbr.org.au/uploads/images/gallery/2022-10/F7Kimage.png) 7\. Click **apply** when you’ve selected the relevant permissions for the user/users. 8\. Once the user has been granted permission, they will be sent an email asking to accept the calendar invitation. Once they’ve clicked **Accept** the calendar will be added to their **Shared Calendars** on the left hand side of the screen.Follow the below steps if the user didn’t receive an email or the calendar didn’t appear.
1. The user receiving the shared calendar can go to their Calendar in outlook, click on Add Calendar and select From Address Book. [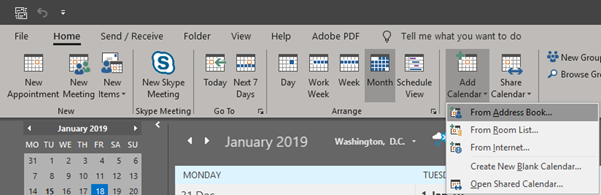](https://bookstack.pbr.org.au/uploads/images/gallery/2022-10/W4zimage.png) 2\. Enter the users name and click **OK**, you can add multiple users if needed. The Calendar will then appear under **Shared Calendar** on the left hand side of the screen. [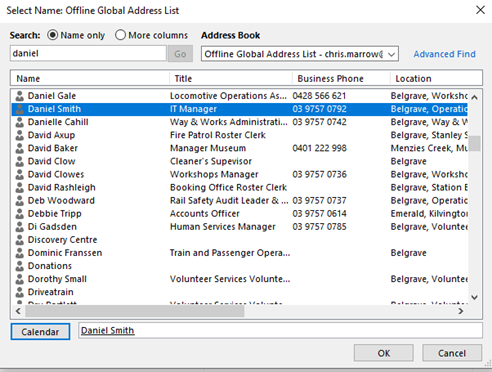](https://bookstack.pbr.org.au/uploads/images/gallery/2022-10/skUimage.png) # Outlook Mobile App # Add a Shared Mailbox in the Outlook App Use the below steps to add a shared mailbox to your Outlook using the Android or iPhone Outlook app.You must have access to the shared in order for it to be added.
## Step-by-step guide 1. Open the Outlook app. 2. Click on your **initial** in the top left hand corner. [](https://bookstack.pbr.org.au/uploads/images/gallery/2022-10/dr1image.png) 3. Click on the **Mail+** icon under your initial in the left hand menu. [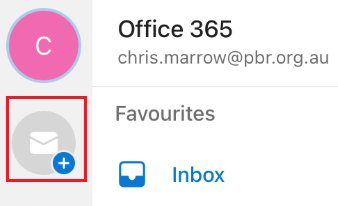](https://bookstack.pbr.org.au/uploads/images/gallery/2022-10/IQ3image.png) 4. A new menu will appear. Click on **Add Shared Mailbox**. [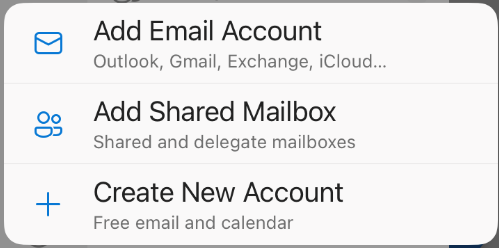](https://bookstack.pbr.org.au/uploads/images/gallery/2022-10/uxBimage.png) 5. Enter in the name of the shared mailbox and click on the button **Add Shared Mailbox**. [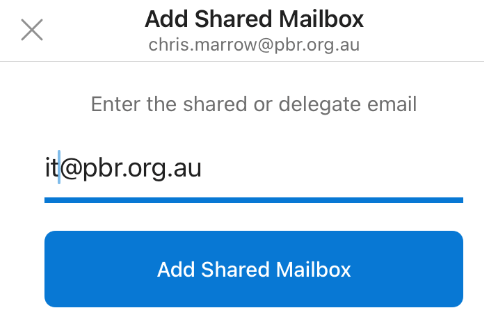](https://bookstack.pbr.org.au/uploads/images/gallery/2022-10/L36image.png) 6. The new mailbox will be added. You can switch to it by click on the **initial**. # Setup email on an Android phone Follow the below steps to setup email on an Android phone. ## Step-by-step guide 1. Download the Outlook app from the Android app store if you don't already have it. 2. Open the Outlook app. 3. Click on **Get Started.** [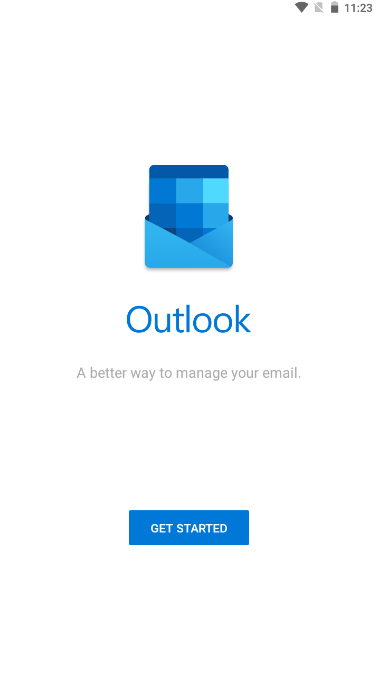](https://bookstack.pbr.org.au/uploads/images/gallery/2022-10/XYgimage.png) 4. Enter in your PBR email address and click **Continue**. [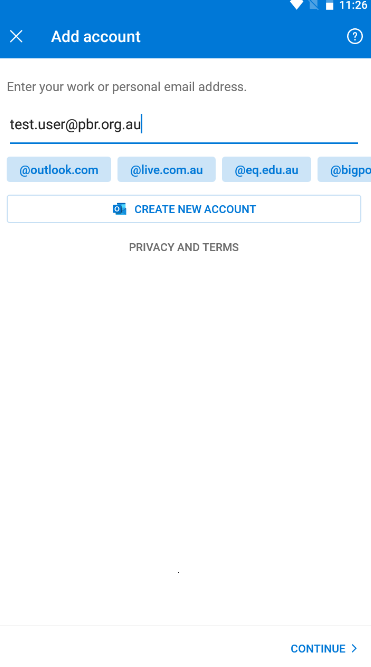](https://bookstack.pbr.org.au/uploads/images/gallery/2022-10/lzzimage.png) 5. Enter your password and click on **Sign In**. [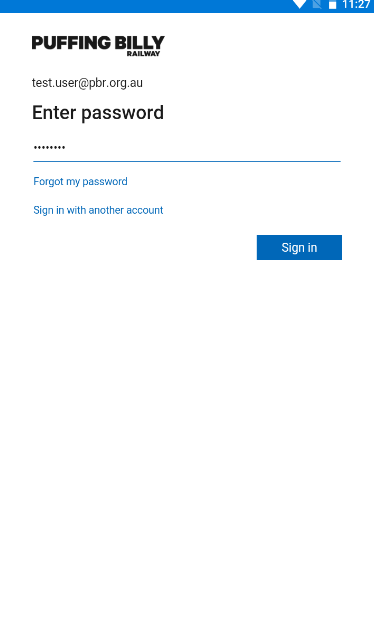](https://bookstack.pbr.org.au/uploads/images/gallery/2022-10/l5Mimage.png) 6. Click on **Maybe Later (bottom left)**. [](https://bookstack.pbr.org.au/uploads/images/gallery/2022-10/E8ximage.png) 7. Click on the arrow to scroll through the instructions or press **Skip** to finish setup. [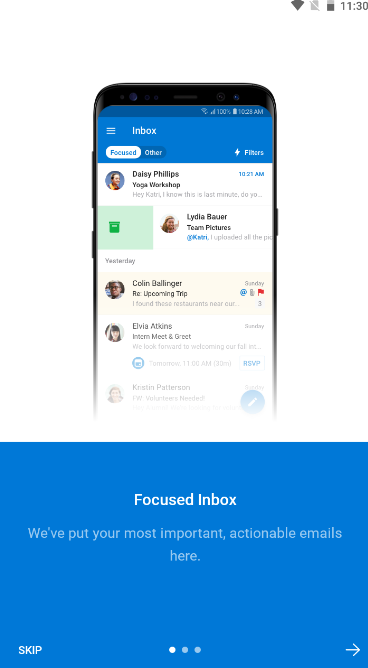](https://bookstack.pbr.org.au/uploads/images/gallery/2022-10/si4image.png) 8. You will be taken to your Inbox. Click on the **Microsoft icon** in the top left hand corner to bring up additional options & see your other folders. [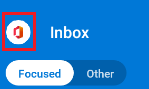](https://bookstack.pbr.org.au/uploads/images/gallery/2022-10/FIzimage.png) # Setup email on an iPhone Follow the below steps to setup email on your iPhone. ## Step-by-step guide 1. Go to **Apple Store** on your phone and search for **Outlook** and download it. [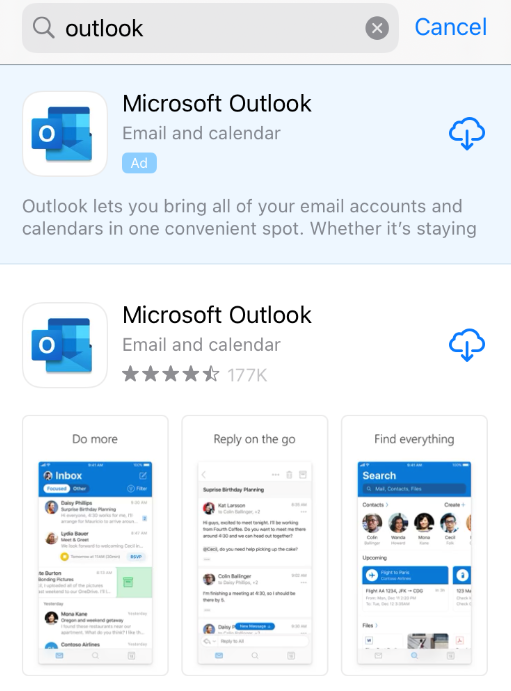](https://bookstack.pbr.org.au/uploads/images/gallery/2022-10/QpYimage.png) 2. Open **Outlook.** You may already see your PBR email address listed. Click on **Add Account** 3. Enter in your PBR Email if prompted, then click the ****Add Account Button.**** [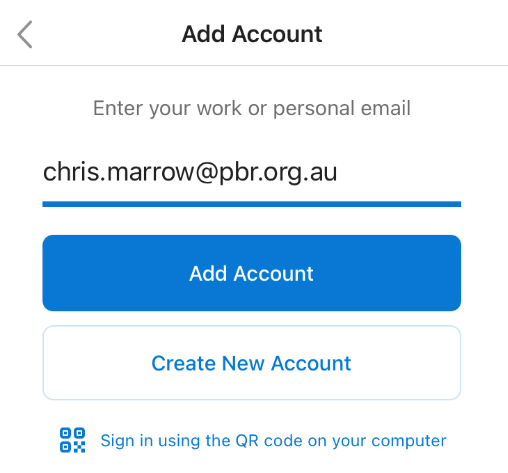](https://bookstack.pbr.org.au/uploads/images/gallery/2022-10/jboimage.png) 4\. Enter in your PBR Email password and click **Sign In**. [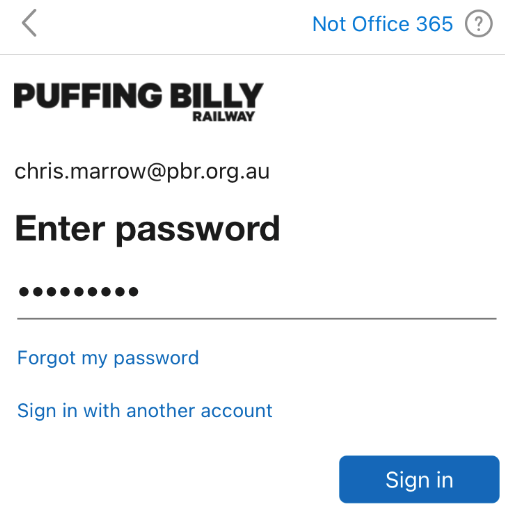](https://bookstack.pbr.org.au/uploads/images/gallery/2022-10/z5kimage.png) 5\. You can add another account if required, otherwise click on **Maybe Later.** [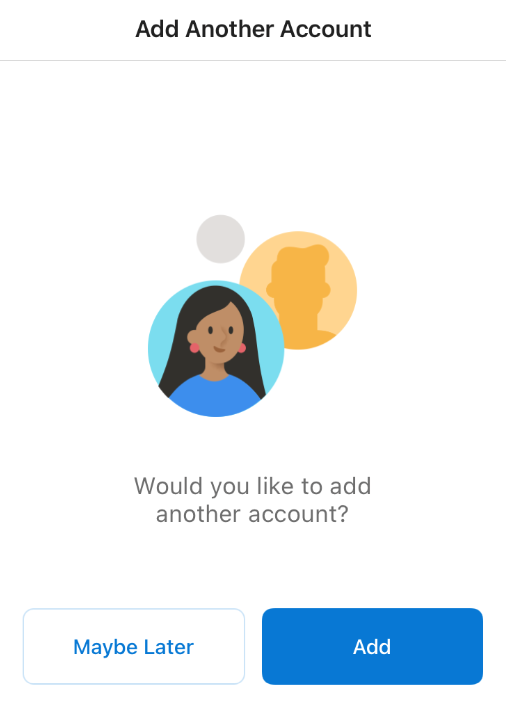](https://bookstack.pbr.org.au/uploads/images/gallery/2022-10/BFsimage.png) 6\. You will now be taken to your inbox # Outlook Webmail # Adding an Additional Mailbox in Outlook on the Web If a user has access to an additional/shared mailbox they can add it to their Office365 web mail. ## Step-by-step guide 1. Sign in to your account in [Outlook on the web.](https://outlook.com/) 2. For Exchange Online mailboxes, right-click **Folders** in the left navigation pane, and then choose **Add shared folder or mailbox** then **Add shared folder or mailbox**. [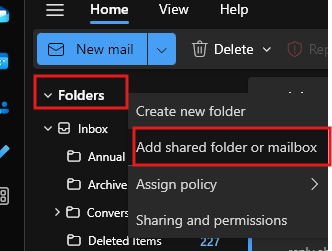](https://bookstack.pbr.org.au/uploads/images/gallery/2024-08/image.png) 3. In the **Add shared folder** dialog box, type the name of the shared mailbox you are a member of, such as info@pbr.org.au. # Accessing Outlook on the Web (Microsoft 365 Webmail) ## Overview You can access your PBR email from any device with a web browser by logging into **Outlook on the Web** — part of Microsoft 365. No software installation is required. --- ## Signing In 1. Open a web browser and go to [https://outlook.office.com](https://outlook.office.com) 2. Enter your PBR email address: **firstname.lastname@pbr.org.au** 3. Click **Next** and enter your password 4. Approve the MFA prompt on your Microsoft Authenticator app if prompted 5. Your inbox will load — you can now read, send, and manage email as normal --- ## Tips - If asked to set a time zone on first login, select **(UTC+10:00) Canberra, Melbourne, Sydney** - You can also access Teams, OneDrive, SharePoint, and other Microsoft 365 apps from the app launcher (the 9-dot grid icon) in the top left - On a shared or public computer, always click **Sign out** when finished and close all browser windows --- ## Adding a Shared Mailbox in Webmail 1. Click on your name or initials in the top right corner 2. Select **Open another mailbox** 3. Type the name or email address of the shared mailbox and click **Open** 4. The shared mailbox will open in a new browser tab # How to: Add A Shared Calendar ## Step-by-step guide 1. Open **Outlook.** 2. Click on the **Calendar icon** in the bottom left hand side of the screen. [](https://bookstack.pbr.org.au/uploads/images/gallery/2022-10/y2limage.png) 3\. Click on the **Add & Share** icon located at the top of the screen. Select the **Add** option from the drop-down menu then select **From Address Book...** [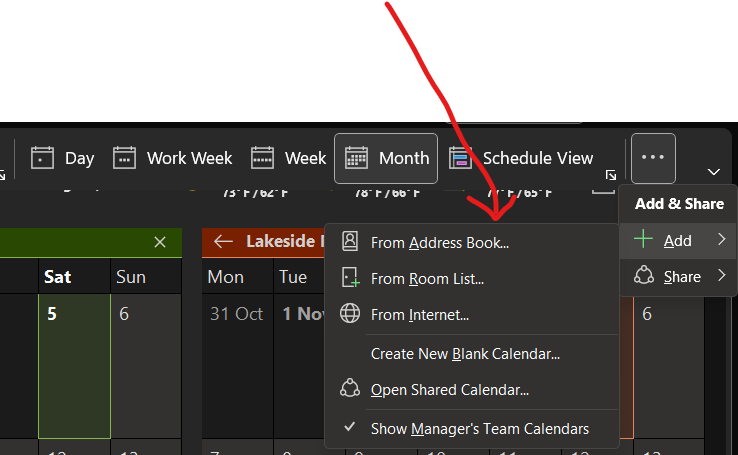](https://bookstack.pbr.org.au/uploads/images/gallery/2022-11/L3iimage.png) 5\. The Address book will appear. Search for the Calendar name and select ten click **Calendar** then **OK.** If you want to add multiple calendars continue adding them before clicking **OK**. [](https://bookstack.pbr.org.au/uploads/images/gallery/2022-10/1Skimage.png) 6\. Once added you will find the shared calendars in the bottom left of Outlook. [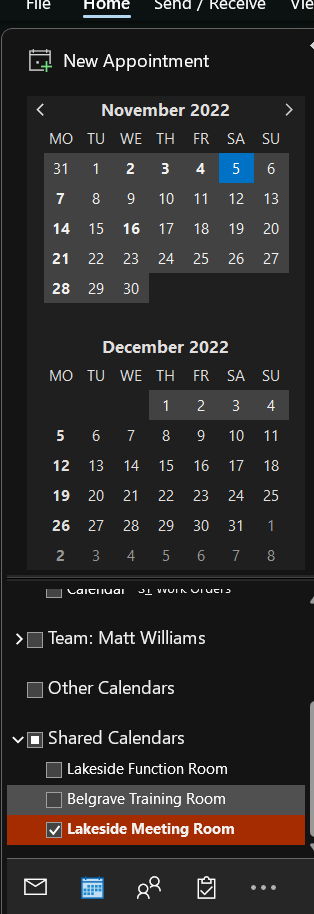](https://bookstack.pbr.org.au/uploads/images/gallery/2022-11/VPRimage.png) # Shared Emails Redirected To Folders ## Step-by-step Guide 1. Open outlook via the webapp ([https://www.microsoft.com/en-us/microsoft-365/outlook/email-and-calendar-software-microsoft-outlook-b?deeplink=%2Fowa%2F&sdf=0](https://www.microsoft.com/en-us/microsoft-365/outlook/email-and-calendar-software-microsoft-outlook-b?deeplink=%2Fowa%2F&sdf=0)) Log in. 2. Click on your name in the top right and select **"open shared mailbox"** and select the shared email. [](https://bookstack.pbr.org.au/uploads/images/gallery/2024-03/NF9image.png) 3. Right click on an email you would like re-directed. Go down to **Rules>manage rules.** 4. Select **"+add new rule"**[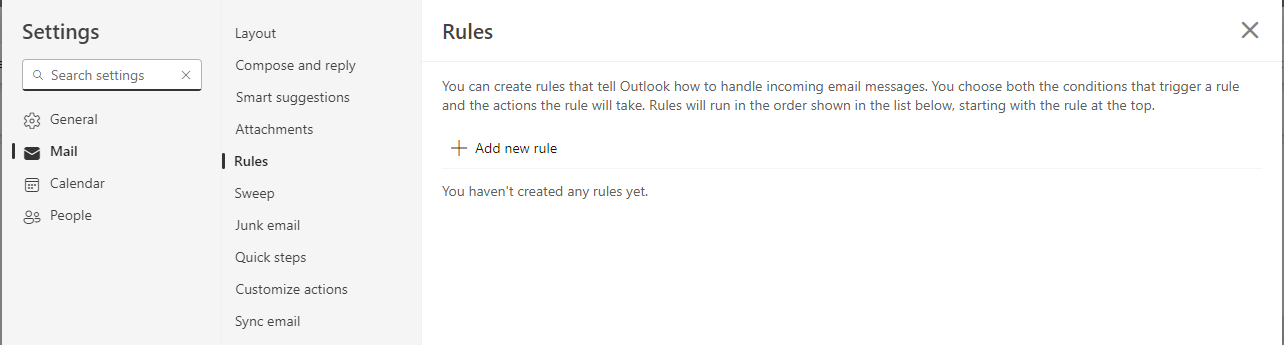](https://bookstack.pbr.org.au/uploads/images/gallery/2024-03/6Klimage.png) 5. Name your rule eg. "Email re-direct". Add condition **"people>from"** and select the email of the messages you want re-directed. Add action **"move to",** and select the folder you want them moved too. Then click save down the bottom. [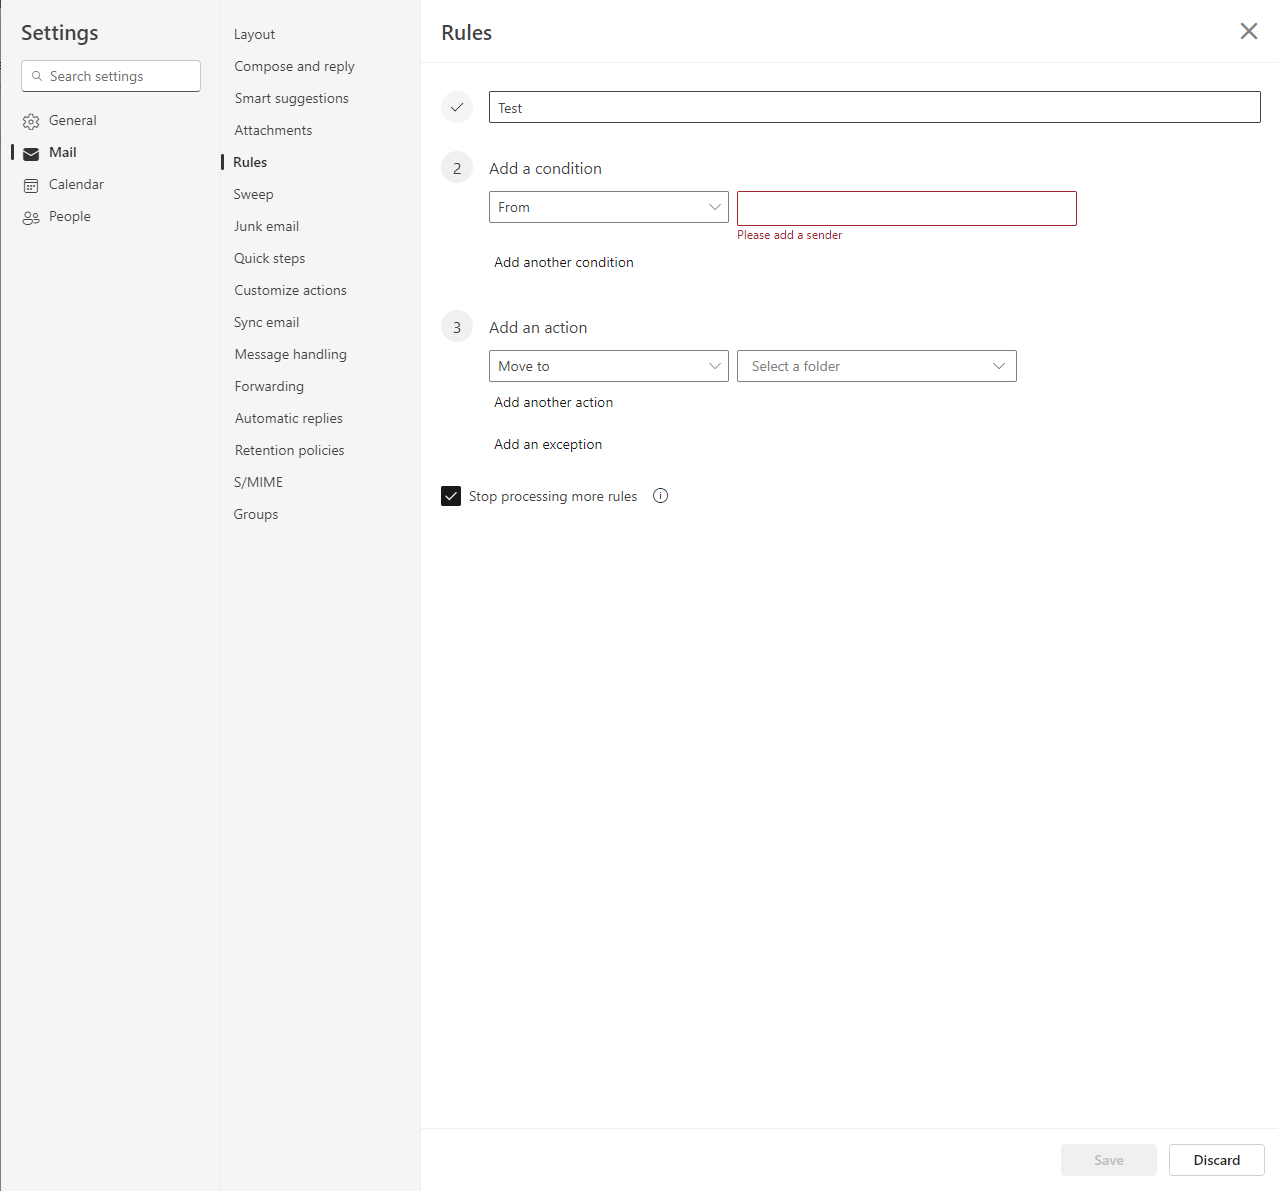](https://bookstack.pbr.org.au/uploads/images/gallery/2024-03/PC6image.png) # Reporting Suspicious Emails to IT ## Overview If you receive an email that looks suspicious, report it to IT immediately using the **Report Phishing Email** button in Outlook. Do not click any links or open attachments first. For guidance on how to spot a phishing email, see: [Recognising and Reporting Phishing Emails](https://bookstack.pbr.org.au/books/security-awareness/page/recognising-and-reporting-phishing-emails) --- ## Outlook Desktop (Windows) 1. Select the suspicious email in your inbox 2. In the ribbon at the top, click the **Report Phishing Email** button - If you cannot see it, click the **... (more options)** button in the ribbon to find it 3. A confirmation dialog will appear — click **Report** 4. The email will be forwarded to IT and removed from your inbox --- ## Outlook on the Web (Browser) 1. Open the suspicious email 2. Click the **three dots (...)** menu at the top right of the email 3. Select **Report** > **Report phishing** --- ## Outlook Mobile App 1. Open the suspicious email 2. Tap the **three dots (...)** at the top right 3. Select **Report junk** or **Report phishing** --- ## If You Cannot Find the Report Button Forward the email to