Teltonika TRB Modem Setup
- Connect Modem to Antennas, add Full Size Active LTE SIM, and Power On.
- Connect Modem to laptop via Ethernet. Set local Eth Adaptor to 192.168.1.0/24 network
- Navigate to Modem on default IP 192.168.1.1 and login with username admin and password printed on bottom of device
- Change Password to the default Teltonika Router password in 1Password
- Ensure that LTE connection comes alive - change DNS settings to use Public resolvers (1.1.1.1 & 8.8.8.8)
- In Teltonika RMS - onboard the Device into the PBR account, using the Serial #, IMEI, and Default Teltonika Password (if changed)
- Download latest stable Firmware Package from Teltonika website TRB246 Firmware Downloads - Teltonika Networks Wiki
- Install locally on the device, reboot.
- Ensure the device successfully activates the Teltonika RMS connection.
- Install the following Packages inside Package Manager - wait for these to install
- DDNS
- MQTT
- SCEP
- SNMP
- Wake on LAN
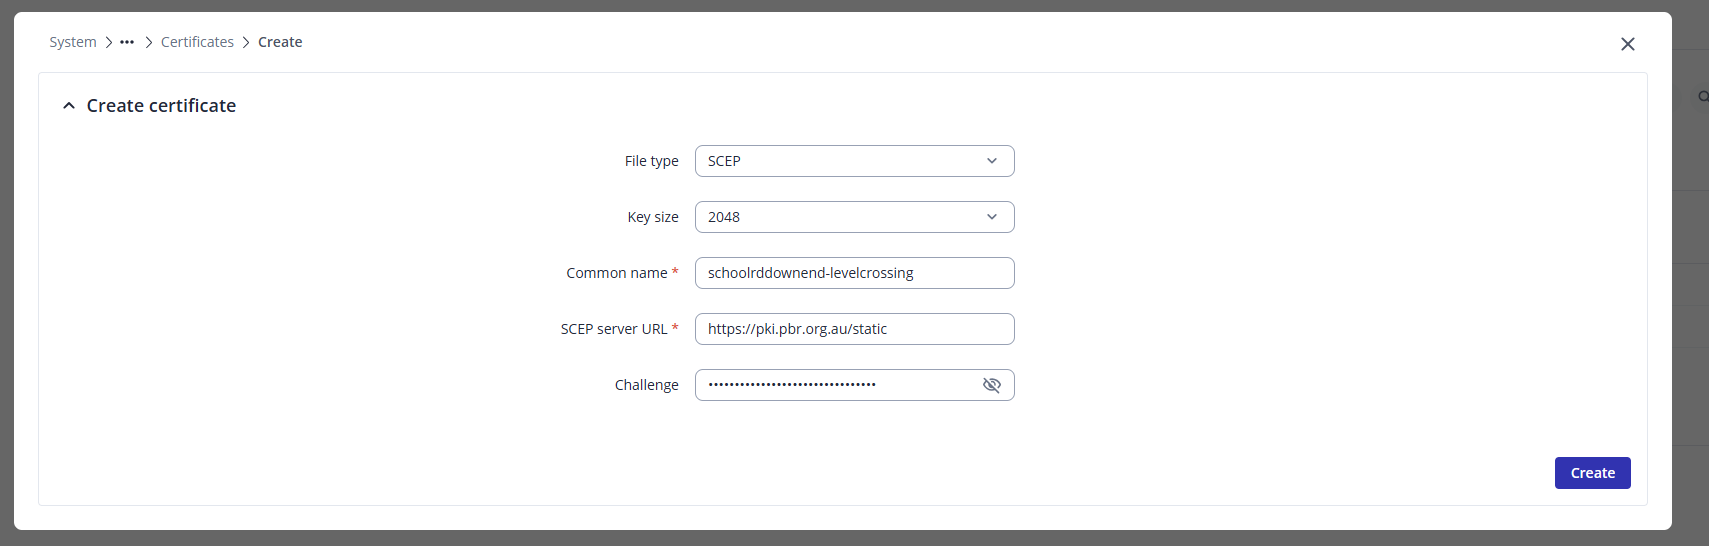
- Create the device certificate from SCEPman in System > Administration > Certificates,
-
- Create the MQTT broker and bridge according to the below settings (or use the Configuration Profile
- MQTT Broker Enabled
- Local Port 1883
- Broker Settings > Miscellaneous > Allow Anonymous On
- Add Bridge
- Connection name: bridge_thingsboard
- Protocol Version: 5.0
- Remote Address: pbr-iot-1.pbr.org.au
- Remote Port: 8883
- Use Remote TLS/SSL: On
- Certificate Files from Device: On
- Bridge CA File: ca-certificates.crt
- Bridge Certificate File: <CERT YOU CREATED>
- Bridge Key File: <KEY YOU CREATED>
- Topics Configuration
- Topic Name: v1/devices/me/telemetry
- Direction: OUT
- QOS Level: At Least Once (1)
- Create the Dynamic DNS Entry under Services > Dynamic DNS
- Make sure the DDNS entry already exists inside of https://freedns.afraid.org/subdomain/
- Edit the default myddns config
- Enabled: On
- Use HTTP Secure: On
- Lookup Hostname: <CROSSING>.levelcrossing.ddns.pbr.org.au
- DDNS Provider: afraid.org-v2-basic
- Domain: <CROSSING>.levelcrossing.ddns.pbr.org.au
- DNS Server: 8.8.8.8
- Username: <creds in 1Password>
- Password: <creds in 1Password>
- IP address source: Public
- URL to detect: http://checkip.dyndns.com
- Enable GPS
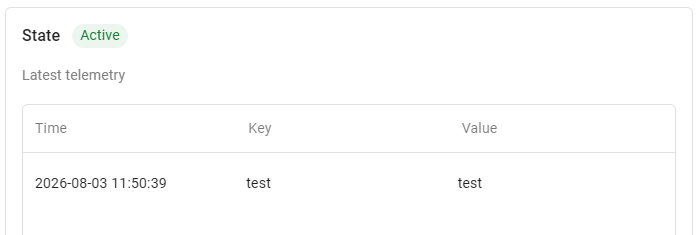
Ensure you test the MQTT config is accurately reporting into Thingsboard. You can do this by using a local Mosquitto MQTT relay.
You will need to add the device into Thingsboard, This can be done using x.509 authentication and downloading a local copy of the certificate generated by the Teltonika Router.
This is the rough configuration all sorted. Make sure that the Timezone and Hostname are properly set up on the device.
Once deployed out, you will need to change the NodeRed config to send the MQTT messages to the Teltonika rather than Thingsboard - and alter the device config of the existing Level Crossing device to use the new X.509 certificate, rather than the Access Token.
C:\Program Files\Mosquitto>mosquitto_pub.exe -h 192.168.1.1 -t v1/devices/me/telemetry -m {test:test}