Exclaimer
- Add a New Signature
- Applying the Signature to Users & Groups
- Deleting a Signature
- Editing an Email Signature
- Installing the Client on a User’s Computer
- Login to Exclaimer
- Set date/time trigger
- Forcing a Data Synchronisation
- Exclaimer Issue Troubleshooting
- Applying shared mailbox signatures using the exclaimer outlook add-in
Add a New Signature
Step-by-step guide
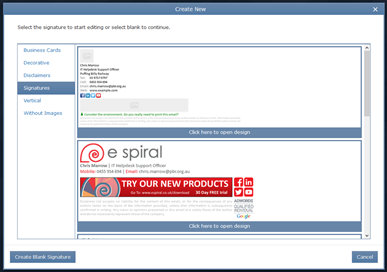
- In the top left corner of the page click on New Signature.

- You will have the option to select from a template or create a blank signature.

- Your signature will be generated. Press the Save As button and give a title to your new signature.

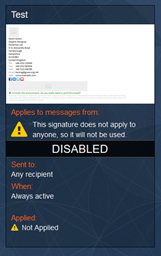
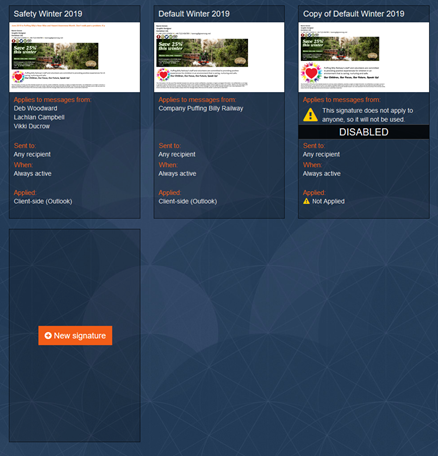
- If you close the signature you will be returned to the main screen. Your new signature is always disabled by default.


Applying the Signature to Users & Groups
Step-by-step guide
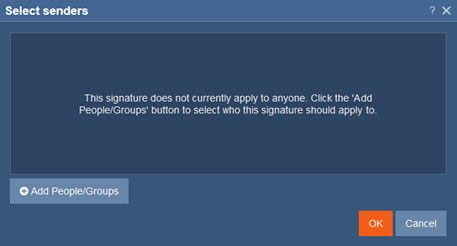
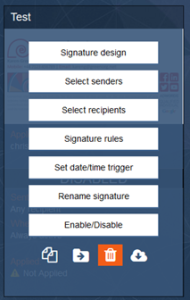
- On the main Email Signature page hover over the signature you wish to assign the senders to and click Select senders.

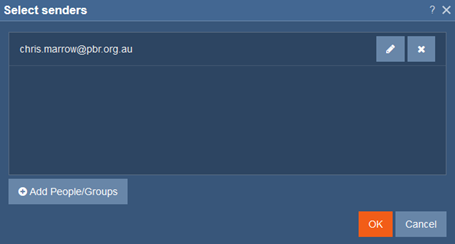
- Click on the Add People/Groups button.

- You can select from a variety of ways on how you would like to add the members. Click OK once you’re done.

- Click OK once you have added all the members.

Deleting a Signature
Step-by-step guide
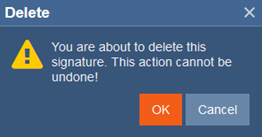
- On the main Email Signature page hover over the signature you wish to delete. Click on the trash can icon.

- Click the OK button to confirm the delete.

Editing an Email Signature
Step-by-step guide
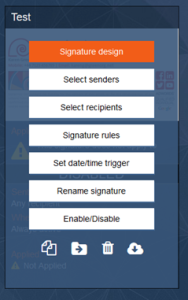
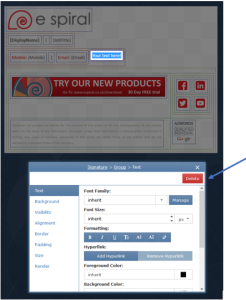
- On the main Email Signature page hover over the signature you wish to edit and click on Signature Design.

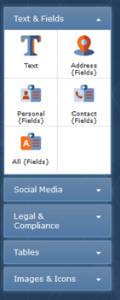
- On the left hand side you will find editing items (Text, images tables etc.). You can click and drag these items onto your signature.

- If you click on an item, you can edit the properties of that item. Press the delete button if you would like to delete the element.

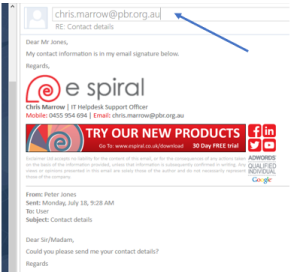
- You can enter an email address to see how the email signature will look with that user’s details.

Installing the Client on a User’s Computer
Step-by-step guide
-
Download the Exclaimer signature software: https://outlookclient.exclaimer.net/csua/index.html
If you’re using Google Chrome browser it may give you a warning that it is an unsafe file, just click keep file.
- Go to your downloads folder and run the program (exit from outlook before running the program).
- Once Exclaimer has installed, open Outlook and it will display the PBR Signature.
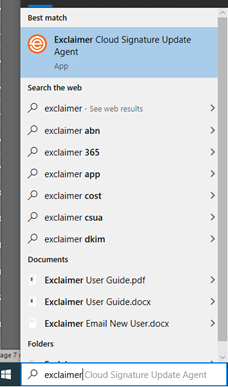
- If the signature isn’t showing up, exit Outlook, use the Windows search function and run the Exclaimer Cloud Signature Update Agent then re-open Outlook.

Login to Exclaimer
Step-by-step guide
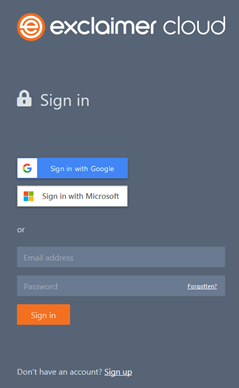
- Go to https://portal.exclaimer.com/new/ to sign in. If you linked your account with your PBR Microsoft Account you can use that to log in.

- Once you log in, you will see the following screen. Click on Launch to open the signature editing page.

- Once the page has loaded you will be able to add, edit, enable/disable and delete signatures.


Set date/time trigger
Step-by-step guide
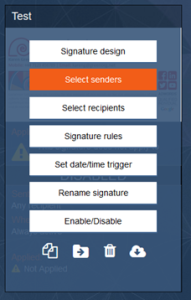
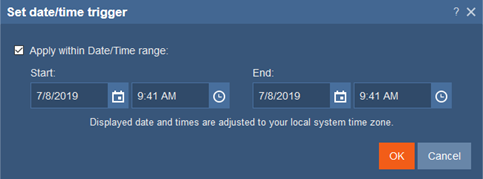
- On the main Email Signature page hover over the signature you wish to set a date/time trigger and select the Set date/time trigger button.

- Select the Apply within Date/Time range checkbox and select the date ranges. Click OK once you’re done.


Forcing a Data Synchronisation
Sometimes you will need to manually synchronise data from Office365 so you can see immediate changes in the Outlook signature.
Step-by-step guide
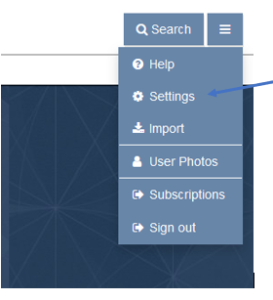
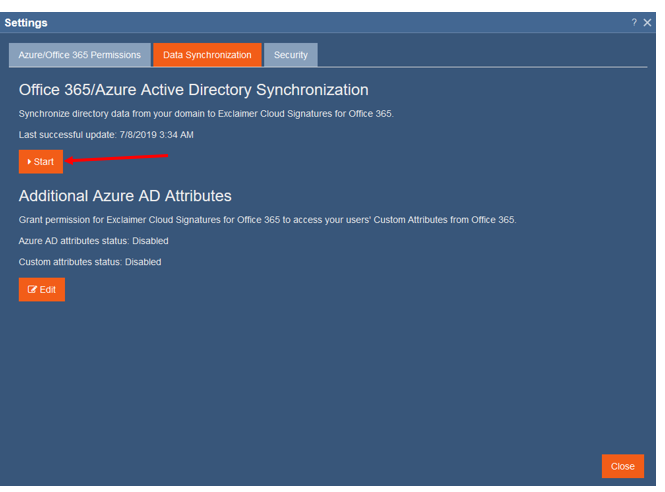
- In the top right corner press the menu button and click on Settings.

- Click on the Start button to begin the manual sync.

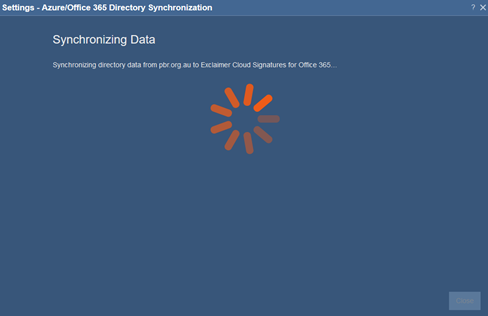
- You will see the Synchronising Data screen.

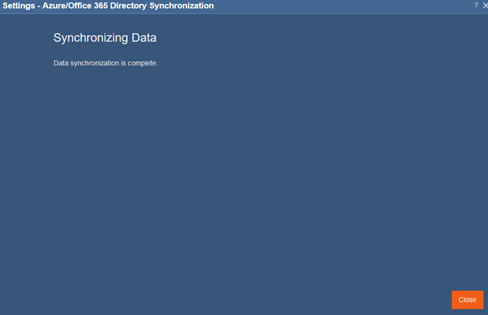
- You will see the following screen once the data is synched. Press the Close button.

Exclaimer Issue Troubleshooting
If after installing the client, Exclaimer will not produce a signature, there are a few steps that can be undertaken to try and resolve the issue
First off purging Exclaimer is important, as it helps renew the credential that Exclaimer uses to pull your information from Office365
Purging Exclaimer is to be done with the assistance of IT
Stop the Exclaimer service by utilising Task Manager.
In %appdata%/Local, the folder Exclaimer is to be deleted.
The program is then to be removed from Apps and Features.
If issues are still occuring - you can fully delete the configuration files in addition to the above steps by going into %appdata%/local/apps/ and deleting the folder 2.0. This may cause issues with Administrative rights and need to be done multiple times before succeeding
Re open the .application file, and sign in with your @pbr.org.au credentials. This should fully restart the installation proccess.
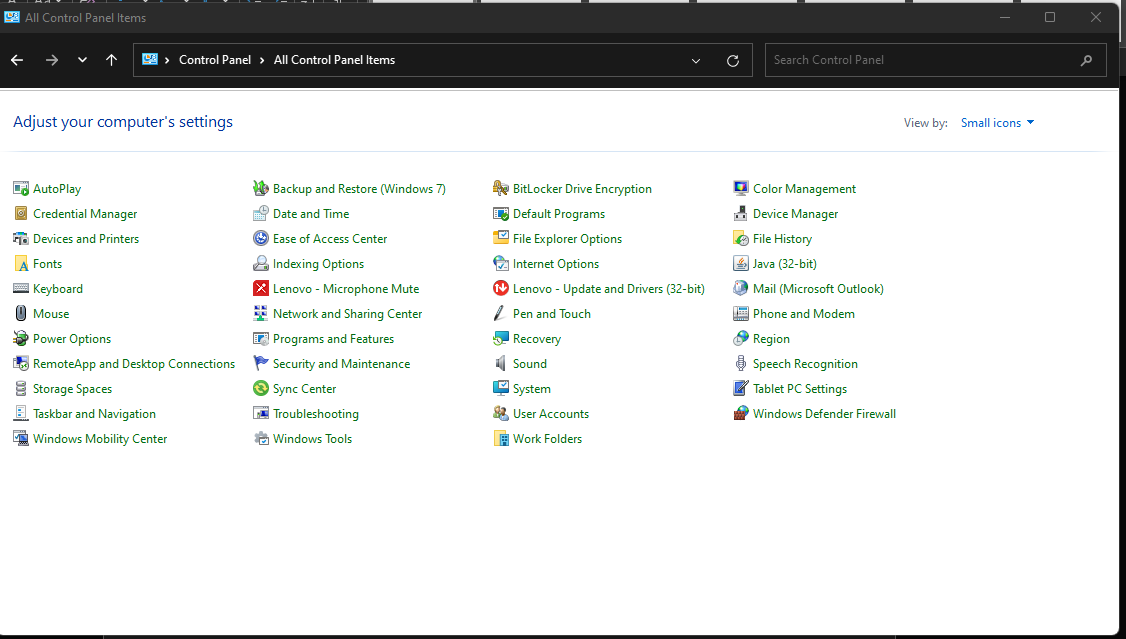
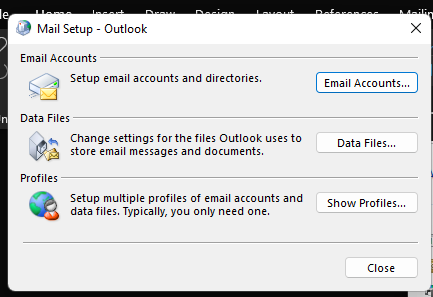
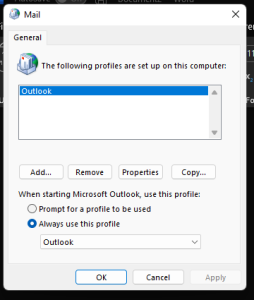
If this all does not work, you can recreate the Outlook profile AFTER PURGING EXCLAIMER AND REBOOTING FIRST by using Control Panel > Mail (Microsoft Outlook > Show Profiles > Remove and Add,
Log into the user email again and re-attempt install of Exclaimer once set up. Signatures should appear
Applying shared mailbox signatures using the exclaimer outlook add-in
Notes for Technical Resource only: Please ensure the shared mailbox has been assigned to a signature in exclaimer before giving this advisory. Please refer to this article on how to add the signature to a shared mailbox; Assigning a signature ... | BookStack (pbr.org.au)
Please read the below note before you follow the steps in this article!
Note: If you are a member of a shared mailbox and have a PBR log-in and PBR device, you can add in the shared mailbox signature. If you are using a personal device, you cannot use Exclaimer.
Adding the signature for a new email
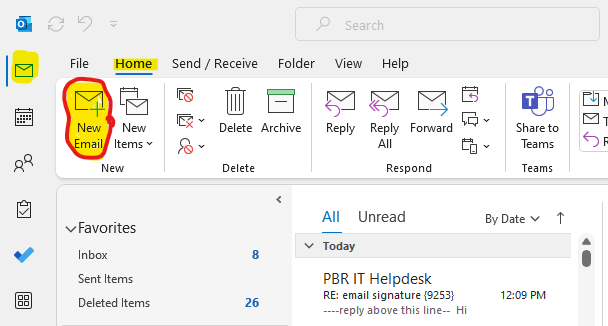
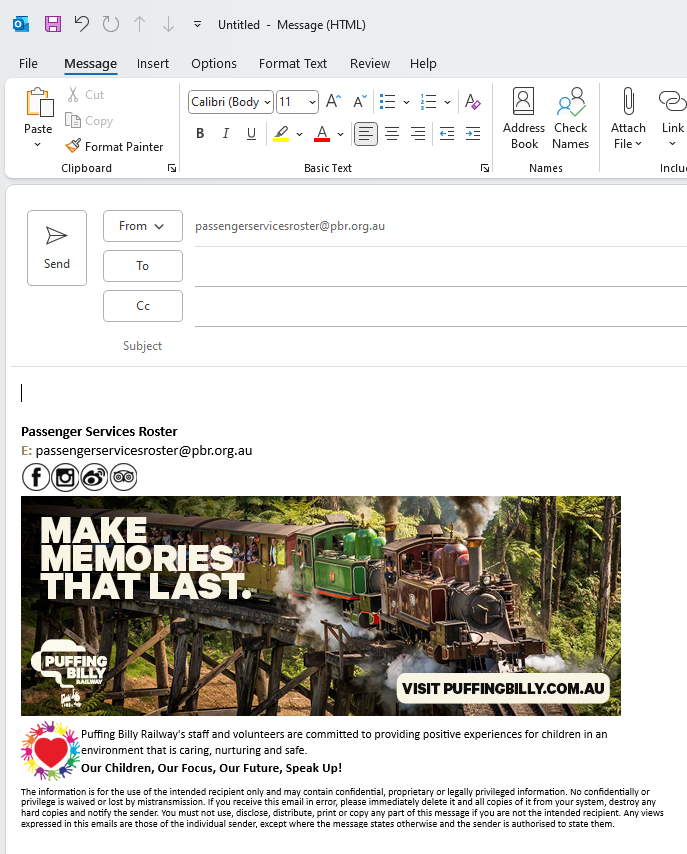
Open up outlook. Make sure you have selected the envelope icon on the far left and you are on the home tab highlighted below. Click new "email".
When you generate a new email, your email signature will automatically appear if you have the exclaimer app installed. If the signature does not appear, please contact IT Helpdesk and ask for them to check your PBR device for the exclaimer app.
If your email signature does appear please do the following:
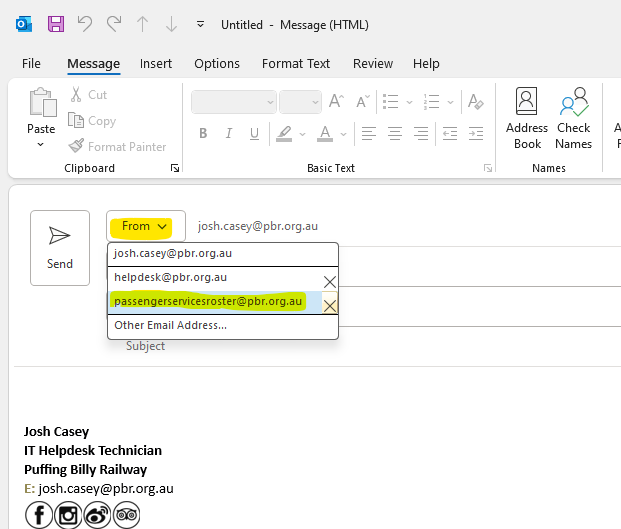
Select the "From" dropdown highlighted below and select the email of the shared mailbox. If the mailbox name does not appear please click "Other Email Address..." and add in the shared mailbox email address.
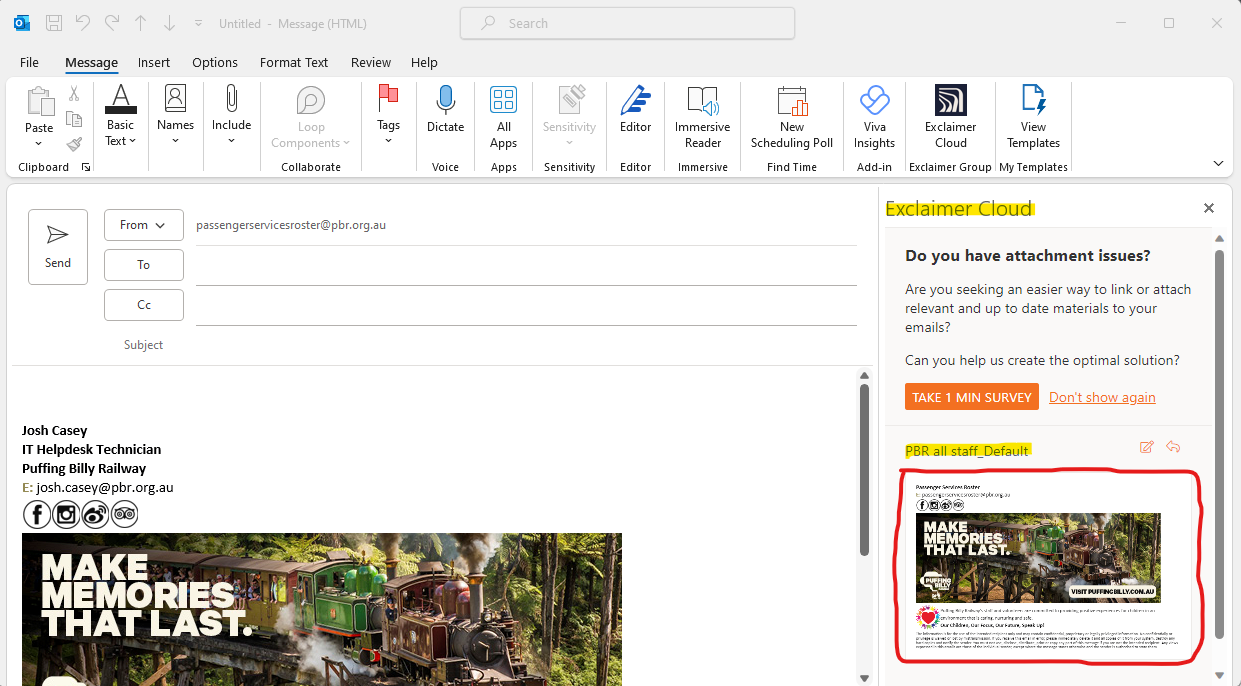
Once you have selected the shared mailbox email address make sure you select the "Message" tab. On the far right you will see the "Exclaimer Cloud" icon, click on the icon.

Once the icon has been selected, another window will appear within the outlook email. Select the "PBR all staff_Default" image circled in red. This will put the signature into the email.

The email signature will appear as below. Make sure the email in the signature matches the shared mailbox address.
Adding the signature for a reply
If you wish to reply to an email and include a signature for a shared mailbox it will be very similar to the above.
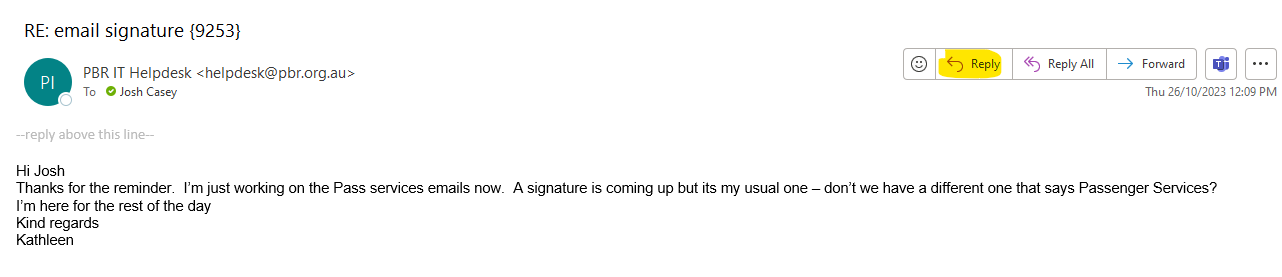
If replying to an email sent to the shared mailbox, then the "From" address should appear as the shared mailbox. If the "From" field is showing anything other than the shared mailbox name, then change to the "From" field to match the shared mailbox name:
Make sure you select the "Message" tab. On the far right you will see the "Exclaimer Cloud" icon, click on the icon.

Once the icon has been selected, another window will appear within the outlook email. Select the "PBR all staff_Default" image circled in red. This will put the signature into the email.
The email signature will appear as below. Make sure the email in the signature matches the shared mailbox address.

If there are any issues, please reach out to the IT team.