DFS and Windows File Server Shares
Book for setup of DFS
- Creating DFS
- Windows File Server Shares
- DFS, Server Shares and Network Mapped drives at Puffing Billy
- ZDriveTemp
Creating DFS
DFS was introduced to Puffing Billy November 2023. For assistance on how to create DFS please refer to the following doc:
DFS Namespaces overview | Microsoft Learn
The main purpose of DFS is to redirect users to folder targets using a centralised path. In this instance our DFS path is \\pbr.org.au\pbrdfs and the majority of the folder targets are set to the Belgrave file server PBR-FS-B1.
*******NOTE: Before installing DFS roles make sure you have setup your shared drives on a windows file server or using a NAS. Ensure that access-based enumeration is disabled, and that the users group permission assigned to the shared drives has been removed. For more information on this please refer to; Windows File Server Sh... | BookStack (pbr.org.au) *******
To be able to install DFS, the roles must first be installed via server manager. For best practice I recommend you install the DFS namespace and DFS replication roles to all your DCs and to the servers acting as the folder target.
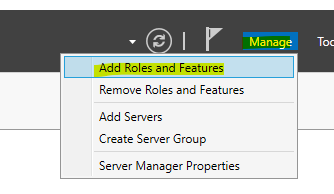
Go to Manage at the top right-hand corner of the screen and select Add Roles and Features.
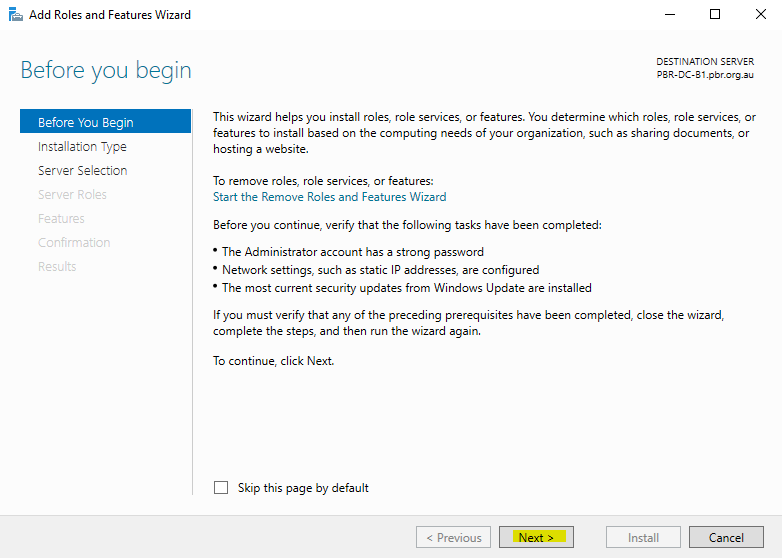
Click Next
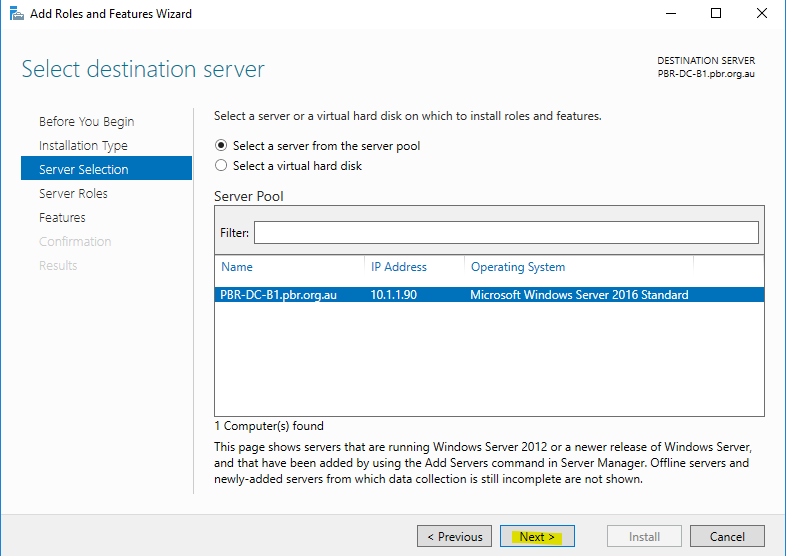
Click Next

Click Next
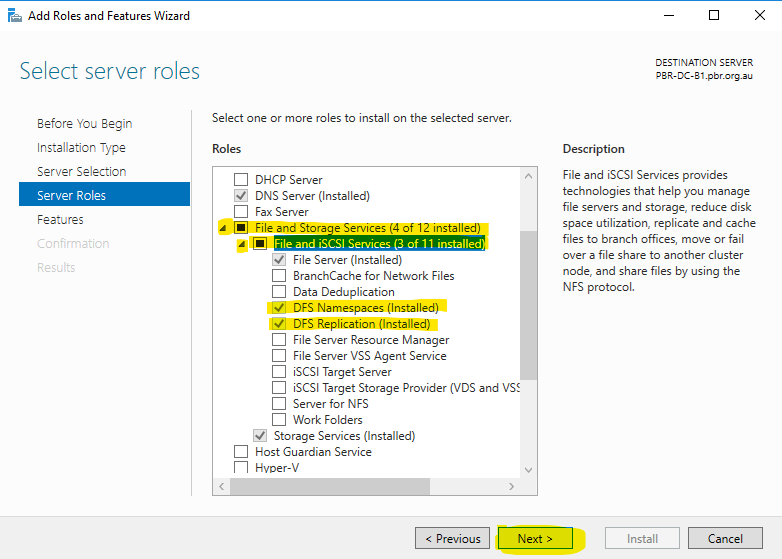
Scroll down to File and Storage services and click the drop-down options. Select DFS namespaces and DFS replication. Click Next.
Proceed through to the next steps and ensure the option to restart after installation is not selected.
Once the DFS roles have installed on all the desired servers go to DFS Management on one of the DCs (preferably the primary). DFS can be found under Windows Administrative tools or by searching for DFS on the search bar of the server.
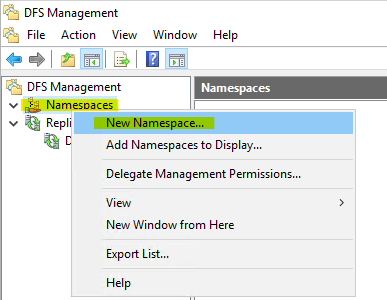
Lauch DFS. Right click on Namespaces and select new Namespace.
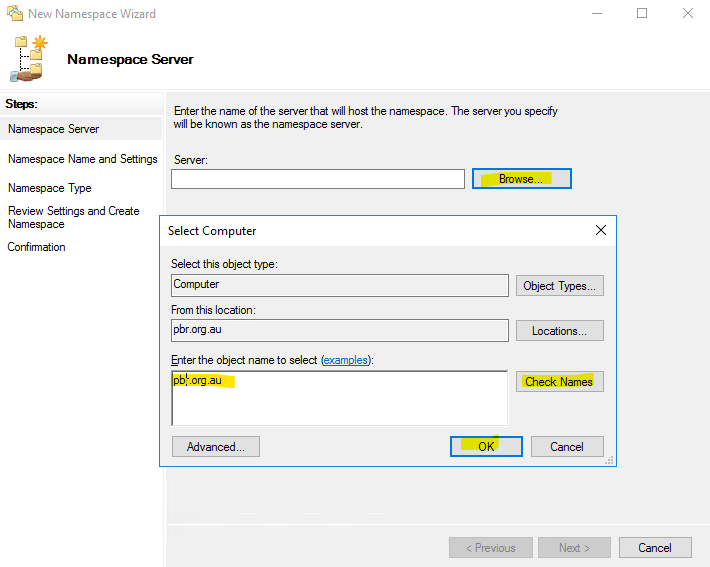
Use the search function and enter your domain name. In this case it was PBR.ORG.AU. Check name then click OK.
The next windows will ask more info for setup of DFS. The most important setting is the DFS root name and the settings to enable inherited permissions from folder targets. My preference is to set the default domain name with an abbreviated version of the doamin folders by DFS e.g \\pbr.org.au\pbrdfs.
Once DFS is setup on one of the servers we will need to add other namespace servers to ensure redundancy. If the server hosting the DFS namespace goes down and this is the only one active as a namespace server, then DFS will be unavailable. Adding more namespace servers will ensure the DFS path is accessible when different DCs go down.
Ensure DFS management and replication roles have been installed on the other DCs. Once done go back to the DC where the namespace was first created. Open DFS and select the DFS namespace. Navigate to Namespace Servers and click Add Namespace Server and add in the other DCs.

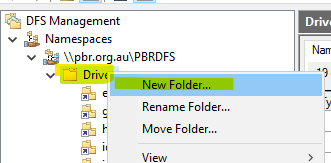
When adding a new folder target to DFS ensure to add it under the right DFS folder. For example, if I have created a new file share on a server and i want to add this to puffing billy DFS I will right click drives, select add a new folder.
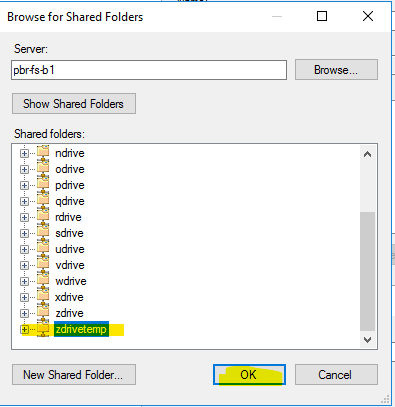
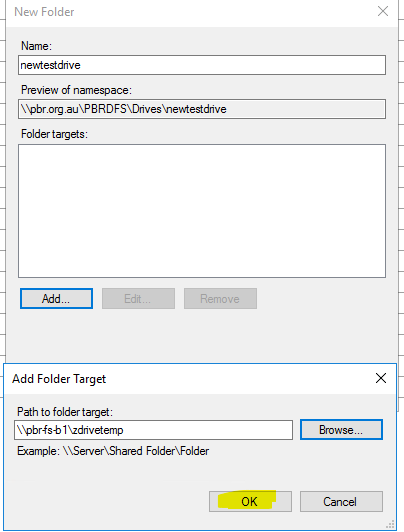
Enter the drive name or name of your choosing. Go to folder target and click add. Enter the server of where the share is located.
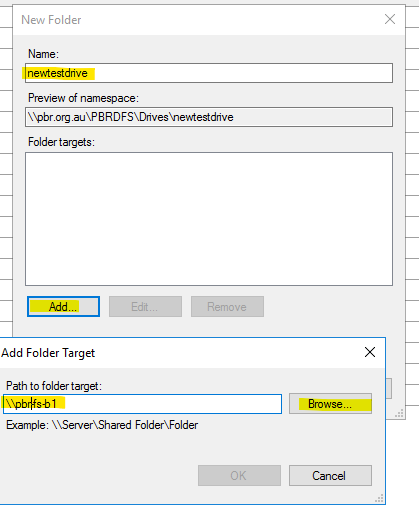
Click OK.
Windows File Server Shares
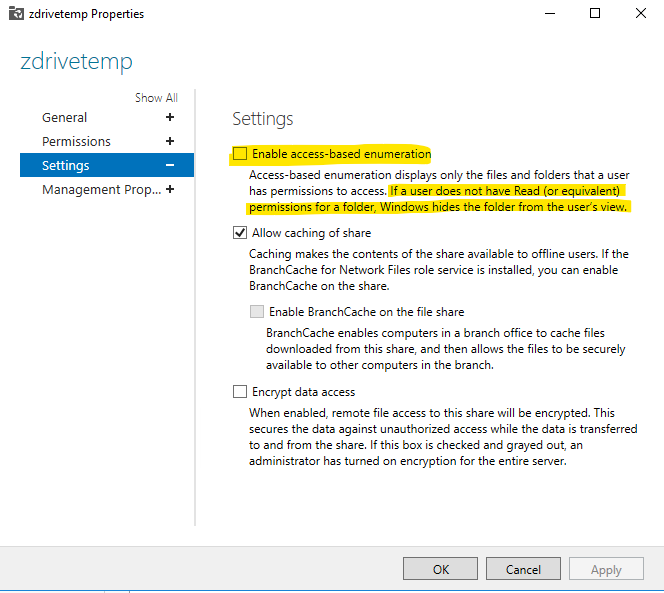
For setting up restricted access to drives on windows file server shares please ensure that the following setting is disabled on the desired share:

If trying to use traverse and list folder, the above setting will prevent users from viewing these shares.
For ZdriveTemp the Share has been set so the above settings has been unchecked. This is to ensure permissions on the Z drive are locked down.
DFS, Server Shares and Network Mapped drives at Puffing Billy
The article is a quick guide to DFS, Server Shares and network mapped drives at Puffing Billy.
The DFS Namespace path for Puffing Billy is \\PBR.ORG.AU\PBRDFS.
Currently DFS Namespace and DFS Replication roles are installed on the following servers:
- PBR-DC-B1
- PBR-DC-B2
- PBR-DC-KL1
- PBR-DC-KL2
- PBR-FS-B1
- PBR-FS-KL1
The active namespace servers are currently:
- PBR-DC-B1
- PBR-DC-B2
- PBR-DC-KL1
- PBR-DC-KL2
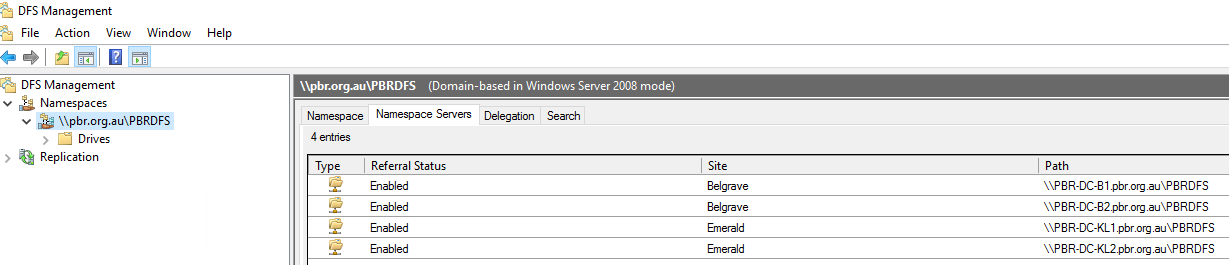
Having multiple namespace servers ensures the DFS paths are active in the event that one of the other DCs goes down.
There are a number of folder targets set under the DFS path \\pbr.org.au\pbrdfs\drives. The path \\pbr.org.au\pbrdfs\drives is essentially a fictional folder path. Under \\pbr.org.au\pbrdfs\drives are the actual folders and shares to other file servers and shares. All \\pbr.org.au\pbrdfs\drives does is redirect to point to these shares using this path.
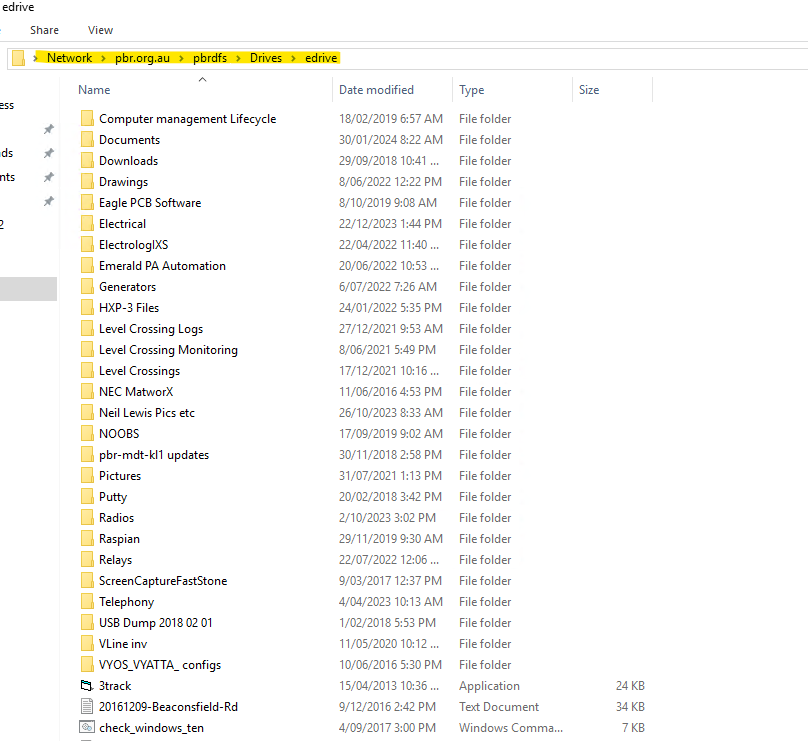
For example, the below screenshot shows the edrive selected. The actual location of the edrive is \\pbr-fs-kl1\edrive and is a windows server share hosted on the Kilvington file server.
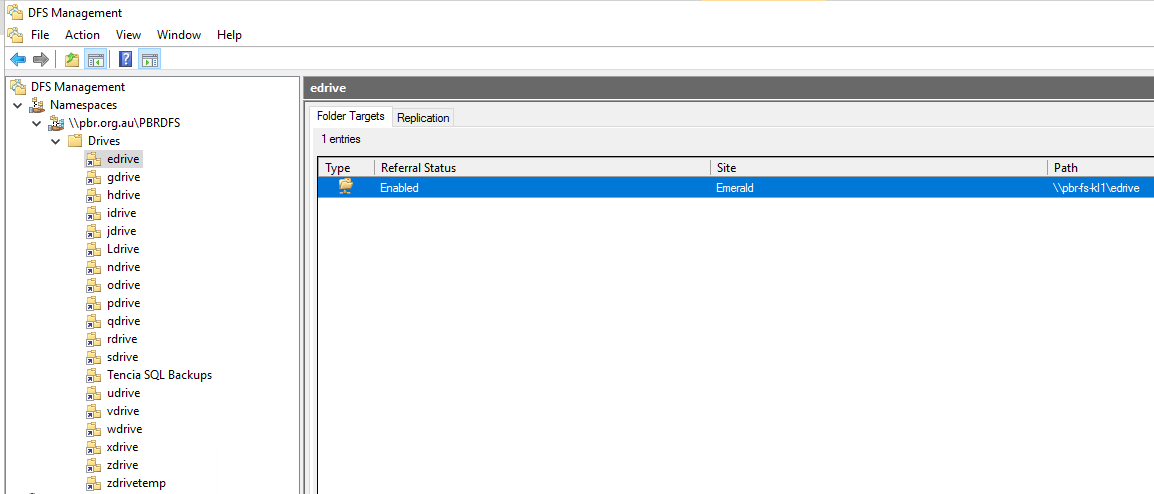
I have added the \\pbr-fs-kl1\edrive as a folder target to DFS so when i map to \\pbr.org.au\pbrdfs\drives\edrive I am essentially viewing files on \\pbr-fs-kl1\edrive.
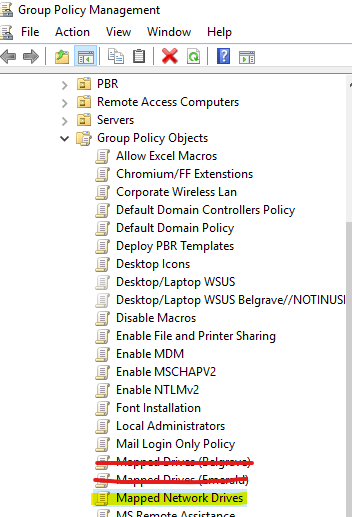
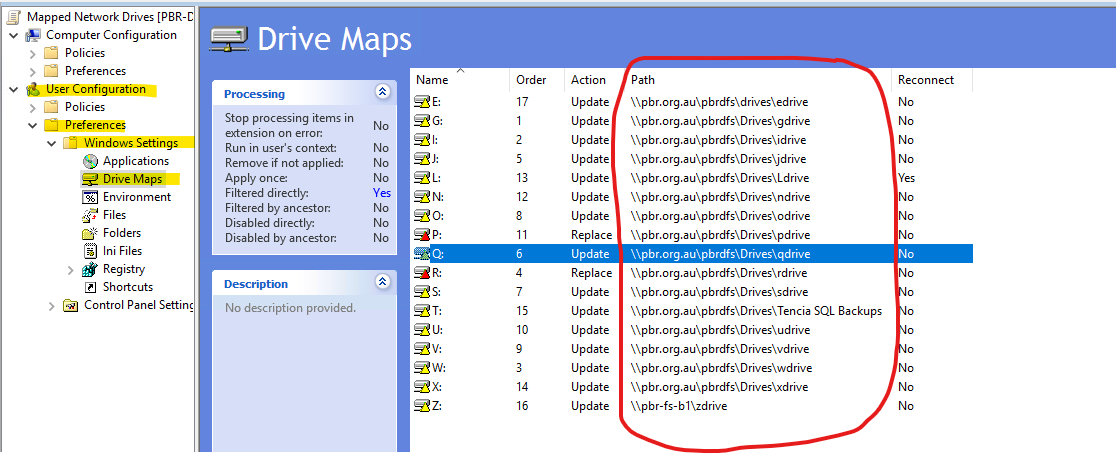
Network mapped drives are set through Group Policy. The group Policy object which sets this is "Mapped Network Drives". Please ignore the other GPOs labelled Mapped Drives, these are legacy.
The Mapped drive will all reference DFS paths as shown below:
ZDriveTemp
Zdrivetemp has been created to allow a folder structure to be used to restrict access to areas based off group and branch. For example, the IT Team have access to an IT folder under business services but can't access any other group folder or any other branch under Business_services.
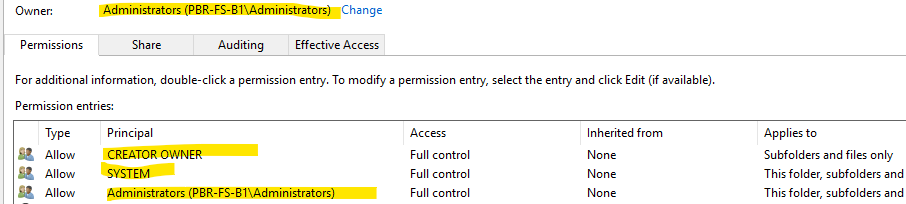
Firstly, a drive was created on the windows file server pbr-fs-b1 and the share was made to match the following permissions and inheritance disabled:
Once set the server share needed to be set so access-based enumeration is disabled. This will allow for traverse permission to be assigned to the server share:
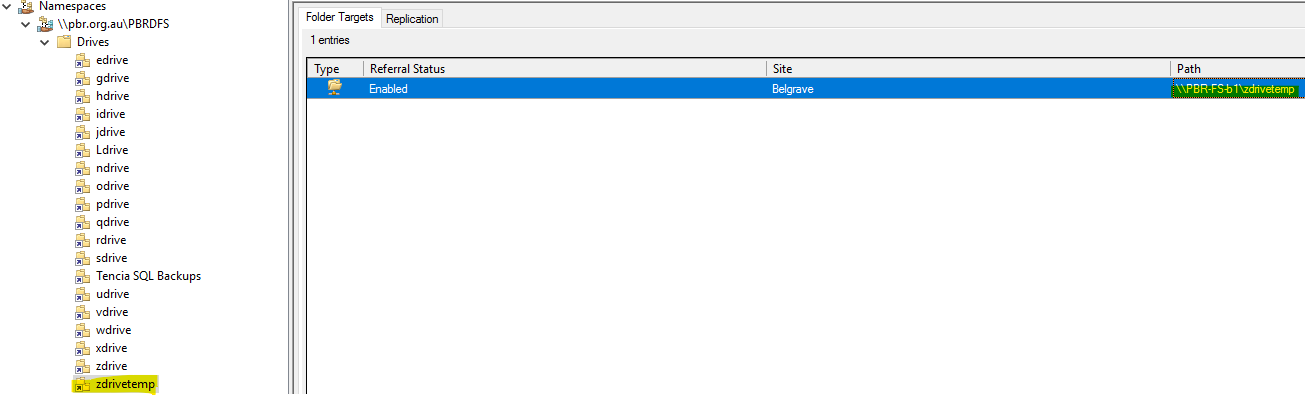
Once the drive was created a DFS path was created in DFS management pointing to the share on pbr-fs-b1:
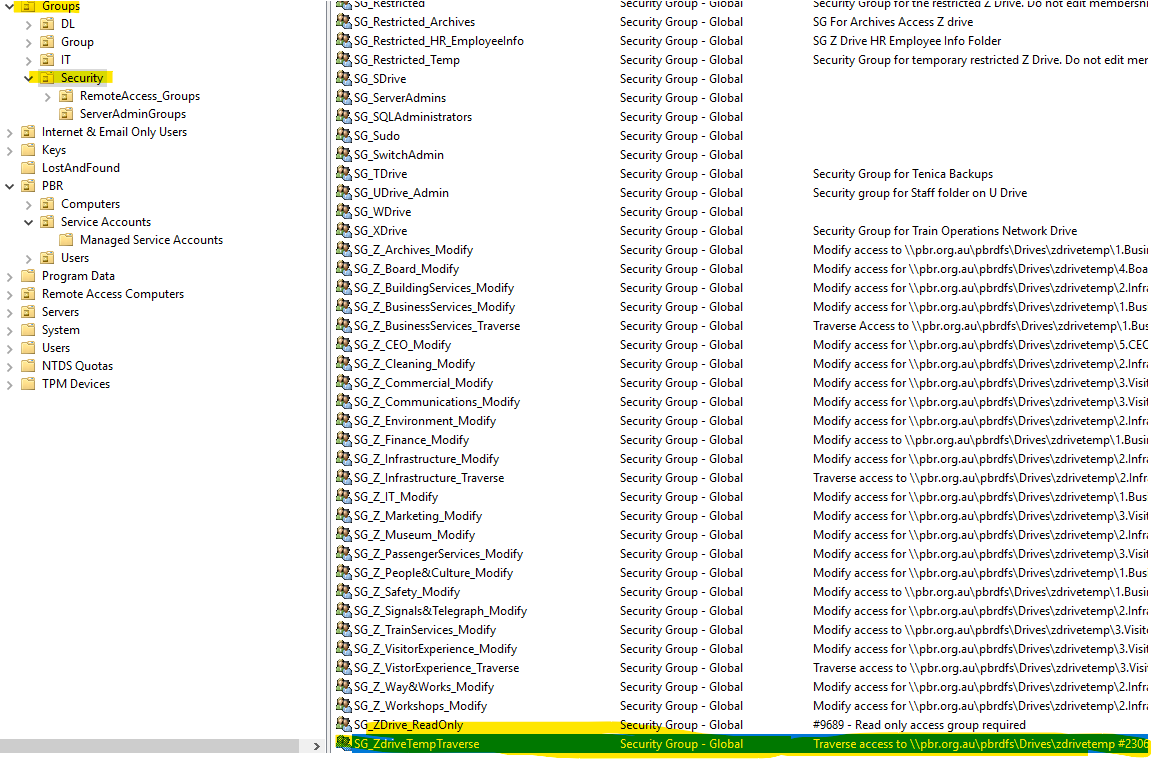
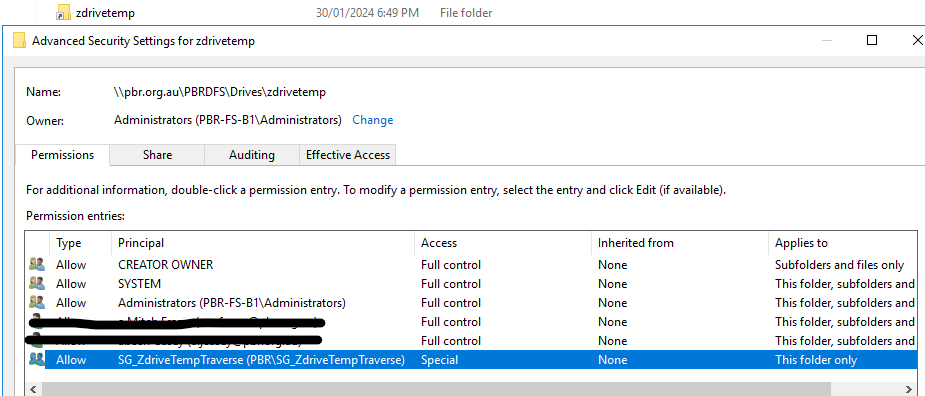
Go to AD and create a security group for traverse access to the zdrivetemp:
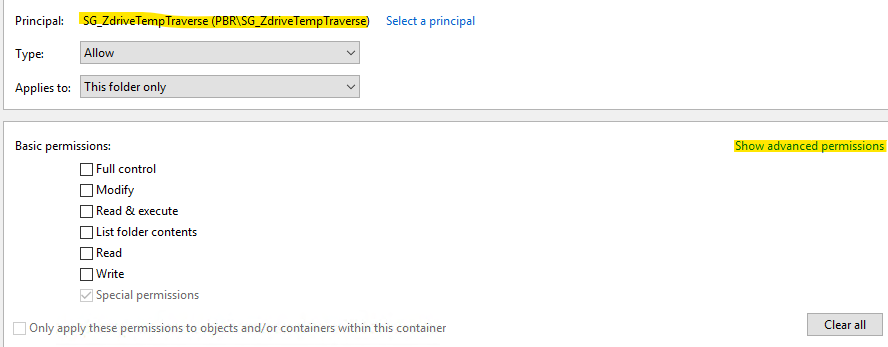
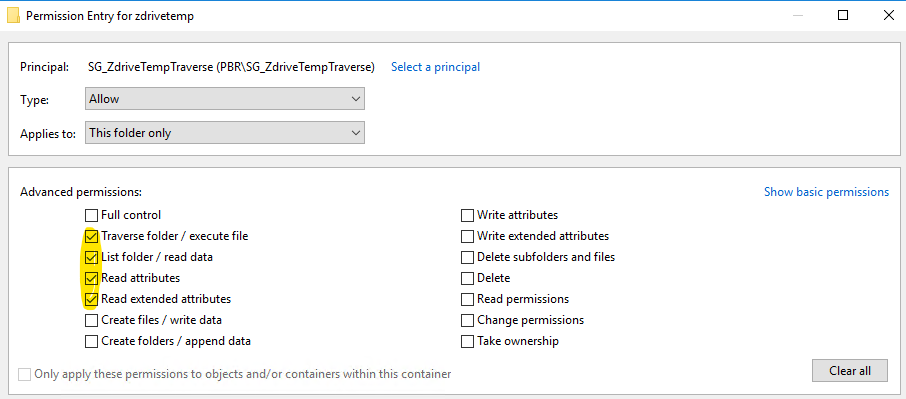
Once the DFS path has been created and the AD security group created for Traverse access, go to the Zdrivetemp and make sure the below groups are set. For traverse NTFS permissions these AD groups will always be set to apply to "This folder only" and have the same 4 permissions selected (see second and third image below).
Create other folders under the zdrive temp as show below:
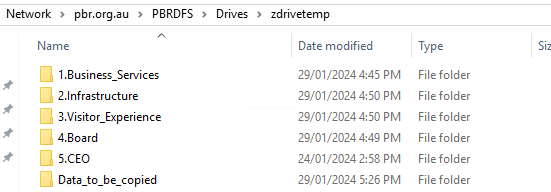
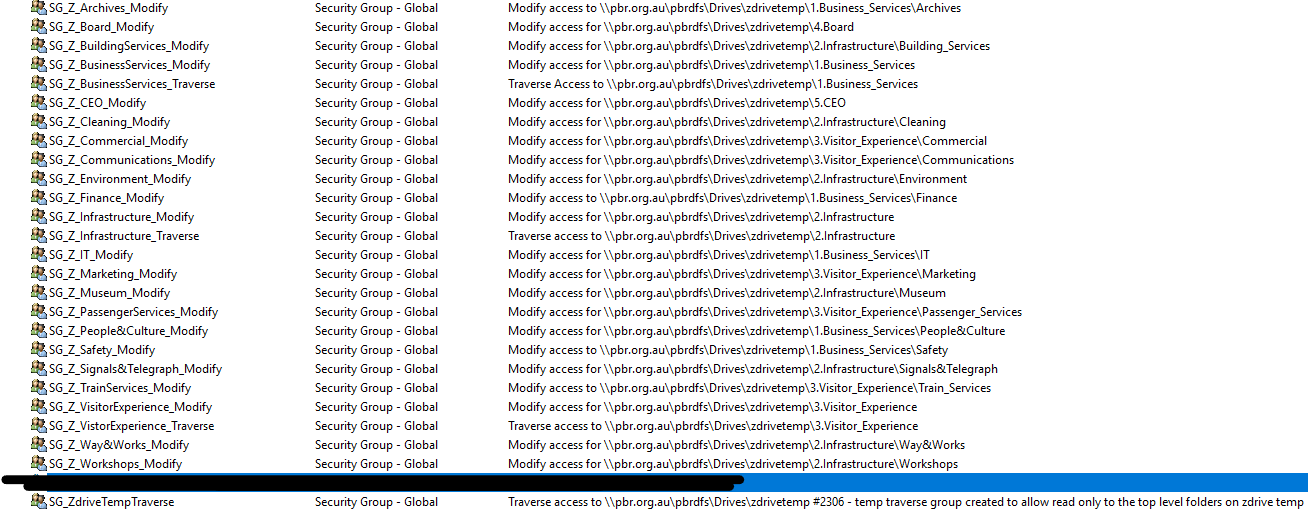
For all folders apart from 4.Board, 5.CEO and Data_to_be_Copied, there will need to have 2 AD groups assigned in the NTFS permissions. One Traverse group (allows group members to view folders) and one Modify group. Create these groups as presented below in AD:
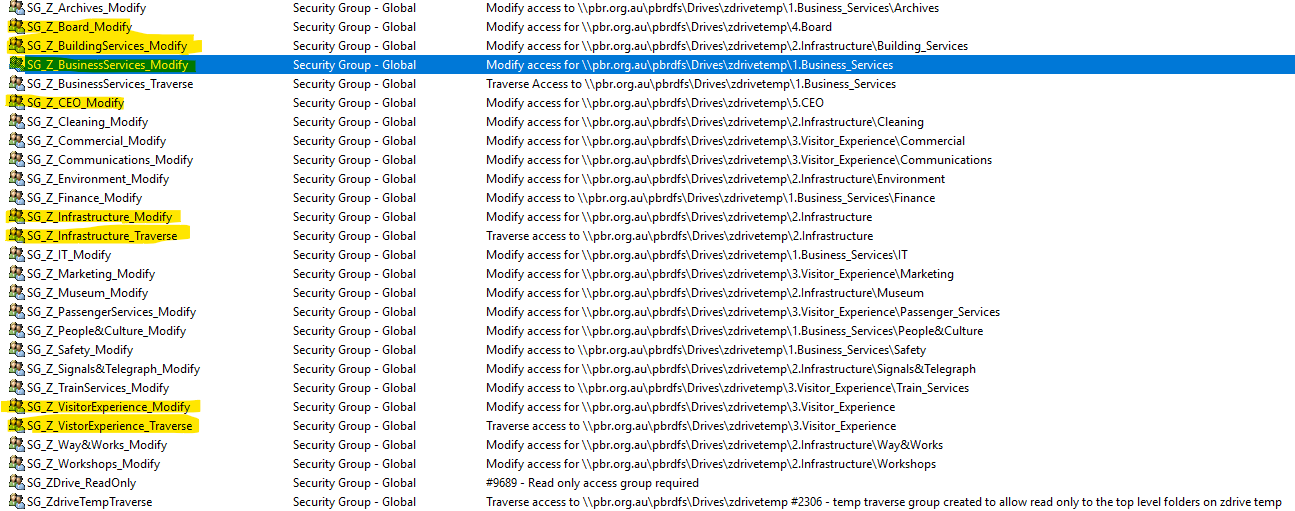
AD groups for ZdriveTemp access
All the groups below are used to permissions user to the Z drive