You must have first setup your desk phone voicemail message bank. Please refer to ***[Setting up voicemail on your desk phone](https://confluence.pbr.org.au/display/ITD/Setting+up+voicemail+on+your+desk+phone).***
To check your voicemail messages on your desk phone you can follow the below instructions. ## Step-by-step guide 1. Dial 799 to access your voicemail message bank. 2. Enter the security code that you set when setting up your voicemail. 3. Press the New button to hear your voicemails 4\. Press the corresponding button for the command you wish to perform. # Editing Voicemail Settings Once you have setup your voicemail on your desk phone you can edit it at any time by following the below steps. ## Step-by-step guide 1. Dial 799 2. Enter your security code and wait approx. 10 seconds 3. You’ll hear the statement to ‘Remember Yes for 1 and 2 for No’ 4. Press 7 for setup options 5. Press 4 for greetings options (change message people hear when going to your Voicemail) or 7 for personal options (security pin, name). ## Related articles # Setting up voicemail on your desk phone The below instructions will assist you with setting up the voicemail on your desk phone for the first time. ## Step-by-step guide 1. Dial 799 2. Enter your security code (0000 for first time until you set your own) 3. Follow the prompts, you will be asked the following: - First name and last name - Whether you want to enter your name in the directory - Enter your Voicemail greeting - Enter your new security code - At the end you will be asked to enter 2 if you would like to restart the process if you need to change anything. # Kilvington IP Phones The IT and Marketing teams locate at Kilvington Drive use NEC DT800 IP handsets as desk phones These phones are connected to the core switch stack in the Kilvington comms rooms and are configured to use VLAN mode on both the LAN and PC ports. The phones are provided with an IP address via the DHCP server located on pbr-wsus-kl1. The reason the handsets operate in VLAN mode is due to a bug with Cisco SG300 switches which causes the core stack to reboot in certain scenarios when using LLDP. [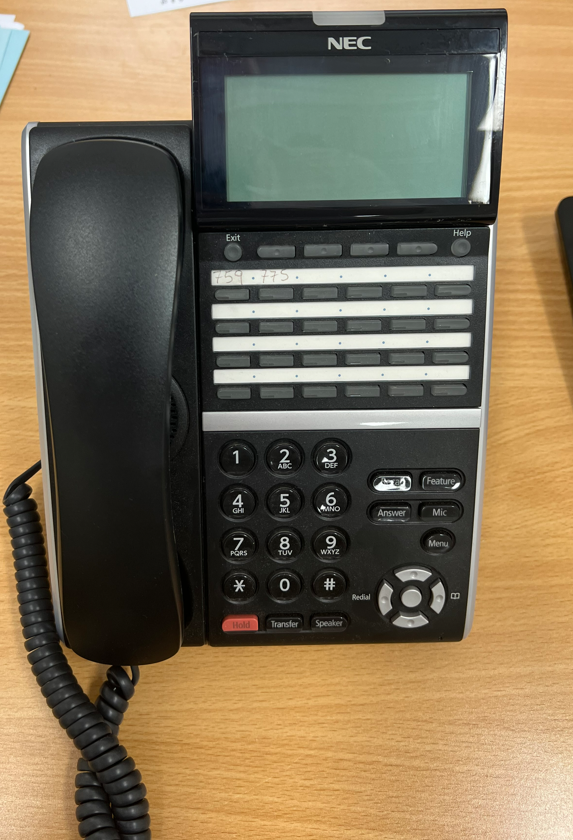](https://bookstack.pbr.org.au/uploads/images/gallery/2023-01/ssvimage.png) **Configuring an NEC Handset to use VLAN Mode at Kilvington Drive** Before following these steps ensure that the associated switch port has been tagged for VLANS 100 and 134. 1. Press the ***Menu*** key. (Note if the phone is first booting up you may have to wait 20 seconds before you can get into setup.) If the phone is already booted up you will have to press the ***Menu*** key and dial (0) on the key pad. 2. When prompted for credentials, enter the credentials below and press the ***OK*** key: User name: ADMIN Password: 6633222 3. Press 1 to get into ***Network Settings*** and then 6 for ***Advanced Settings*** 4. Press 1 for ***LAN Port Settings*** and 2 for ***VLAN Mode*** 5. Select ***Enable*** and press the ***OK*** key: 6. Press 3 for ***VLAN ID*** 7. Enter 100 and press the ***OK*** key 8. Press the ***Exit*** key 9. Press 2 for ***PC Port Settings*** and 2 for ***VLAN Mode*** 10. Select ***Enable*** and press the ***OK*** key: 11. Press 3 for ***VLAN ID*** 12. Enter 134 and press the ***OK*** key 13. Press the ***Exit*** key 14. Keep pressing ***Exit*** and then select ***Save*** when it is displayed. The handset will reboot. **The phone has now been configured to use VLAN mode with the correct VLAN IDs.** # Change Desk Phone Name Display These are extension from 700- 799 only (for other ranges, please contact the Telephone Supervisor) Web browse to [http://10.10.1.51:61000](http://10.10.1.51:61000)  Credentials in 1Pass - NEC Web Portal Name Change Go To Top Menu for ***Admin Menu***, the side Menu for ***User Management***. The screen will show all Extensions programmed and the user name. Search for the user via name or EXT number (Station No.)  **Click on the Edit of User profile Button** 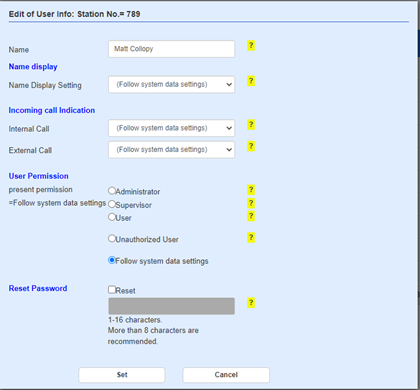 Change the User name and hit **Set**